Chocolate Cake for the Soul

Chocolate Cake for the Soul

This chocolate cake is a feast for the eyes and soul. It is easily the most delicious cake I’ve ever made. I don’t profess to be a baker- the recipe came nearly perfected from Smitten Kitchen, where I saw this cake posted but never intended to make it. But then I was at home with my mom while she was recovering from surgery, and about 3 hours after she was home from the hospital, she requested chocolate cake. A sure sign of health! I sped to the kitchen and pulled up this recipe, recency effect in full force, and the chocolate cake helped us all feel better. It is rich in chocolatey flavor, slightly crisp around the tops and edges, with a crumb/fudge hybrid in the center. A slice (and sometimes two) of this cake welcomed all of my mom’s visitors, each of who asked if the cake was flourless. It’s not. The cake eventually dwindled down to its final slices, and the time approached for me to return to DC. But before I could leave, my mom kindly requested a replacement cake, and I was happy to oblige. I have now made this cake three times, each with success. I learned a few things along the way, namely that you should make this cake immediately.

Chocolate Cake for the Soul

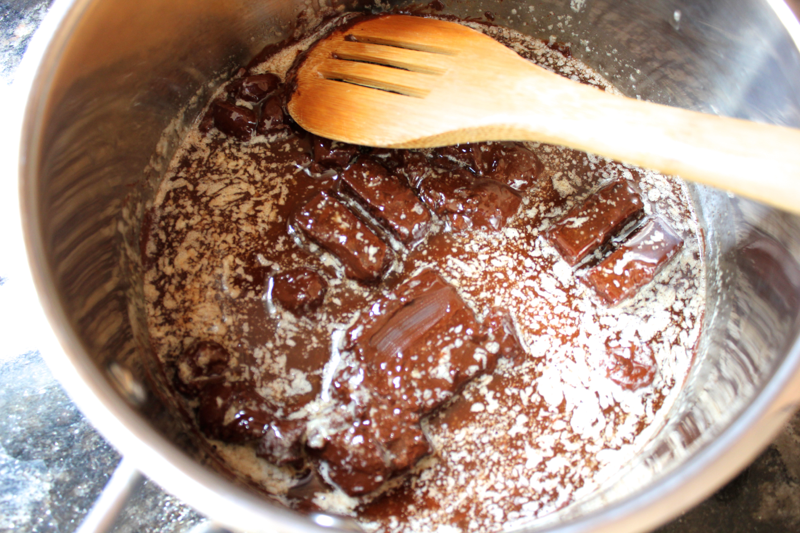
To do so, get a 9 inch cake pan, and grease it by rubbing a stick of butter around its bottom and sides. Cut out a round of parchment paper, and stick it on the bottom of the pan to ensure that the cake will come out easily. Then, get a decent sized pot (a 3 quart pot is best, but a 2 quart pot will do). In the pot, melt 9 tablespoons of butter (1 stick plus 1 tablespoon). Once the butter has melted, remove the pot from the heat, and stir in 7 ounces of dark chocolate until it melts and is smooth.

Chocolate Cake for the Soul

Stir 2 tablespoons of water into the chocolate mixture until it is smooth once again. Then, stir in 3/4 teaspoon of baking powder, 1/3 cup of flour, and 1/3 cup of cocoa powder. Preheat your oven to 350º F.

Get out one medium-sized bowl and one large bowl. Separate 4 eggs, dropping the whites into the large bowl and the yolks into the medium bowl. To the yolks, add 1 cup of sugar, 1 tablespoon of water, and 1/2 teaspoon of vanilla extract. Use a whisk to combine the yolk mixture until it has gone pale in color and looks smooth. Stir the yolk mixture into the pot of chocolate until it is fully incorporated.

Chocolate Cake for the Soul

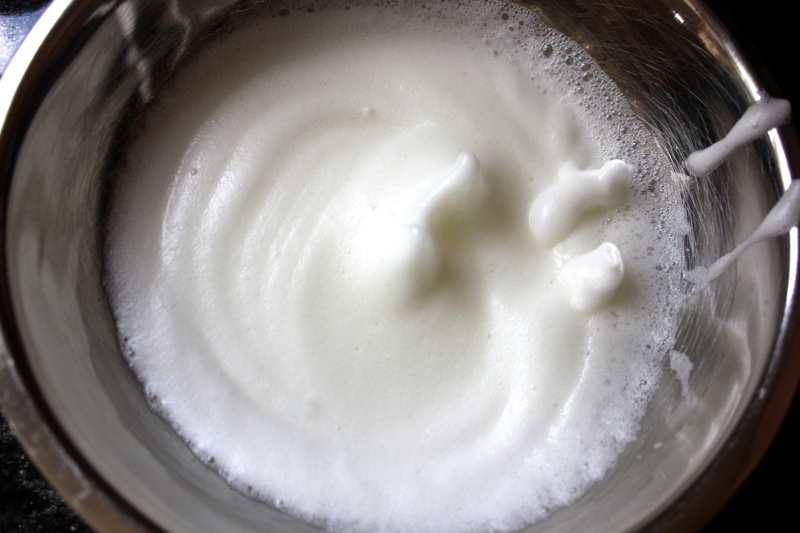
To the large bowl of egg whites, add 2 pinches of sea salt. Beat the egg whites until they hold stiff peaks, ideally using an electric mixer.

Chocolate Cake for the Soul

Add 1/3 of the beaten egg whites to the pot of chocolate, and stir it around to lighten up the chocolate mixture. Once the egg whites are combined, add in the rest of the egg whites, and gently fold them in until they are combined.

Chocolate Cake for the Soul

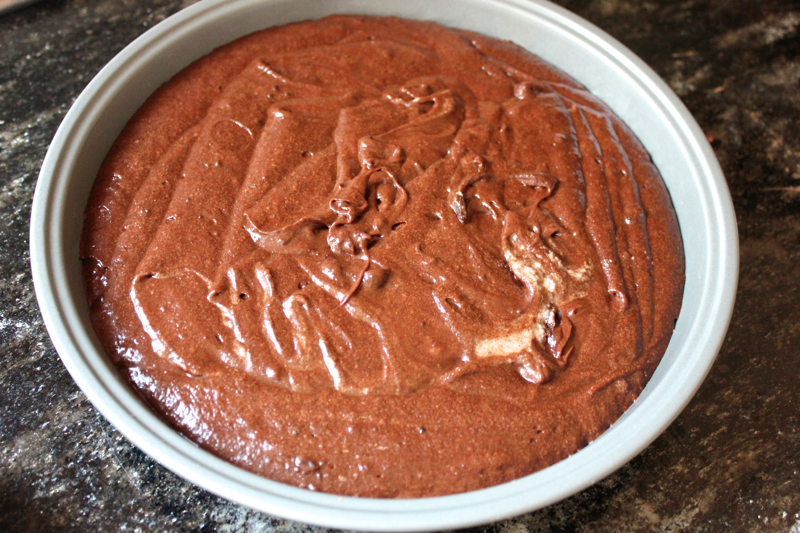
Pour the chocolate mixture into the prepared cake pan, and bake the cake for 35-40 minutes until you can insert a toothpick into the center of the cake and remove it relatively cleanly.

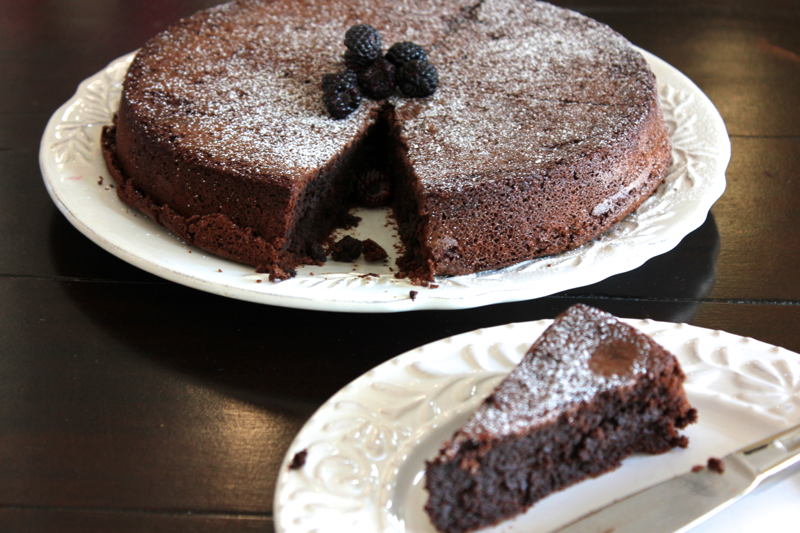
Remove the cake from the oven, and let it cool for at least 5 minutes before removing it from the pan, running a knife around the sides of the pan first to make sure the cake is loose. The first two cakes that I baked at my mom’s house puffed up, formed a domed crust, and then deflated as they cooled. The domed crust remained and eventually cracked when I removed the cake from the pan. It was no problem at all, I just plated the cake upside-down. It looked fantastic, and we still were able to enjoy the crispy top. When I made the cake in my own kitchen however, the cake didn’t puff as much and it didn’t form a hollow top crust. The top still crisped, but it remained solid, and I was able to plate the cake right-side-up. Somehow, the difference in ingredient brands and/or ovens caused these different (but equally delicious) results. Let me know which variety of cake you end up with- I am very curious!

Chocolate Cake for the Soul

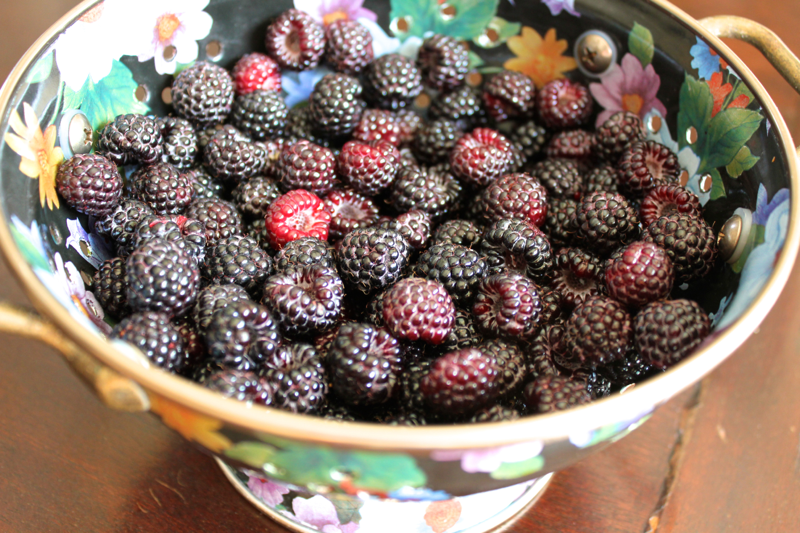
The cake is wonderful with a light dusting of powdered sugar, but I find it even more delicious to eat every bite with a berry. I picked these black raspberries from my parents’ backyard. Several years ago, I talked them into buying a raspberry bush, and for the last few summers, it has yielded only 2-3 raspberries, most of which the birds ate before we could. This summer, there has been a raspberry EXPLOSION, and the birds have let us take in the harvest.

Chocolate Cake for the Soul

Serve the cake in thin slices with the powdered sugar and berries. My cousin enjoyed the cake with a glass of cold milk, which looked nice, if you like that kind of thing. Ice cream would also be fantastic. If you’re not feeding a crowd, fear not- this cake is just as delicious when eaten over a multi-day period. Just store it at room temperature, loosely covered with tinfoil. I will always associate this cake with feelings of comfort and home, and I hope you enjoy it as much as we did.

Shopping list:

  • Butter- 9 tablespoons
  • Chocolate- 7 ounces
  • Flour- 1/3 cup
  • Cocoa powder- 1/3 cup
  • Baking powder- 3/4 teaspoon
  • Eggs- 4
  • Sugar- 1 cup
  • Vanilla extract- 1/2 teaspoon
  • Salt
Print Friendly, PDF & Email

String Bean Tempura and Global Supper Club: Japan Edition

String Bean Tempura

I grew up eating string bean tempura. For as long as I can remember, my whole family would meet for dinner at a hibachi restaurant, where the meal has remained consistent for, quite literally, my lifetime. First comes hot hand towels, followed in succession by soup, salad, shrimp and string bean tempura, the hibachi meal, and then the best vanilla bean ice cream, which my uncle would routinely melt into ice cream soup on the still-hot cooktop. For all of these years, the string bean tempura and its delicious dipping sauce have been my absolute favorite part of the meal. String bean-only tempura is rarely found elsewhere, and it’s never as good.

String Bean Tempura

String bean tempura (really any tempura) is shockingly simple to prepare, it cooks quickly, and it is guaranteed to draw crowds into your kitchen. To make it, rinse your string beans, and use a knife to trim off their stems. Dry the string beans off with towels or in a salad spinner.

String Bean Tempura

Heat your cooking oil either in a deep fryer, wok, or heavy pot. Use an oil with a high smoke point– I used sunflower oil, but peanut oil would also work well. If you have a candy thermometer, you can heat the oil to approximately 350º F. Otherwise, heat the oil over medium high heat, and adjust the temperature in response to frying conditions, as I describe later.

String Bean Tempura

To make tempura batter, put 1/4 cup of flour and a few dashes of salt into a bowl. Stir in enough beer for the flour to take on a batter-like consistency. A thinner batter will make a thinner crust, and thicker batter will a make a thicker crust (the batch photographed here was pretty thin). Adjust the beer and flour ratios to suit your preference. The beer adds great flavor and also makes the batter puff up in the oil. Some recipes suggest using soda water if you’re averse to beer, but I haven’t tested it and would miss the subtle beer taste.

Add some string beans into the bowl, and turn them to coat. Drop one string bean into the oil to test the temperature. The batter on the string bean should begin bubbling and puffing almost immediately. Adjust the temperature of your oil until you get and can maintain this reaction. Remove the test string bean and discard it (in your mouth).

String Bean Tempura

Set up a tray lined with paper towels for draining. Then, drop a handful of string beans around in the pot into the oil, taking care not to overcrowd them. The string beans are done when they just begin to brown, which can take anywhere from 10 seconds to 1 minute depending on the thickness of your batter and the temperature of your oil. Remove the string beans from the oil, and let them briefly drain on paper towels.

Serve the string beans immediately with your favorite dipping sauce. To make an addictive but simple one, stir together 1/4 cup of reduced sodium soy sauce, 1 teaspoon of grated ginger, and 1/2 teaspoon of sesame oil. Yum!

I made these string beans at the most recent meeting of the Global Supper Club: Japan Edition. My friends joined me in the kitchen while I fried batches of the string beans, and we sipped sake, snacked, and caught up. It was so much fun. The meal was another fantastic showing with the best miso soup I’ve ever eaten (I’ll try my hand at it and let you know how I do), seaweed salad, tamago nigiri, salmon onigiri, salmon teriyaki, sushi, soba noodles in cucumber cups, green tea and honey ice cream, mochi, green tea truffles, and other Japanese candies. A solid showing all around, and deliciously fun.

Shopping list:

  • String beans
  • Flour
  • Salt
  • Beer
  • Frying oil
  • Soy sauce
  • Ginger
  • Sesame oil
Print Friendly, PDF & Email

Sweet and Savory Salmon Teriyaki

Stress-Reducing Salmon Teriyaki

My new favorite bite: A perfectly poached cube of salmon, soaked in homemade teriyaki sauce and sprinkled with fresh chives. It is simple and pure. Inhale – take a bite – and on the exhale, say yummmmmm.

Stress-Reducing Salmon Teriyaki

Homemade teriyaki sauce is surprisingly simple to make and requires only three ingredients. It tastes exactly how teriyaki sauce is supposed to taste, and this recipe will likely make more than you need for the salmon. It can be stored in the refrigerator and is perfect for all of the teriyakied things in life like chicken, shrimp, or even drizzled over fried rice. To make it, you’ll need 1 cup of low-sodium soy sauce, 1 cup of packed brown sugar, and 1 cup of mirin. Mirin is a sweet rice wine for cooking, and I found it in Whole Foods with the Asian ingredients. The mirin I bought has a 12.5% alcohol content, of which the cashier was seemingly unaware.

Stress-Reducing Salmon Teriyaki

Add the ingredients to a pot, and stir them over medium-high heat until the sugar dissolves and the mixture comes to a boil. Lower the heat so that the sauce simmers, and allow it to reduce and thicken for about 30 minutes, stirring occasionally. The sauce is done when it has reduced by approximately 1/2 cup in volume and thickened slightly. Allow the teriyaki sauce to cool, and then store it in a container in the refrigerator.

Stress-Reducing Salmon Teriyaki

The salmon preparation is also very easy. A 1 pound filet of salmon should yield about 4 main course servings, so get as much salmon as you need. Then, cut the salmon into 2-inch cubes. You don’t need to worry about removing the salmon skin first- it’s simple to take off after the salmon has cooked.

Stress-Reducing Salmon Teriyaki

Fill a skillet with about 1/2 inch of lightly salted water, and bring it to a simmer. Gently place the salmon into the simmering water skin-side down, and then cover the skillet with a lid. Don’t overcrowd the skillet- you can cook the salmon in batches. Let the salmon cook until it has firmed up and is nearly opaque throughout. It should take approximately 3-5 minutes for the salmon to cook, but the time will vary depending on the size and thickness of your salmon pieces. Remove each piece to a side plate as it finishes. And don’t stress too much- poaching is a very forgiving method of cooking and should prevent your fish from drying out too much if you happen to overcook it. Keep it mind, however, that the fish will continue cooking as it cools.

Stress-Reducing Salmon Teriyaki

Once the fish is cool enough to handle, use your fingers to gently peel off the skin.

Stress-Reducing Salmon Teriyaki

Discard the skin, and transfer the salmon to a bowl. Continue cooking the remaining salmon, and repeat this process.

Stress-Reducing Salmon Teriyaki

Once all of the salmon is in the bowl, pour over enough teriyaki sauce to cover most of the salmon. You can serve the salmon immediately or allow it to soak in the sauce overnight, covered in the refrigerator. The longer the salmon rests, the more of the flavorful sauce it will absorb. I highly recommend the soak 🙂

Stress-Reducing Salmon Teriyaki

When the salmon is ready to serve, remove it from the refrigerator, and allow it to come to room temperature. Transfer the salmon pieces to a small bowl, spoon over some of the teriyaki sauce, and garnish it with fresh chives.

Stress-Reducing Salmon Teriyaki

I served this salmon as part of our Global Supper Club: Japan Edition, and we had a wonderful time! I can’t wait to share the full menu and another (fun!) recipe with you!

The teriyaki sauce and salmon recipes are both from Bon Appetit magazine.

Shopping list:

  • Soy sauce- 1 cup
  • Brown sugar- 1 cup, packed
  • Mirin- 1 cup
  • Salmon
  • Salt
  • Chives
Print Friendly, PDF & Email