Caramel Apple Tart

Apple Tart

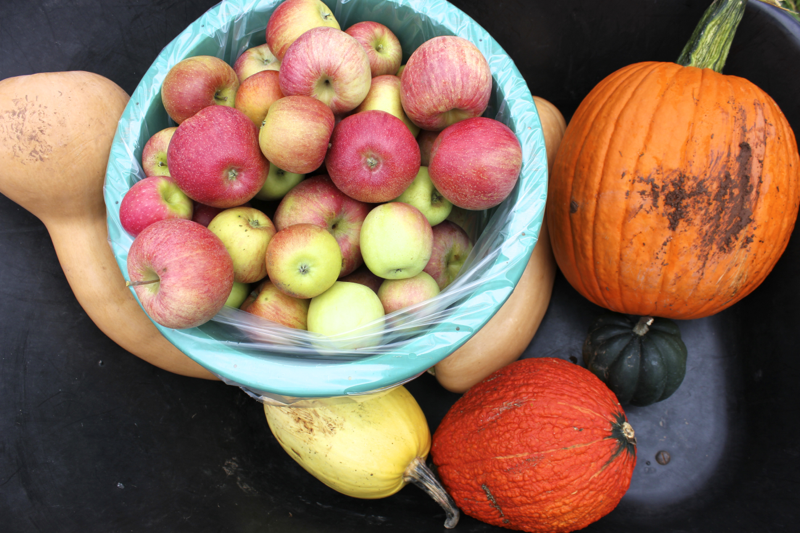
Do you need a tasty and beautiful sweet treat to serve at a fall dinner or party? Do you have an abundance of apples? If yes, then you’re in luck, but even if you have neither, make this tart! I have almost endless inspiration for how to use up my over-sized apple haul, so, when I found myself in the supermarket with only $5 (I had intended to buy one item) and a choice between buying orange juice to make a Jewish apple cake and puff pastry to make this tart, I placed an emergency call to David to get his expert recommendation. He went for the tart, and I am so, so glad he did. The tart’s crisp, buttery crust is topped with soft, sweet apples and brushed with a salted caramel glaze. The resulting flavor combination is blissfully seasonal.

Apple Tart

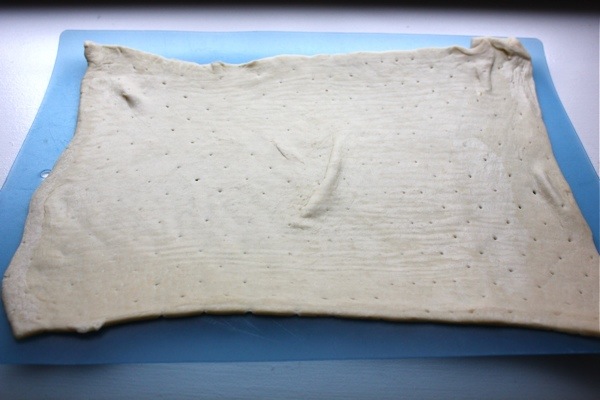
To make this tart, defrost a sheet of frozen puff pastry in the refrigerator until it is pliable. Pre-heat your oven to 400º F, and then tear off a sheet of parchment paper that is the size of a baking sheet. Put the parchment paper onto a flat surface, and lay the puff pastry onto the parchment paper. Lightly flour the top of the puff pastry and a rolling pin, and then roll the pastry out to the size of your baking sheet or as thinly as you can. Transfer the parchment paper and puff pastry to the baking sheet, and set it to chill in the fridge while you prepare your apples.

Apple Tart

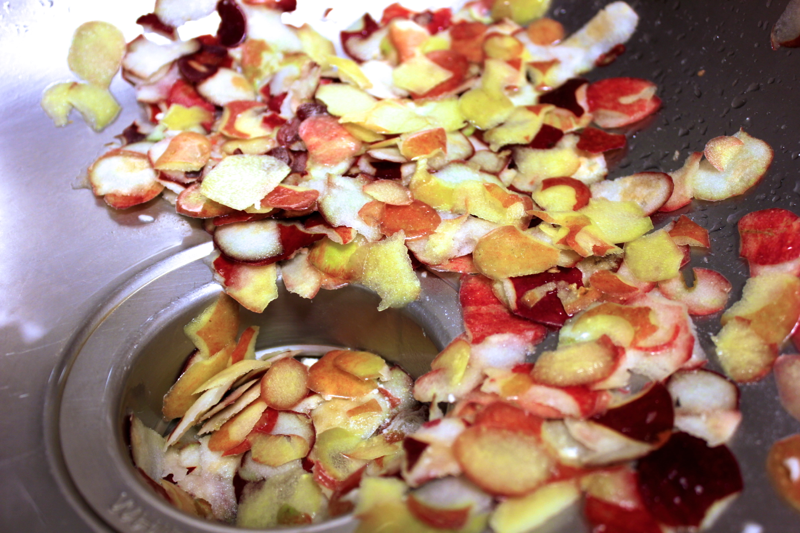
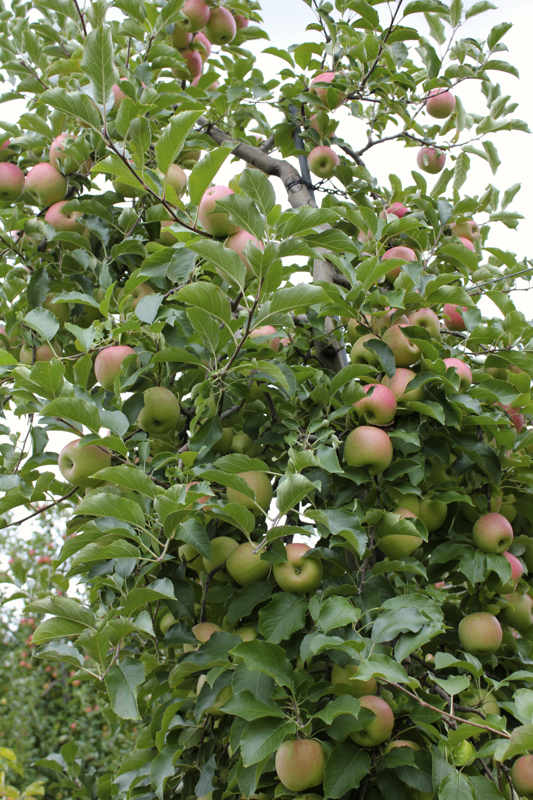
The amount of apples this tart will use depends on how large your sheet of puff pastry is and how closely you layer the apples on. I used 2+ very large apples, but I’d recommend prepping the apples as you go so you don’t end up with more slices than you need. So, peel one apple, cut it in half from top to bottom, and remove the stem and the seeds. Use a mandoline to slice the apple halves cross-wise into pieces 1/16th of an inch thick. As for apple variety, any type that you enjoy eating will do.

Apple Tart

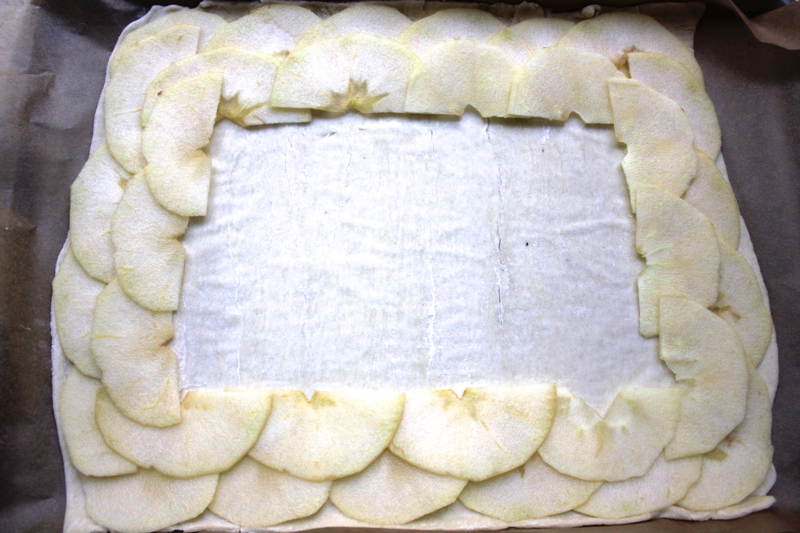
Layer the apples slices on the puff pastry around its perimeter, leaving just a small crust. Then, layer more apple slices just inside the first ring of apples, overlapping them so that only 1/4 inch of the first apples stick out.

Apple Tart

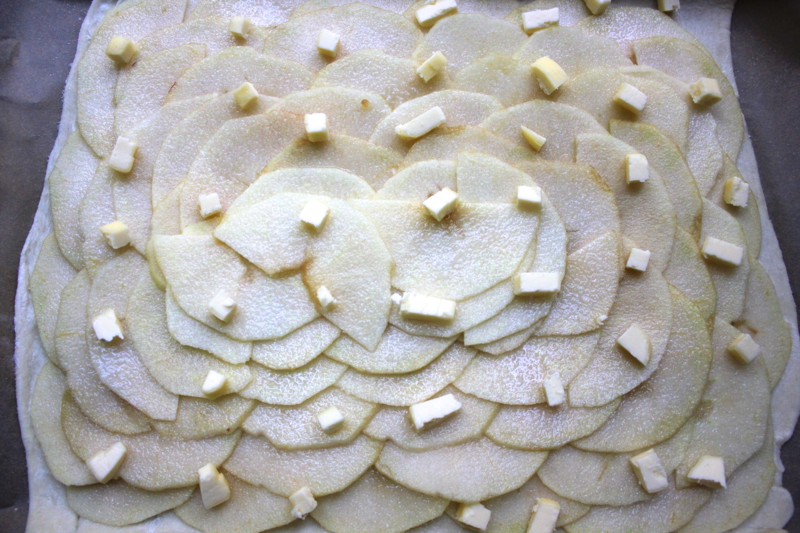
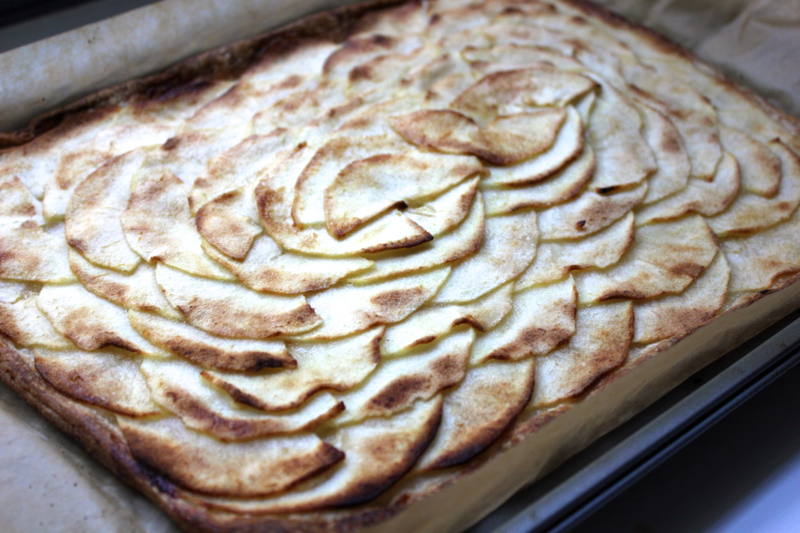
Continue filling in the pastry with the apple slices, cutting more apples as you need them. Once the entire puff pastry is covered with apples, sprinkle over 2 tablespoons of sugar and 2 tablespoons of cubed, cold butter. Bake the apple tart for 25-30 minutes, rotating the baking sheet around half-way through for even browning.

Apple Tart

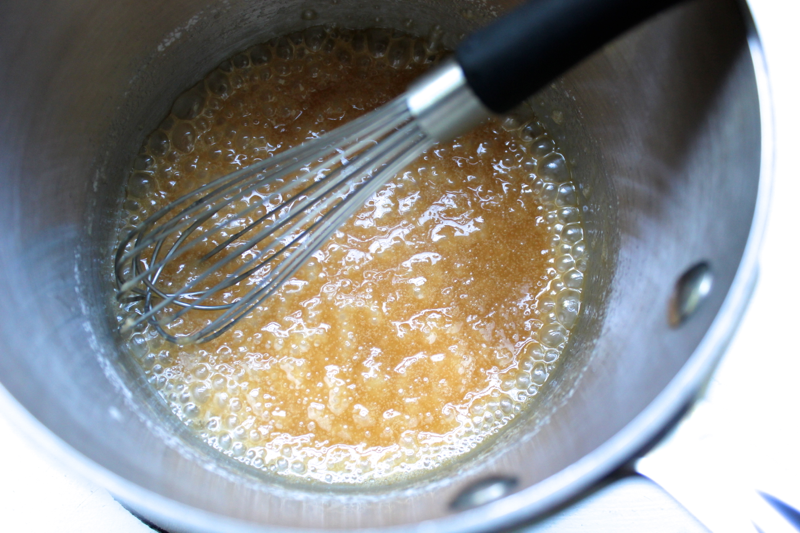
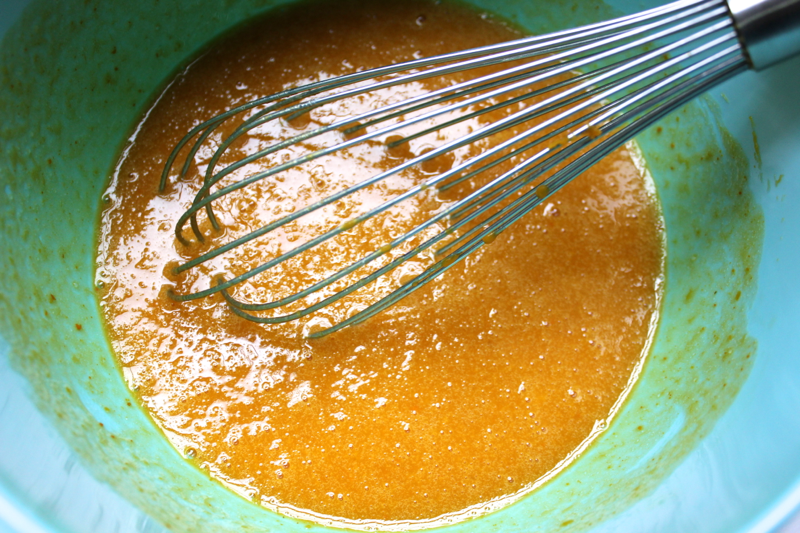
While the apple tart bakes, prepare the caramel glaze. To a small pot, add 1/4 cup of sugar and a splash of water. Bring the water and sugar to a boil, swirling the pot around occasionally to keep things moving. Don’t stick a spoon into the sugar while it is caramelizing or you may cause it to crystallize. As the water evaporates from the pot, the bubbles in the sugar will get smaller and smaller until all of the water is gone. Then, the sugar will begin to brown. As soon as the sugar turns a golden shade of honey, remove the pot from the heat, and add in 2 tablespoons of butter. I used a salted, cultured butter that my friend made. If you’re using unsalted butter, throw in a small pinch of salt as well.

Apple Tart

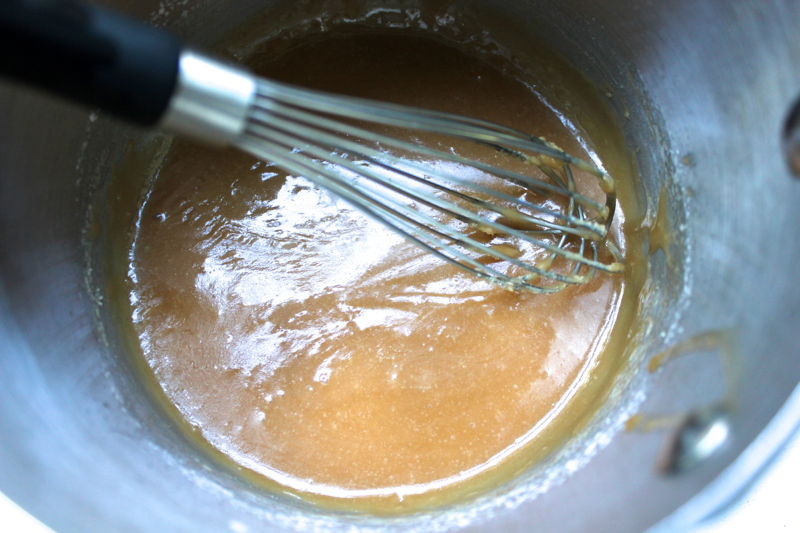
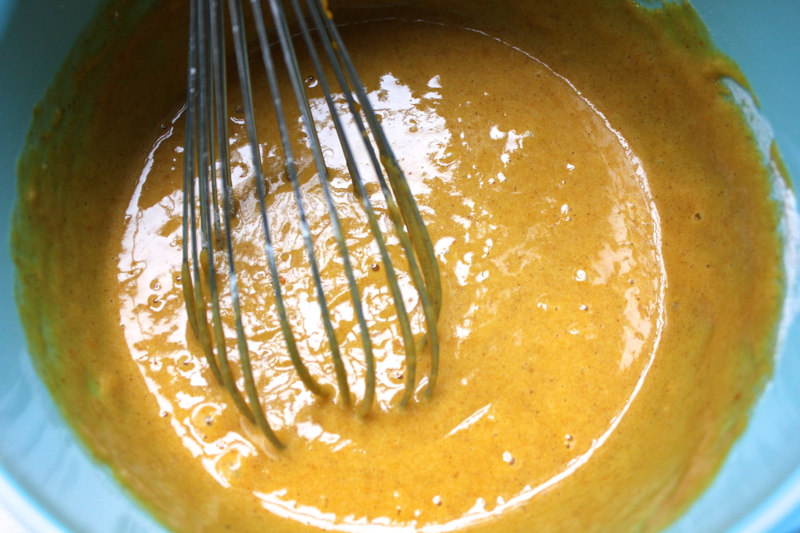
Continue swirling the pot until the butter is melted, and then pour in 2 tablespoons of cream (or milk, which I used because I was out of cream and didn’t feel like heading back out to the market). Use a whisk to combine the cream into the caramel, heating it over a very low flame until the caramel takes on a smooth consistency. Don’t be afraid to attempt the caramel glaze- the worst that can happen is that you’ll burn 1/4 cup of sugar, and you can always default to a store-bought caramel sauce if need be.

Apple Tart

When the apple tart is finished baking, use a pastry brush to dab the caramel over the apples and any exposed crust.

Apple Tart

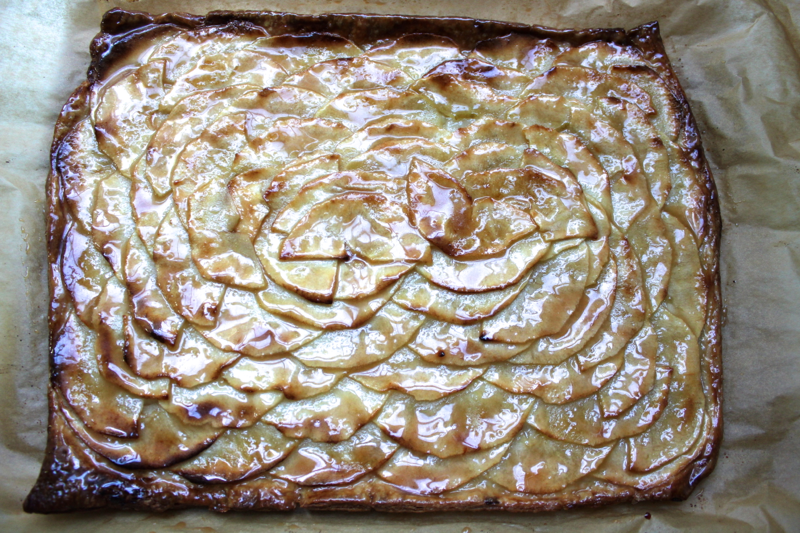
Be careful not to brush the apples too vigorously or else they will shift out of their beautiful pattern. If the caramel hardens before the tart is ready to be brushed, you can whisk it over a low flame until it liquefies again.

Apple Tart

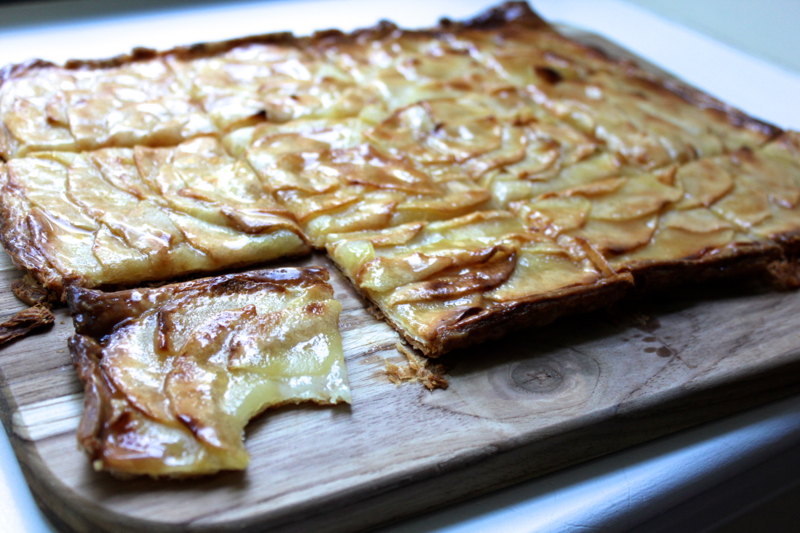
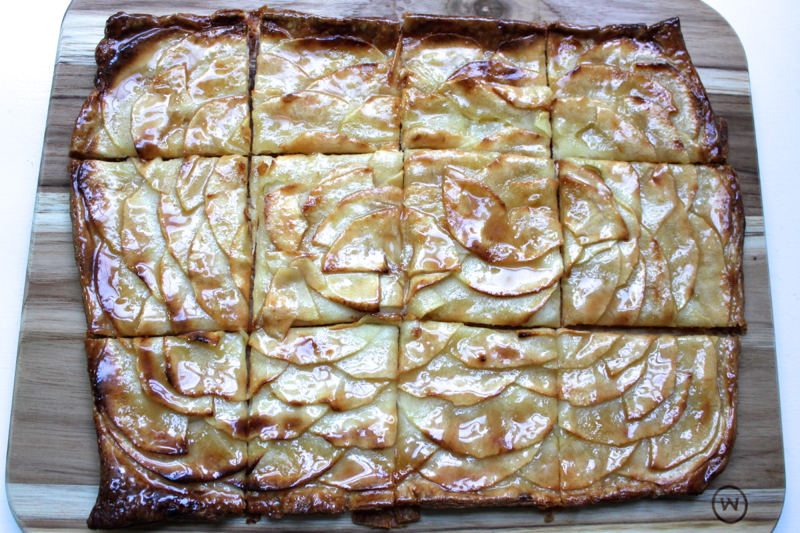
Transfer the apple tart to a cutting board, and use a sharp knife to cut it into pieces. Don’t drag your knife through the tart or else the apples will shift around, so use your knife to press down on your tart rather than saw through it. Although I doubt you’ll be able to resist it for longer, this tart is best eaten within a few hours for maximum crispness. I really love this tart. Would anyone like to participate in an over/under for how much time will pass before I make another? I’m thinking 3 days is a good starting point.

This recipe is adapted from Smitten Kitchen.

Shopping list:

  • Puff pastry- 1 sheet
  • Apples- 3 large
  • Sugar- 1/4 cup plus 2 tablespoons
  • Butter- 4 tablespoons
  • Cream or milk- 2 tablespoons
  • Salt
Print Friendly, PDF & Email

Fall Harvest Mania

Fall Harvest

Along with everyone else who has a Facebook account, I went apple picking this weekend with David and his family. I hope that everyone else had as much fun as we did, because it was one of the best days I’ve had in a long time. As soon as we stepped onto the farm and saw all of the produce that was, literally, ripe for the picking, I became crazed. A devilish twinkle crept into my eye, and I wanted EVERYTHING. Take a guess at how many pounds of apples are in our basket (the answer will be revealed!).

Fall Harvest

The rows upon rows of apple trees were gorgeous. When we pulled up to the farm, I got a little worried that there wouldn’t be anything left for us because it was relatively late in the season and the parking lot was teeming with happy families. The second we arrived at the apple orchards, my fears were allayed. The apple supply was seemingly endless and comprised of all different varieties.

Fall Harvest

We picked cameos, fujis, pink ladies, braeburns, and even some golden delicious. I don’t think I had ever tried a cameo apple before, but they were sweet, juicy, and crisp, as were the rest of the apples. We could have kept on picking, but I set a strict one bucket limit that even my ravenous urges could not overcome.

Fall Harvest

Once we were through with the apples, it was on to the pumpkin patch. That’s where I really went wild. It has been a lifelong dream of mine to pick a pumpkin directly from the patch, getting to cut the vine. Every pumpkin “patch” I have ever visited involved pre-cut pumpkin just plopped down to look pretty. But not here! While there were plenty of pre-cut pumpkins and squash to be had, the cutters didn’t find them all! So we set out to scour the fields and tried to only choose gourds that we could take from the earth ourselves. David snagged an awesome acorn squash, his dad spied the best pumpkin, and I pulled up a very large spaghetti squash (even though I’m not a huge fan of them). All told, we also ended up with a huge butternut squash, a lumpy orange squash that I have yet to identify, and a kabocha squash. I was in HEAVEN!

Fall Harvest

But back to the apples: at checkout time, we discovered that we had picked 27.5 pounds of apples! I had guessed 23.5 pounds, but our closest guesser came in at 25 pounds. What is a girl to do with all of these apples?

Fall Harvest

Well, this girl has some plans. Aside from the apples that we devoured in the car ride home, I have a few surprises for you. I certainly hope that one of them involves apple butter, which was being produced on-site at the farm. They were stirring these big batches up and jarring them right there. I bought a jar from the country store, but I would love to make my own! I hope you’re all apple lovers– get ready for the goodness!

Print Friendly, PDF & Email

Pumpkin Pinwheel Cake

pumpkin cake

If you know me at all, then you should know that I love all things cream cheese. And if you know my mom at all, then you should know that she has ZERO tolerance for following finicky directions. So when she made this pumpkin and cream cheese pinwheel cake and sent me a picture, I drooled. But when she proceeded to make three more cakes to satisfy everyone who clamored for a slice, I was in awe. Upon her urging, I made this pinwheel cake for myself, and, despite its polished appearance, it is quite simple. And the cream cheese swirl is SO delicious!!

pumpkin cake

To make this showstopper, preheat your oven to 350º F. In a bowl, whisk together 3/4 cup of flour, 1/2 teaspoon of baking soda, 1/2 teaspoon of baking powder, 1 teaspoon of cinnamon, and 1 pinch of salt.

pumpkin cake

In a separate bowl, whisk together 3 eggs. Then, whisk in 1 cup of sugar and 2/3 cup of pumpkin purée.

pumpkin cake

Dump the dry ingredients into the wet ingredients, and whisk them together.

pumpkin cake

Grease a 17.25 by 11.5 inch sheet pan. A slightly smaller pan would probably work ok, but a larger one would not. Then, pour the pumpkin cake batter onto the pan, and spread it out into an even layer. My cake batter was spread so thinly that all of my cooking instincts were screaming at me. My instincts were wrong, and the cake turned out just fine.

pumpkin cake

Bake the cake for anywhere from 9-15 minutes until the cake is fully cooked. A toothpick inserted into the thickest part should come out clean. Rip a large sheet of wax paper, and spread it out on a flat surface. In one fell swoop, flip the hot cake over onto the wax paper.

pumpkin cake

Roll the wax paper and the cake up, starting along the cake’s long edge. Put the rolled cake into the refrigerator to cool for about 45 minutes to 1 hour. This process helps the cake take on a rolled shape without breaking.

pumpkin cake

While the cake cools, prepare the cream cheese filling! Using an electric mixer, whisk together 1 brick (8 ounces) of room temperature cream cheese, 6 tablespoons of room temperature butter, 1 cup of powdered sugar, and 1/2 teaspoon of vanilla extract. Taste the cream cheese filling, but use self control to keep from eating it all before it ever meets the cake.

pumpkin cake

When the cake has cooled, unroll it. Dollop the cream cheese filling onto the cake, and spread it in an even layer.

pumpkin cake

Roll the cake back up, starting at the same long edge that was rolled before. Dust the top of the cake with powdered sugar, and then cut it in half. Now you have two, generously-sized cakes!

pumpkin cake

Cut slices of the pumpkin pinwheel cake to enjoy. I like keeping this cake in the refrigerator because I prefer my cream cheese when it is chilled. I also think that a slice would be great toasted in the oven because I prefer my cream cheese when it is warm and melty. I guess I like cream cheese however it comes, so give me another slice of this cake!

Shopping list:

  • Flour- 3/4 cup
  • Baking soda- 1/2 teaspoon
  • Baking powder- 1/2 teaspoon
  • Cinnamon- 1 teaspoon
  • Salt- 1 pinch
  • Eggs- 3
  • Pumpkin- 2/3 cup
  • Sugar- 1 cup
  • Cream cheese- 8 ounces
  • Butter- 6 tablespoons
  • Powdered sugar- 1 cup + more for dusting
  • Vanilla extract- 1/2 teaspoon
Print Friendly, PDF & Email