Cornmeal-Crusted Tilapia with Green Mango Salad, Two Ways!

Tilapia

As I’m sure you’ve noticed, I’ve really been getting into fish. It’s like a whole new world! I am having a great time trying out all of these new techniques and flavors. Although breading and pan frying aren’t new, a cornmeal crust certainly counts as adventure around here. I bought four tilapia filets to serve two people, but it turns out that one filet per person is plenty. I used the opportunity to create two separate meals out of the same two meal components: cornmeal crusted tilapia with Cuban black beans and green mango salad, and cornmeal crusted tilapia tacos with wilted greens and green mango salad. I really cannot decide which version I preferred more…so make both!

Tilapia

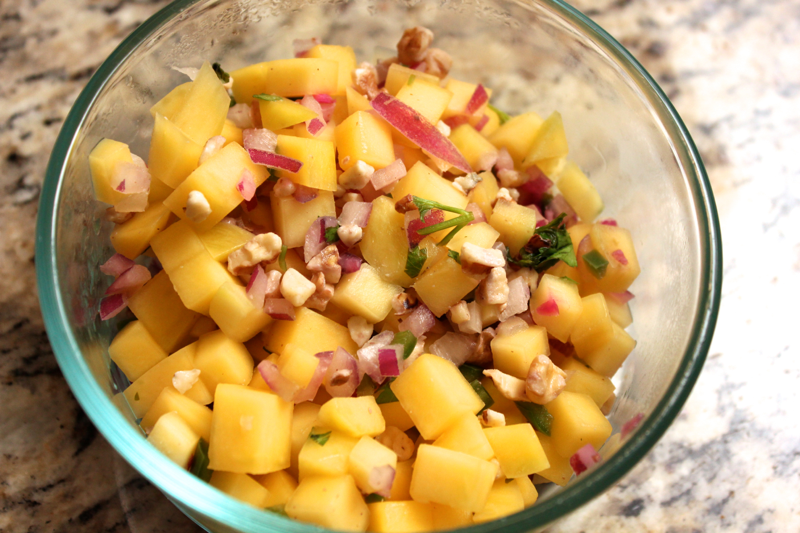
Regardless of which meal you want to make, start out by preparing the mango salad. Get 1 green (unripe) mango, and peel off the skin. Dice the mango into small cubes that are 1 centimeter or smaller. Add the mango to a bowl. Finely dice 1 jalapeño pepper and 1 shallot, and add them to the bowl as well. Mince up about 1 tablespoon of fresh cilantro, and add it to the mango salad along with 2 tablespoons of lime juice. Season the mango salad with salt. Before serving, stir in some toasted walnut or pecan pieces to keep them crisp.

Tilapia

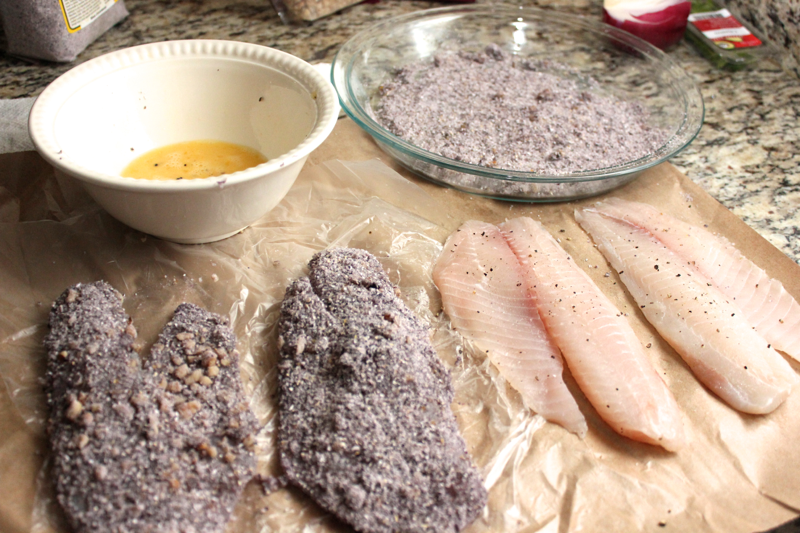
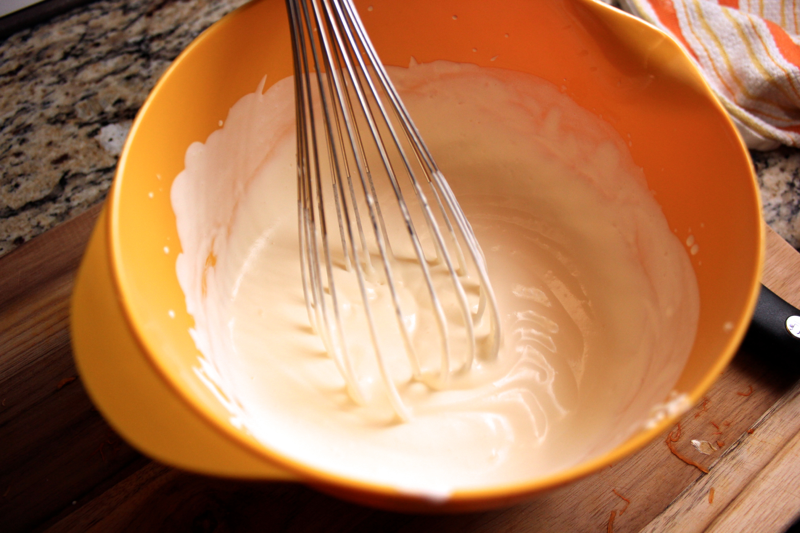
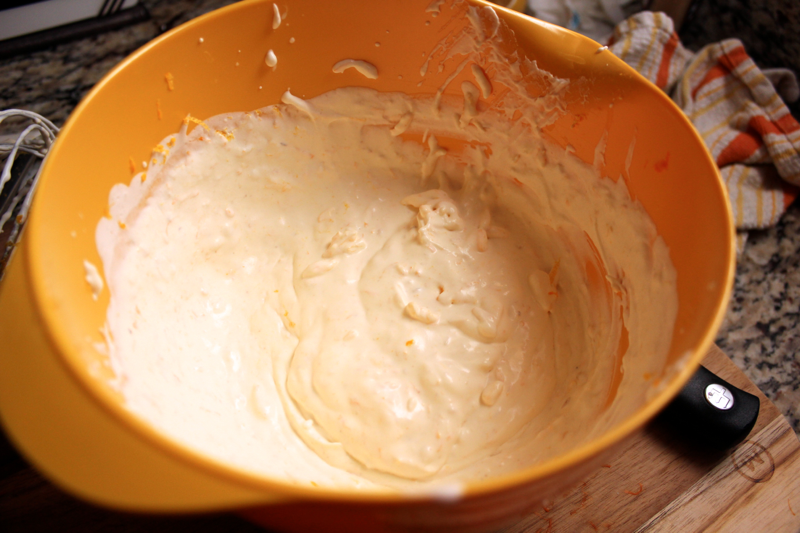
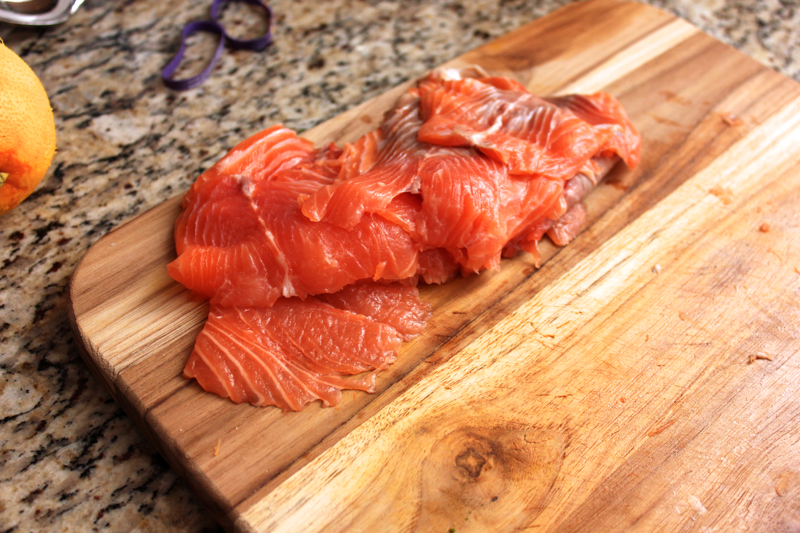
Then, move on to the fish. In a small bowl, whisk one egg. In a shallow dish, pour out some cornmeal and mix in salt and pepper to taste. I happened to have blue cornmeal, so I used that instead of the normal, yellow stuff. Dunk the fish into the egg, let the excess egg drip off, and then coat the fish completely with the cornmeal. I experimented with adding some nuts to my cornmeal crust, but I didn’t think the extra effort was worth it in terms of flavor.

Tilapia

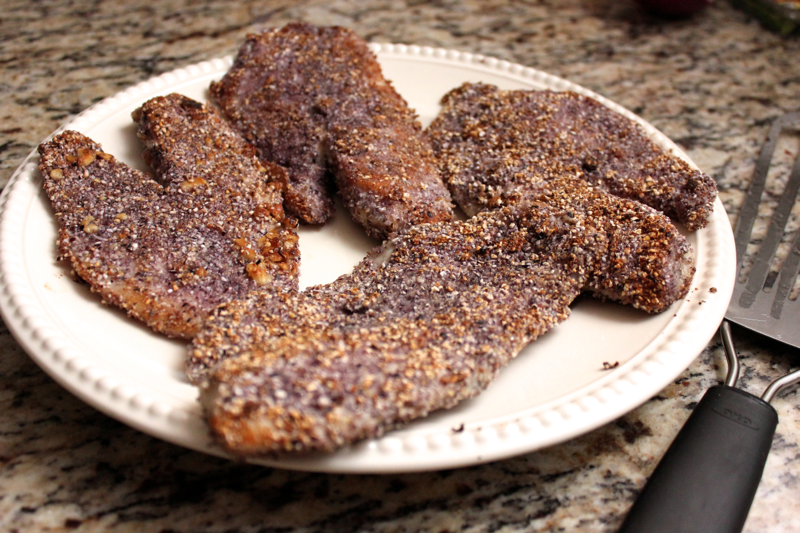
Heat a pan with some oil, and add the tilapia filets. Once you see the fish starting to turn white up around the sides after about 2-3 minutes, flip the filets over and let them cook on the other side until they have firmed up, about another 2 minutes. If you cook the filets in batches like I did, you might have to wipe out your pan between rounds to prevent loose cornmeal from burning up.

Tilapia

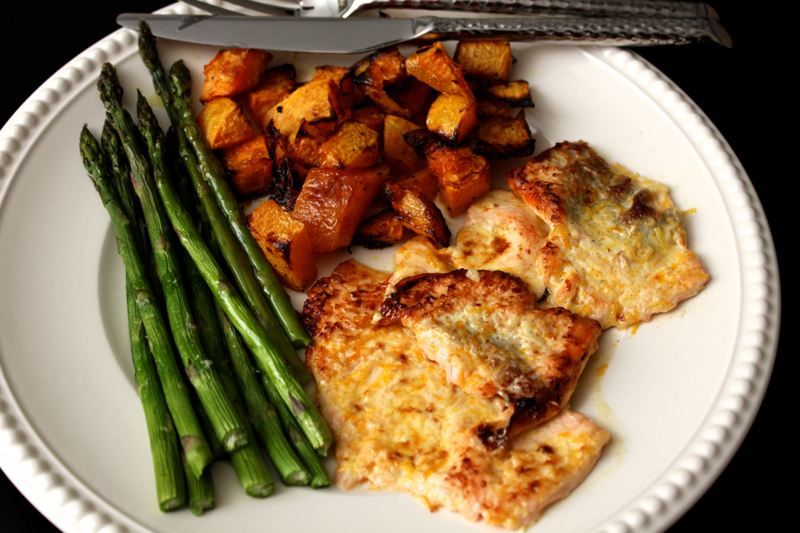
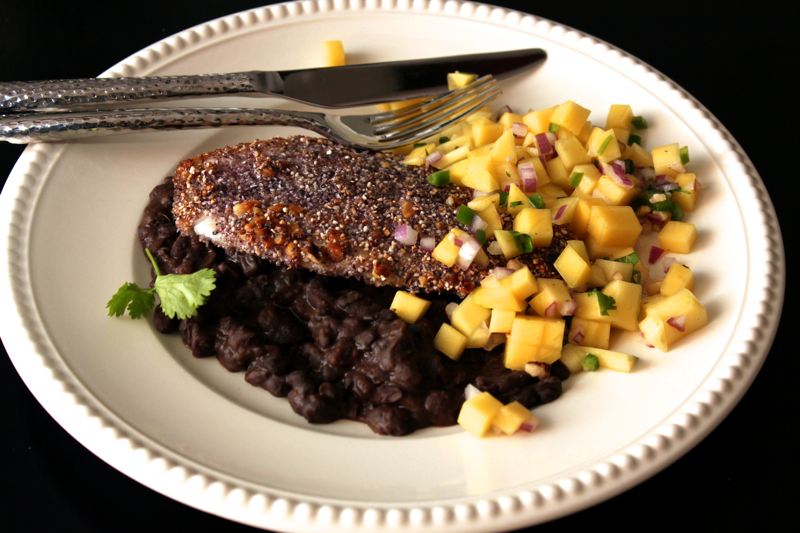
I first served the crusted fish over warm Cuban black beans, sprinkled with a generous helping of the mango salad. The flavors went really well together, and the fish had a wonderfully crunchy texture and a very mild flavor.

Tilapia

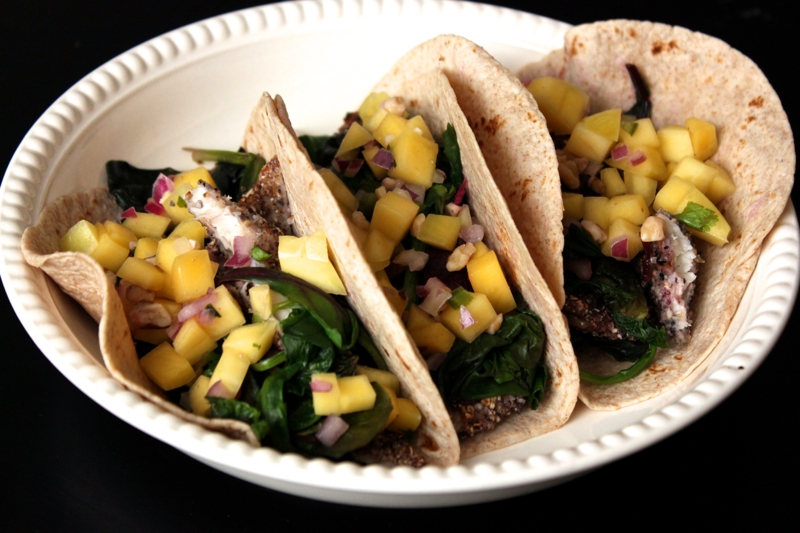
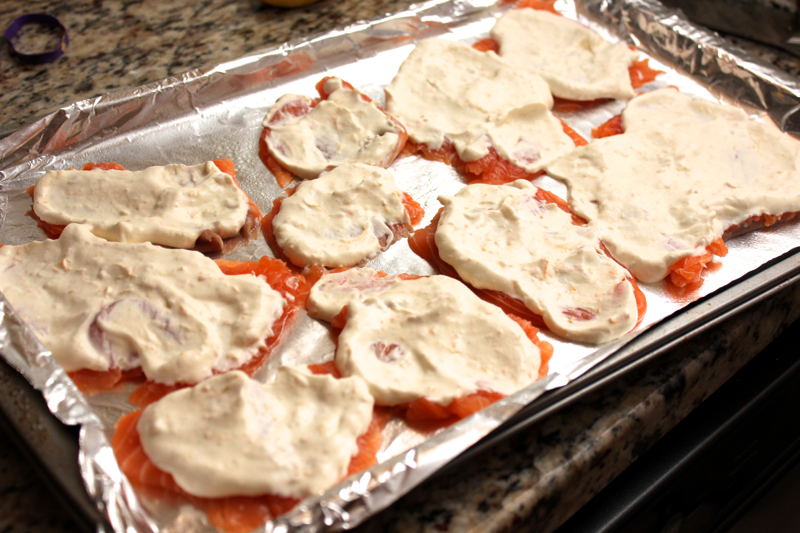
With my leftover tilapia filets the next day, I made fish tacos! I reheated the fish on a baking sheet in a 350º F oven for about 10 minutes until it was warm throughout. I did not want to overcook the fish in the reheating process, however, so it never got as crispy as it was fresh out of the pan. The cornmeal still provided a nice crunch though.

To make the tacos, begin by adding a few tablespoons of water to a pan and heating it over a low flame. Add in 4 cups of field salad greens (it will look like a lot, but go with it), and put a lid over the pan. After a few minutes, the salad greens should have wilted down. Stir them until they come together, and then set the greens in a strainer to drain. Wrap a stack of smaller tortillas in tin foil (I prefer flour tortillas), and put them in a 350º F oven for about 5 minutes to warm through. Once they are warm, place some of the drained greens down the center of each tortilla. Slice the crusted tilapia into 1 inch strips, and add the fish on top of the greens. Top the fish with a healthy sprinkling of the mango salad. Squeeze fresh lime juice over the taco fillings, and add hot sauce if you like extra heat. Some creamy avocado would also be a welcome addition. Fold those tacos over and scarf them down. I really enjoyed the earthy flavor of the salad greens with the crunchy fish and refreshing mango. This meal did not feel like leftovers.

Shopping list:

Tilapia:

  • Tilapia filets- 1 per serving
  • Egg- 1
  • Cornmeal
  • Salt and pepper
  • Oil

Mango salad:

  • Green (unripe) mango- 1
  • Jalapeño- 1
  • Shallot- 1
  • Cilantro- 1 tablespoon, chopped
  • Lime- 1
  • Salt

Other meal components:

  • Tortillas
  • Field salad greens- 4 cups
Print Friendly, PDF & Email

Broiled Salmon with Horseradish and Orange Cream

Salmon cream

I have never seen fish prepared this way before, but it should be done more often! The cream is whipped until it is spreadable, then it is spiked with aromatics, spread on thinly sliced fish, and quickly broiled until the cream is browned and the fish is fully cooked. The whole shebang is prepared in a flash and is so delicious that it’s eaten that quickly too. I flavored the cream with orange zest and horseradish, but other flavor combinations are begging to be tried.

Salmon cream

To make this dish for 3 people, get about 1 pound of salmon and 1/4 pint of cream. Pour the cream into a bowl, and whisk it aggressively until it becomes thickened and spreadable. You should just be able to hold your whisk marks in the cream. If you over-whip the cream so that it becomes stiff, you can whisk in some extra fresh cream to soften it back up.

Salmon cream

Season the cream with salt, orange zest, and grated horseradish. You can buy a whole horseradish root and grate it in or use the stuff from a jar. Taste the cream, and adjust the seasonings accordingly.

Salmon cream

Using a very sharp knife, slice the salmon filet on the diagonal into thin slices. I have also used this method to cook sea bass before, and it was delicious as well!

Salmon cream

Preheat your oven’s broiler. Then, lightly grease a sheet pan, and lay the salmon slices out in an even layer. Spread each salmon slice with some of the cream.

Salmon cream

Put the pan under the preheated broiler, and let the fish cook until the cream begins to brown, which should only take a few minutes. Watch the cooking process carefully so that you don’t let the fish burn. Watching the broiler always makes my contacts dry out, so keep eyedrops handy if you need them! Because the fish is sliced so thinly, it should be done by the time the cream browns. Remove the pan from the oven, and serve that fish up! I enjoyed eating it with roasted asparagus and butternut squash for a warm winter meal. Have you ever seen fish served like this before? I love it!

Shopping list:

  • Salmon filet
  • Cream
  • Orange
  • Horseradish
  • Salt
Print Friendly, PDF & Email

Red Wine Poached Pears

Pears

Poached pears with ice cream are my new obsession. They are simple to make, delicious to eat, and they lend themselves to an infinite number of variations. Pears poached in spiced red wine are classic and perfect for the holiday season. I’ve had them three times this month: once in my cooking class, once from my friend at our Global Supper Club, and then I made them for Christmas Eve. These pears are the perfect dessert after a heavy meal, served over vanilla ice cream with the red wine syrup spooned over the top.

Pears

I love making this dessert with tiny seckle pears, each of which serve 1 person. I couldn’t find them for Christmas Eve, so I used bartletts instead. Each large pear serves 2 people. To begin, peel each pear completely. If you leave any skin on, the pear will have a white spot where the wine does not penetrate. Halve the pears from top to bottom, and remove the cores and stems.

Pears

To a pot, add 4 cups of red wine. Use a wine that is less expensive but still one that you’d drink. Also, 4 cups is slightly more than 1 bottle. Add 1.5 cups of sugar to the pot along with the spices: 2 cinnamon sticks, 2 star anise, 1 tablespoon of peppercorns, and 1/2 tablespoon of cloves. Bring the liquid to a boil, and stir it to dissolve the sugar.

Pears

Once the sugar is dissolved, add the pears to the pot, and reduce the liquid to a simmer. Put a lid on the pot, and cook the pears until they can be easily pierced with a knife. The knife should go in and come out without any effort. The time it takes to cook the pears will depend on their size, but the large ones I used cooked in about 30-40 minutes.

Pears

When the pears are cooked, remove them from the wine so they don’t over-cook. Raise the heat on the wine, letting it boil until it reduces into a thicker syrup.

IMG_4990

Let the syrup cool completely, remove the spices, and then transfer the syrup into a container with the pears. Store them in the refrigerator. These pears are great for making ahead of time, even by a few days.

Pears

Reheat the pears and syrup before you are ready to serve them. Scoop out a bowl of vanilla ice cream, and top it with a pear and some syrup. The warmth of the pears is a perfect contrast to the cold ice cream, and I love when the deep purple begins to swirl. And the smell is just heavenly!

Shopping list:

      Pears


      Red wine- 4 cups


      Sugar- 1.5 cups


      Cinnamon sticks- 2


      Star anise- 2


      Peppercorns- 1 tablespoon


    Cloves- 1/2 tablespoon
Print Friendly, PDF & Email