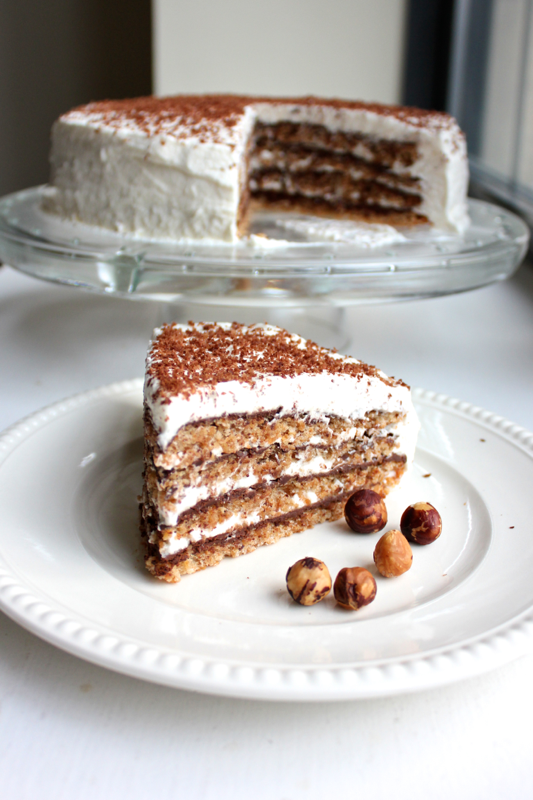
I was tasked with bringing dessert to this year’s Passover seder, and I racked my brain about what to make. Fruit and ice cream– too boring. A fruit crumble– nice, but fine for any time of year. Macarons– delicious, but more of a snack. Then I started thinking about macaron cakes and saw a fancy pistachio and strawberry recipe from Ladurée- too time consuming. Then, I found this winner from Smitten Kitchen. Large macarons made from hazelnuts instead of almonds aren’t as refined as the typical macaron, but stacked with dark chocolate and whipped cream into a layer cake, these macarons find glory. This cake is beautiful, textural, and really delicious.
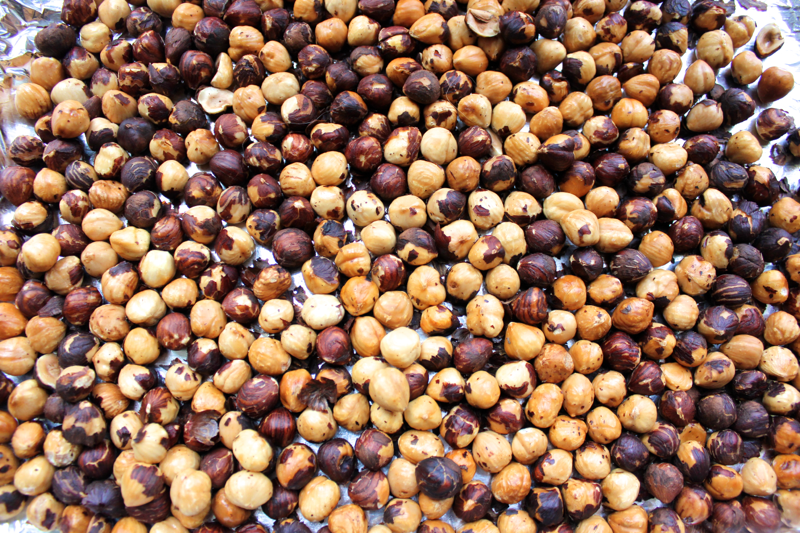
To make it, begin by roasting 12 ounces of hazelnuts in a 350º F oven for about 10 minutes until they are golden and fragrant. Let the nuts cool, and then pick up a handful and rub off their skins. Deposit the skinless hazelnuts into the bowl of a food processor. Getting the skins off of the hazelnuts as best as I could was, by far, the most difficult, tedious, and messy part of making this cake. If anyone wants to make the cake without removing the hazelnut skins and report back on the outcome, it would be greatly appreciated. I’ll try it next time.
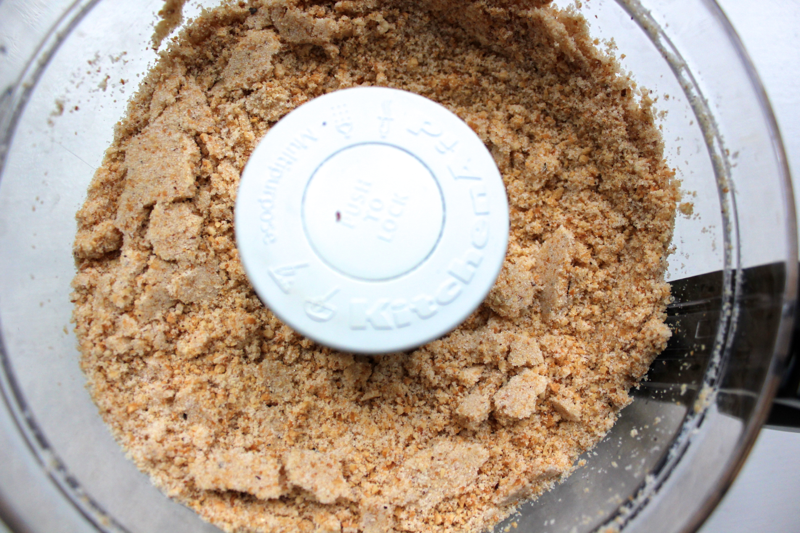
Add 1 cup of sugar and 1/4 teaspoon of salt in with the hazelnuts, and run the food processor until you have a fine, sandy texture.
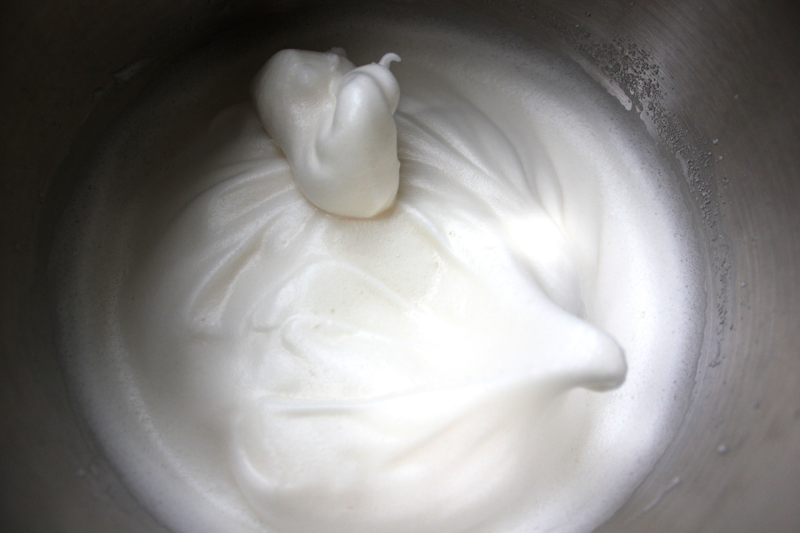
In a large mixing bowl, whisk 6 large egg whites until they hold soft peaks. Then, while whisking, pour in 2 tablespoons of granulated sugar and 1 teaspoon of vanilla extract. Continue whisking the eggs until they hold stiff peaks. While the eggs whisk, rip off 4 sheets of parchment paper and trace an 8-inch circle on each of them. I traced around a cake pan. Turn the parchment over so your eggs don’t touch the marker/pen, and lightly grease the whole circle.
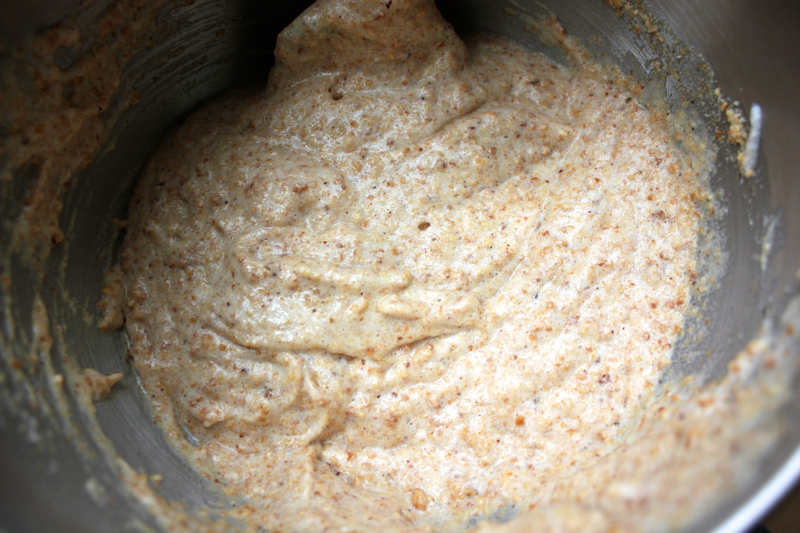
Pour 1/3 of the hazelnut sand into the egg whites, and begin folding it in. When it’s somewhat incorporated, add another third of hazelnut sand, and repeat until all of the hazelnuts are incorporated into the egg whites. When you drop a dollop of the egg mixture back into the bowl, it should briefly hold its shape and then melt into the rest of the mass. It shouldn’t be too firm or too runny.
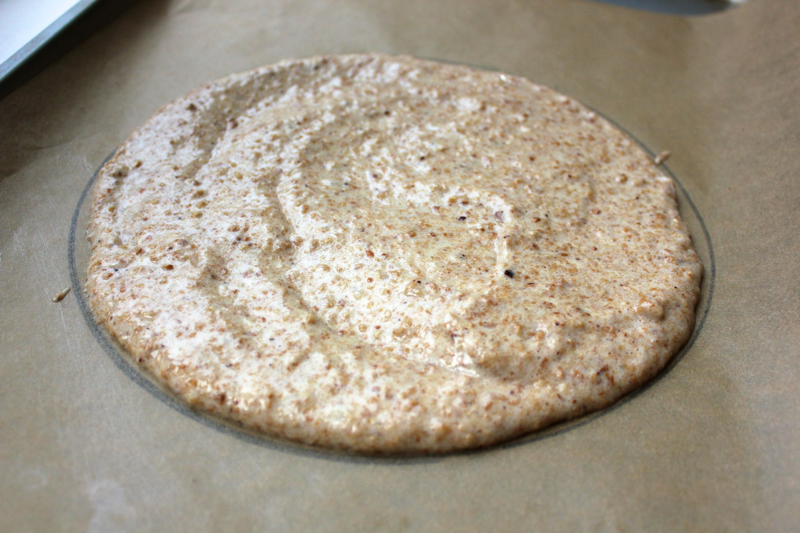
Divide the egg mixture into fourths, and spread it into a disk on each of the parchment circles. It doesn’t have to be perfect because the macarons will be covered in whipped cream. Set your oven’s temperature to 325º F. While the oven adjusts, let the mixture rest on the parchment paper for about 10 minutes so it has a chance to form a skin, which will help it keep its shape later.
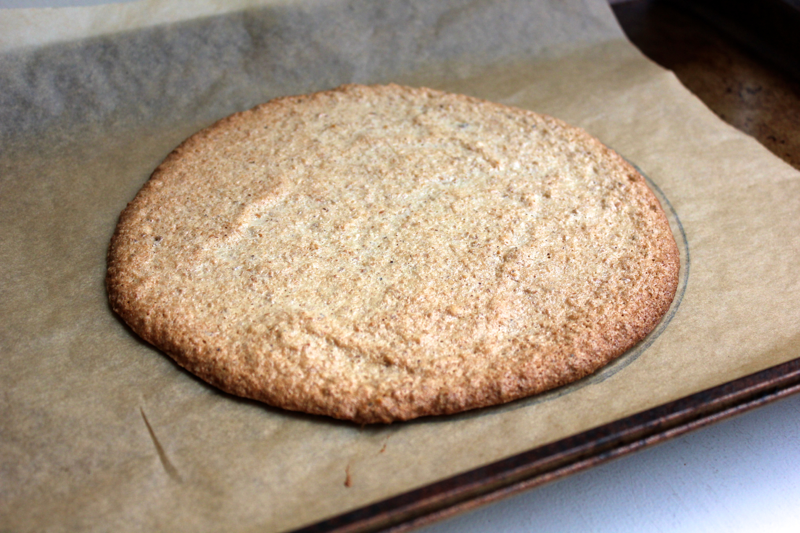
Put the parchment paper on baking sheets, and put the baking sheets into the oven. I was able to fit all 4 of mine into the oven at once, but you could bake them in batches if you need to. Let the macarons bake for about 20 minutes until they are dry to the touch and golden brown.
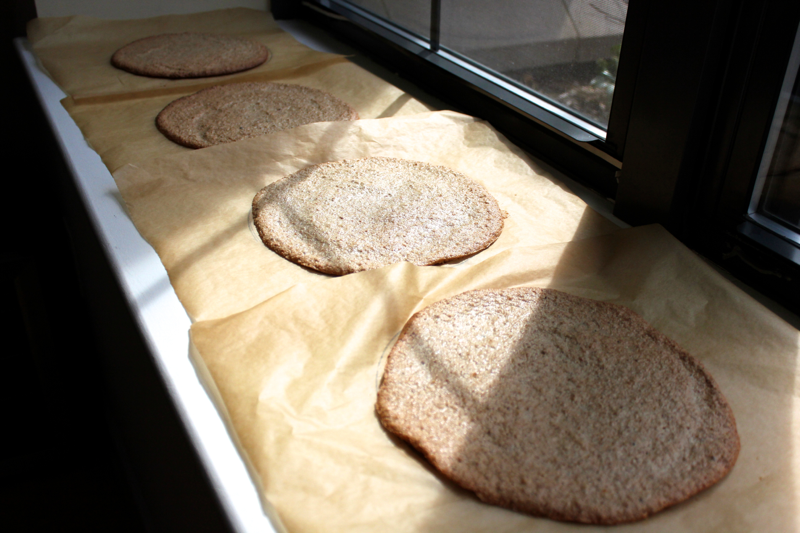
Set the macarons to cool off of the baking sheets.
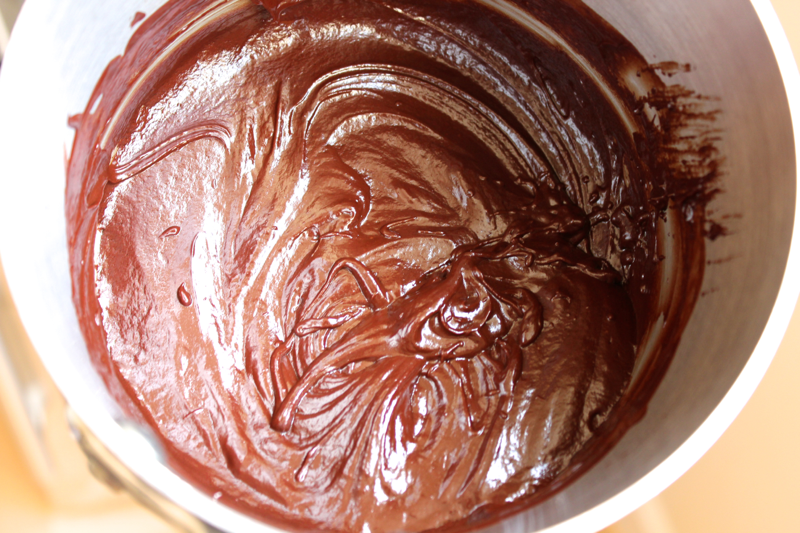
Meanwhile, add 3 ounces of dark chocolate to a small pot, along with 1/4 cup of water and 1 teaspoon of instant coffee. Heat the pot, whisking the chocolate until it is smooth. Remove the pot from the heat, and add in another 3 ounces of dark chocolate, which will help the chocolate mixture cool down for spreading. Whisk the mixture until it is smooth again.
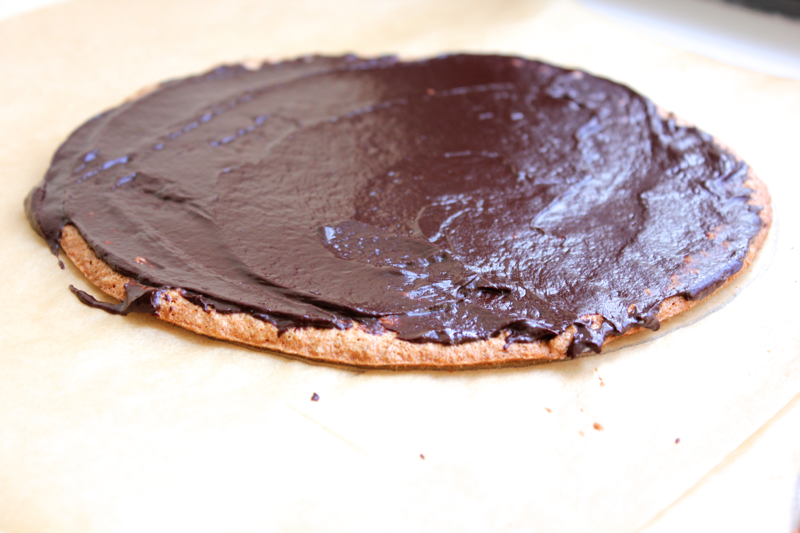
Using an offset spatula, spread 1/4 of the chocolate mixture over each of the macaron disks. Let the chocolate cool and harden. To speed up the process, you can put the macaron disks into the fridge. My fridge couldn’t accommodate them all at once, so I just put one in while I made the whipped cream.
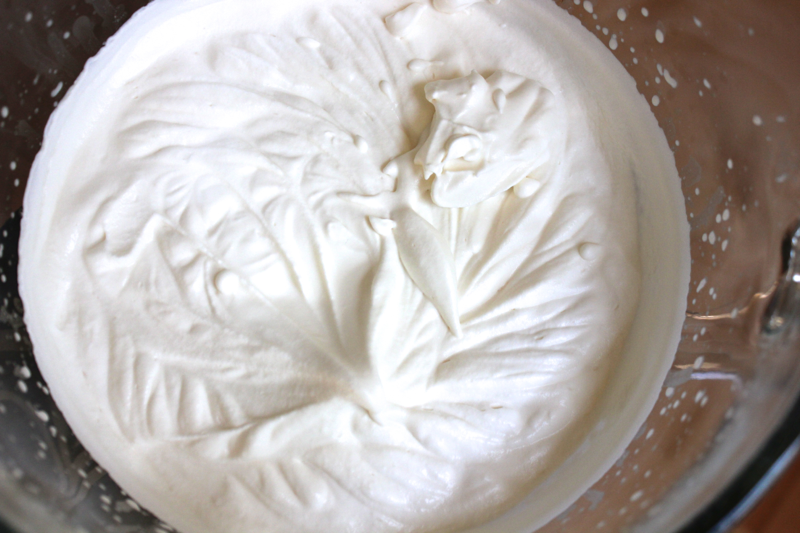
To a large mixing bowl, add 1 pint of heavy cream, 3 tablespoons of granulated sugar, and 1 teaspoon of vanilla extract. Using a clean whisk (wash off those egg whites!), beat the cream until it holds stiff peaks. If you’re a chocolate fiend, you could make chocolate whipped cream by whisking in 1/4 cup of cocoa powder as well. This whipped cream is so delicious on its own- try not to finish it off before it reaches the cake.
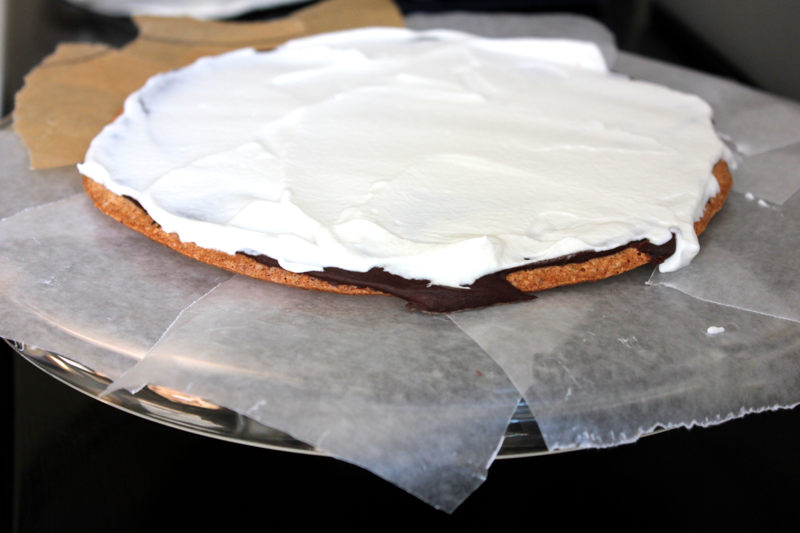
Remove the chilled macaron from the fridge, and put another macaron in to chill. Get out a cake stand or plate. Carefully peel the parchment paper away from the macaron. It will likely be somewhat tacky. Place the macaron on the cake stand. Then, rip up some pieces of the peeled off parchment paper, and tuck them under the macaron to keep your plate clean while you assemble the cake. Spread about 1/2 cup of the whipped cream over the chocolate on the macaron using an offset spatula. Remove the next chilled macaron from the fridge, peel off the paper, and stack the macaron on top of the first one. Cover it with whipped cream, and repeat the process until you have 4 stacked layers.
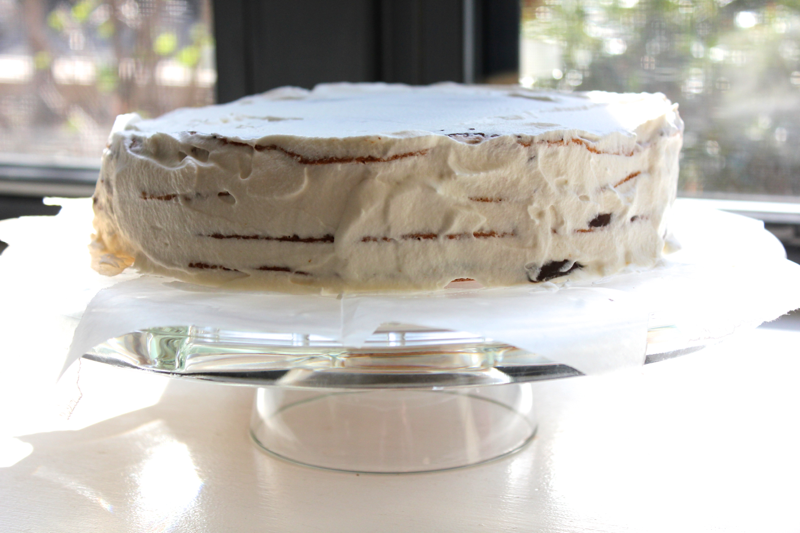
Use the whipped cream to fill in the gaps on the sides of the macaron stack.
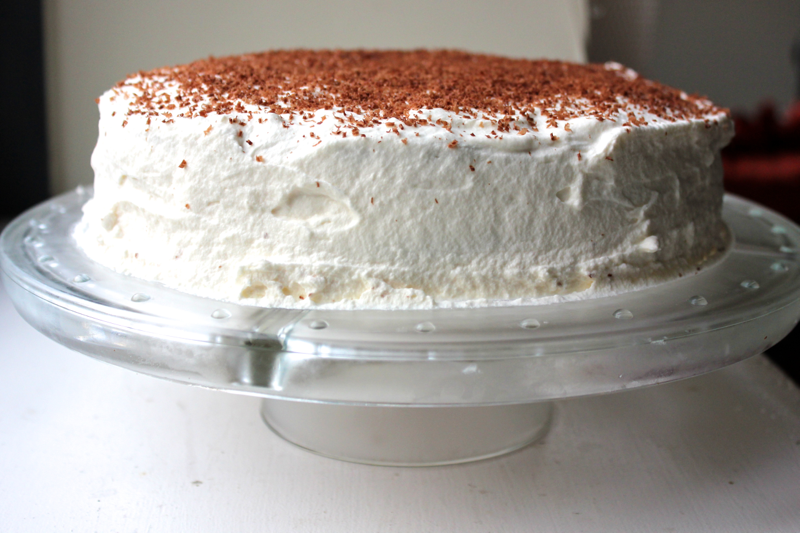
Then, use the rest of the whipped cream to frost the cake and make it pretty. Dump all of the whipped cream on the top of the cake, and use your spatula to push it down and around the sides. Use a grater or vegetable peeler to sprinkle some chocolate shavings over the top of the cake. Remove the parchment paper from the cake plate.

Your cake is now ready to serve or store in the refrigerator! I covered the cake plate with a dome and kept it in the fridge for 1 day until I served it. The storage time had no impact on the cake at all. This cake is best served slightly chilled, so remove it from the refrigerator about 20 minutes before slicing it. When you do slice it, you’ll get quite a visual treat. Those contrasting layers are so pretty! This cake easily serves 12. Serve with a scoop of chocolate or coffee ice cream. The hazelnut flavor is delicious, and the texture of the nuts plays well against the smooth whipped cream and slightly hardened chocolate. I can’t wait to make this cake again!
This recipe is from Smitten Kitchen.
Shopping list:
- Hazelnuts- 12 ounces
- Sugar- 1 cup + 5 tablespoons
- Salt- 1/4 teaspoon
- Eggs- 6 large
- Vanilla extract- 2 teaspoons
- Cooking spray
- Chocolate- 6 ounces + garnish
- Instant coffee- 1 teaspoon
- Heavy cream- 1 pint