Refreshing Carrot Salad

Refreshing Carrot Salad

This is the perfect salad to make when you need a refreshing side dish but have a very sparse pantry. I was making crêpes complète (buckwheat crêpes filled with ham, gruyère, and a runny egg) and knew I would need a bright side salad, something with lemon, to cut through the richness. But I had no salad greens, and the only supermarkets within walking distance of my new home are grossly expensive. I always keep a package of carrots in my refrigerator, so I turned to those. And then I ended up cooking a meal completely out of David Lebovitz’s My Paris Kitchen with his grated carrot salad. It’s exactly the salad that my crêpes required, and I’ve eaten it with a bunch of other delicious meals since.

Refreshing Carrot Salad

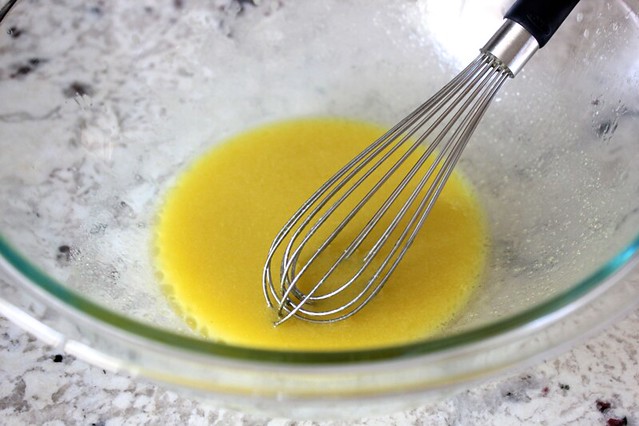
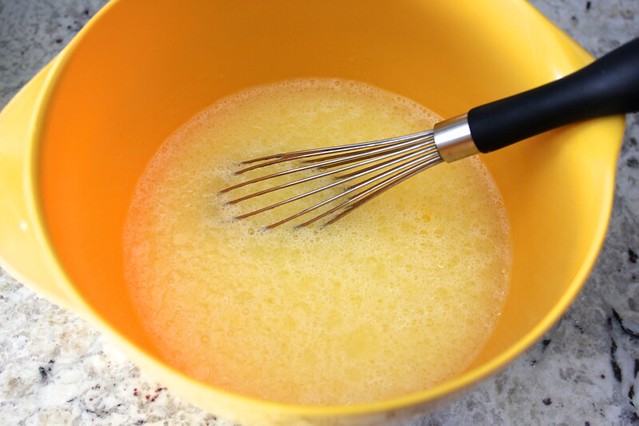
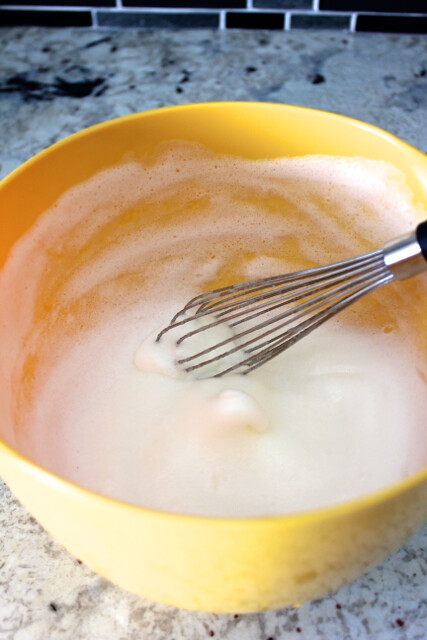
To make it, prepare the dressing. To a large bowl, add 1/4 cup of olive oil, 2 tablespoons of lemon juice, 1/2 teaspoon of sea salt, 1 teaspoon of dijon mustard, and 1/2 teaspoon of sugar. Rapidly whisk those ingredients together very well. The olive oil should emulsify into the other ingredients so that they stay blended together and the oil does not separate.

Refreshing Carrot Salad

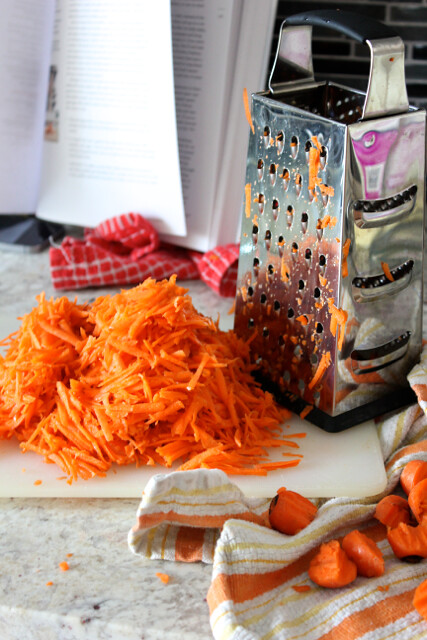
Then, grate 1 pound of carrots on the large holes of a box grater or using a food processor’s grating attachment. My cookbook is now lovingly splattered with carrot juice (my copy of Julia Child’s Mastering the Art of French Cooking is similarly splattered with red wine).

Refreshing Carrot Salad

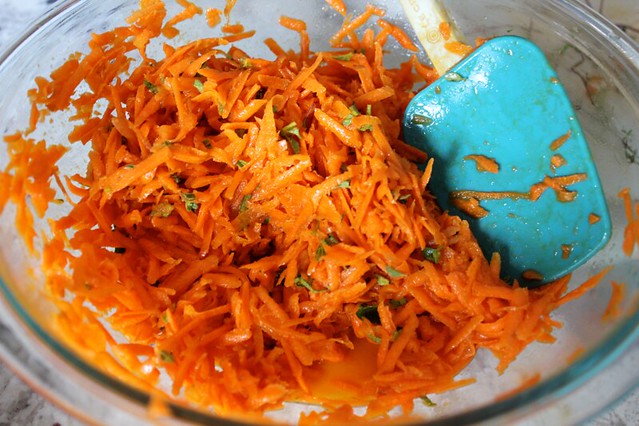
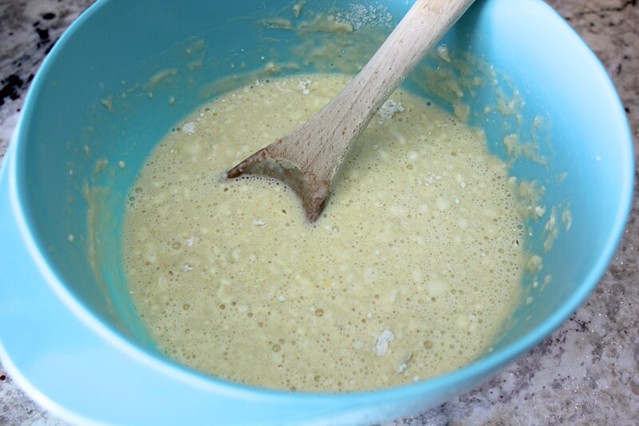
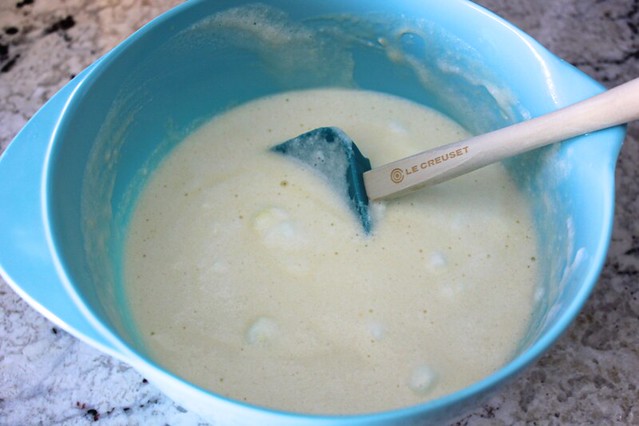
Add the carrots into the bowl. Chop 1.5 tablespoons of fresh herbs, and add those to the bowl as well. I used a mixture of thyme and oregano. David Lebovitz recommends parsley, chervil, or chives. Toss everything together, taste the carrots, and add more salt if needed.

Refreshing Carrot Salad

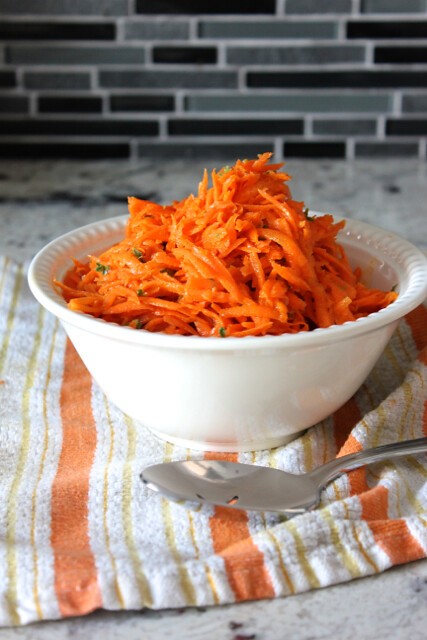
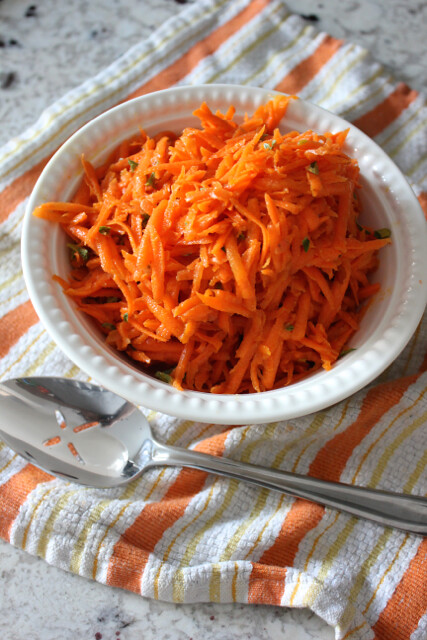
This salad is even more delicious served the next day after the carrots have had a chance to soak up the dressing and release their own juices. It’s delicious served as a side with charcuterie and cheese. It’s also delicious piled on a panini and grilled. This recipe is a winner and absolutely perfect for summer.

Shopping list:

  • Carrots- 1 pound
  • Olive oil- 1/4 cup
  • Lemon juice- 2 tablespoons
  • Salt- 1/2 teaspoon
  • Dijon mustard- 1 teaspoon
  • Sugar- 1/2 teaspoon
  • Fresh herbs (thyme and oregano)- 1.5 tablespoons, chopped, in total
Print Friendly, PDF & Email

Savory Roasted Chickpeas

Savory Roasted Chickpeas

I have made these chickpeas with such enthusiasm for so long that I should have shared them with you long before. You know how much I love candied chickpeas, but this savory version is even easier to make. I frequently sprinkle them on top of loose and saucy dishes, and we sometimes eat them as a regular side dish. They are crispy and satisfying, delicious, nearly effortless to prepare, and kind of addicting. And if you have any leftovers, they also make a crave-worthy snack! I always keep a can of chickpeas in the pantry to make these when the mood strikes.

Savory Roasted Chickpeas

These chickpeas are especially convenient when you’re heating your oven for another purpose. 400° F works best, but up to 450° F is fine. As your oven heats, drain and rinse your chosen quantity of chickpeas. Dry them very well. Don’t try to remove the chickpea skins- any that loosen get extra crunchy and delicious in the oven.

Savory Roasted Chickpeas

Add the chickpeas to a baking sheet, or my personal favorite, a cast iron skillet. Drizzle the chickpeas with oil (about 2 tablespoons per 1.5 cups of chickpeas) and the seasonings of your choice. I like an herb-infused grape seed oil with sea salt and black pepper. Other delicious combinations are olive oil with salt and smoked paprika or olive oil with thyme and lemon zest. Get creative! Chickpeas in chicken fat, which I have tried before, are a bit too decadent. Shake the chickpeas around so they are evenly coated.

Savory Roasted Chickpeas

Roast the chickpeas for 20-30 minutes, shaking them around about half way through and then again every 5 to 10 minutes later. The cook time will depend on your oven’s temperature, but the chickpeas are done when they are golden brown in spots and make a scratching sound on your pan when you shake them. I prefer taking the chickpeas out of the oven while they still have a little bit of softness to them so that they have crispy outsides and chewy centers. Crispy all the way through is pretty good too, though more as a snack than a side dish.

Savory Roasted Chickpeas

You could finish the chickpeas with additional seasonings, like fresh herbs, lemon juice, or other mix ins. I can’t wait to hear about the combinations you come up with. These chickpeas are so simple to make, you should seize the opportunity to experiment deliciously!

Shopping list:

  • Chickpeas- 14 ounces
  • Oil- 2 tablespoons
  • Salt and pepper
  • Optional herbs, spices, etc.
Print Friendly, PDF & Email

Classic Pantry Waffles

Classic Pantry Waffles

Most of the reasons why I was excited to find a real house involved the kitchen. A gas oven. Natural light for taking pictures. Storage space for all of the appliances I never could justify hoarding before. Fortunately, our new home meets these criteria, even if the basement is rapidly filling with shelves of serving dishes, grilling accessories, and…appliances that I can just barely justify hoarding. A waffle maker made the cut, and photographing my breakfast bounty bathed in natural light has reinvigorated my desire to cook, snap, and share.

Classic Pantry Waffles

There was a time in college when I ate a lot of Eggos, toasted to a crisp in the oven. These waffles taste very similar, and given my yet to be replenished stock of standby food items, can be made from everything you probably already have in your pantry. There’s no need to go find buttermilk or let this dough rise. Just get a medium bowl, and whisk together 2 egg yolks (crack the whites into a seaparate large bowl), 1 3/4 cups of milk, and 1/2 cup of vegetable oil.

Classic Pantry Waffles

In another large bowl, combine 1 3/4 cups of all-purpose flour, 1 teaspoon of baking powder, and 1/4 teaspoon of salt. Pour in the egg yolk mixture, and stir it together using a spatula until it is just combined.

Classic Pantry Waffles

Turning to the large bowl with 2 egg whites, use a clean whisk to beat them until they hold soft peaks. You could use an electric mixer for this step, but an arm workout is always a good way to ready yourself for a waffle breakfast.

Classic Pantry Waffles

Add a dollop of the egg whites to the batter, and mix it in. Pour in the rest of the egg whites, and gently fold them in until they are just combined.

Classic Pantry Waffles

Pour the batter into a heated waffle iron, and let the waffles cook until they are golden brown. This step took 5-6 minutes in my waffle maker. I used that time to admire new baby Rue. She keeps me company in the kitchen. Don’t be fooled by her cuteness, she’s an energetic little devil. Stella appreciated having a break from getting her snout chewed.

Classic Pantry Waffles

One of my favorite parts about waffles is the crispy edges. When I’m the cook, I get them all to myself.

Classic Pantry Waffles

I can’t get enough of the natural light in this kitchen. While you’re making batches of waffles, the already-made ones can sit on a cooling rack to stay crisp, or they can hold in a very low-temperature oven. Alternatively, if they get a little limp, you can stick them in a toaster just before serving.

Classic Pantry Waffles

I served these waffles topped with sweet summer peaches and vanilla bean-infused maple syrup. So delicious! Any remaining waffles freeze perfectly and can be toasted individually for subsequent breakfasts or late-night snacks like in my college days.

This recipe is adapted from Serious Eats.

Shopping list:

  • Eggs- 2
  • Milk- 1 3/4 cups
  • Vegetable oil- 1/2 cup
  • All-purpose flour- 1 3/4 cups
  • Baking powder- 1 teaspoon
  • Salt- 1/4 teaspoon
Print Friendly, PDF & Email