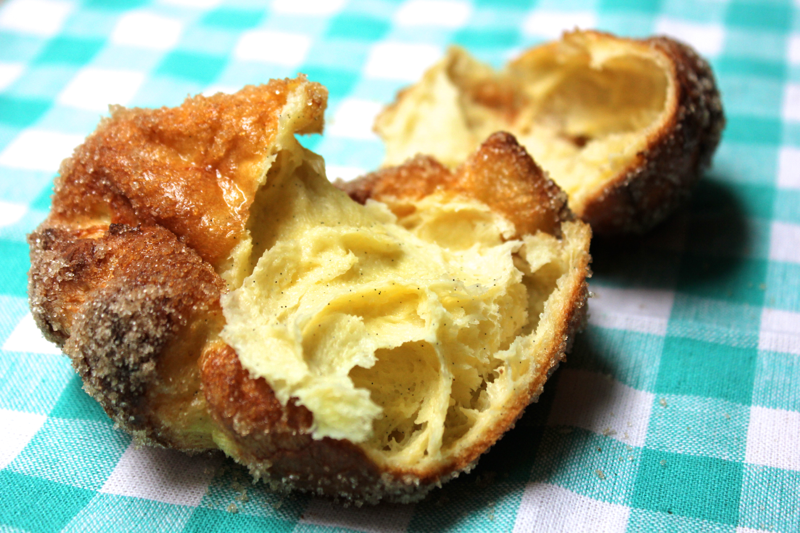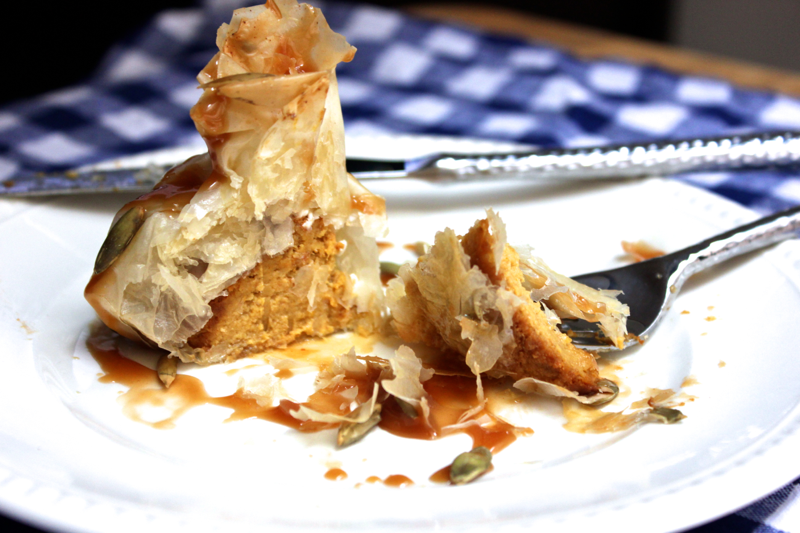
Three bourbon pumpkin cheesecakes wrapped in crispy, phyllo dough purses, drizzled with bourbon salted caramel and topped with pumpkin seeds. It’s not quite what you imagine when you order “pumpkin cheesecake” off of a menu, but it’s similar to what Blue Duck Tavern brought to my table several years ago when I did just that. I was astounded. It was the best cheesecake dessert I had ever eaten, and despite being absolutely stuffed from my meal and intending to share with David, I ate the whole thing myself. I told the waiter it was the best thing I had ever eaten, and I meant it. Despite my high praise, Blue Duck Tavern has changed pastry chefs since then, and I never saw pumpkin cheesecake on their menu again. I knew I’d eventually have to recreate it, but I had trouble wrapping my mind around the task. Now this cheesecake masterpiece is back and it’s perfect. Impressive and delicious. Glory in every bite is surely worth the effort (but some shortcut options are included too)!
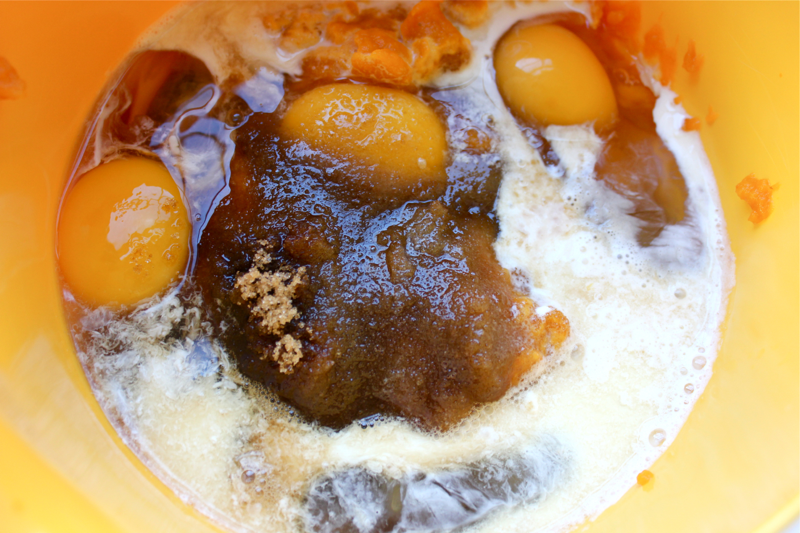
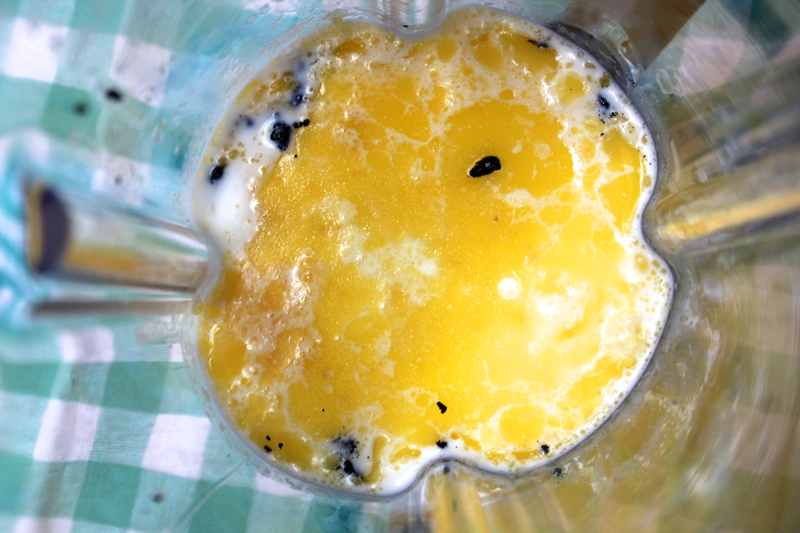
Shortcut #1: buy a cheesecake. Aside from the required chilling time for homemade cheesecake, the recipe that follows is very simple. To make it, bring 3 bricks of cream cheese (8 ounces each) to room temperature. Then, get a medium-sized bowl and whisk together 1.5 cups of pumpkin purée, 3 eggs, 1/2 cup of brown sugar, 2 tablespoons of heavy cream, 1 tablespoon of bourbon, and 1 teaspoon of vanilla extract.
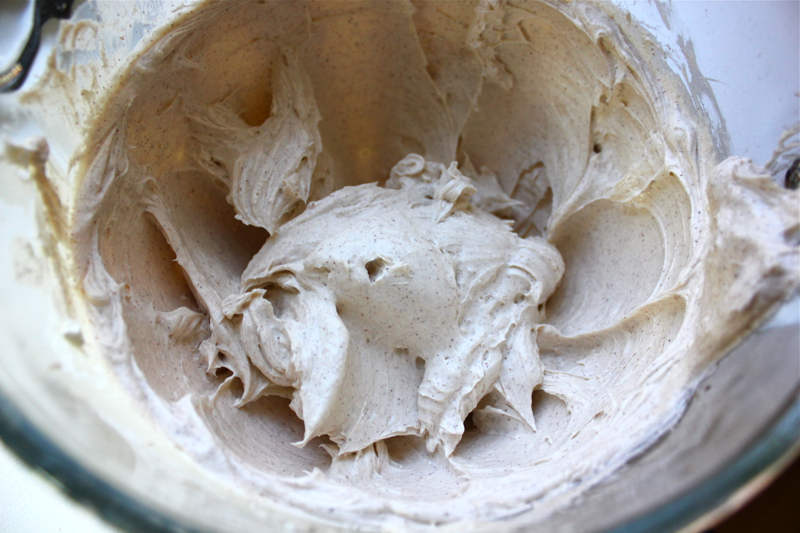
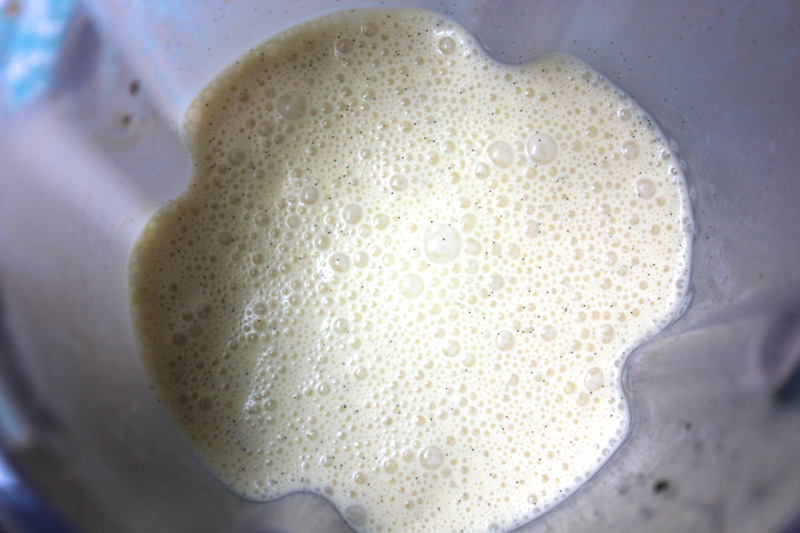
Preheat your oven to 350º F. To a large bowl (use the bowl of a stand mixer if you have one), stir together 1/2 cup of white sugar, 1 tablespoon of cornstarch, 1.5 teaspoons of cinnamon, 1/2 teaspoon of nutmeg, 1/2 teaspoon of ground ginger, and 1/2 teaspoon of salt. Then, add in the 3 bricks of room-temperature cream cheese. Beat the cream cheese on high until it is very smooth and well-combined with the other ingredients (about 2 minutes).
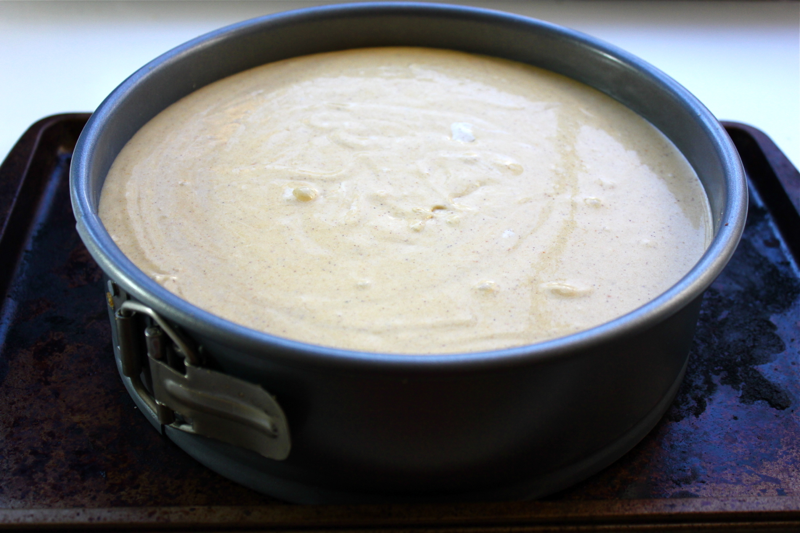
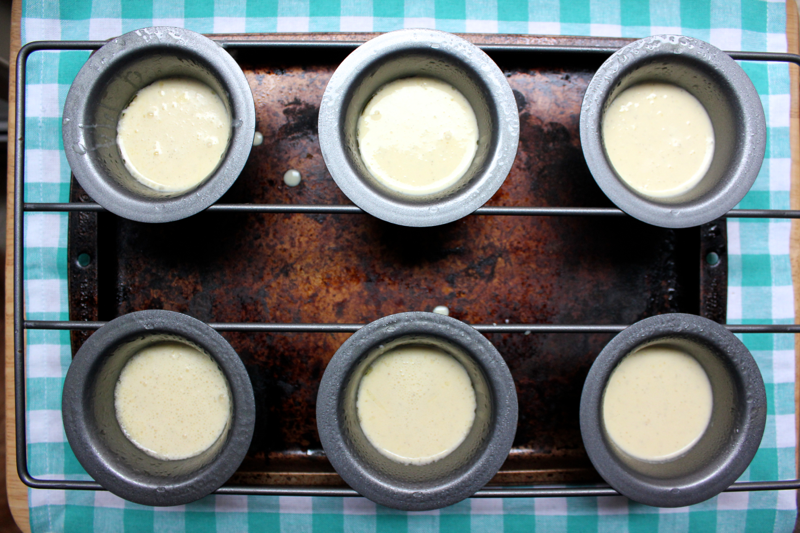
Add the pumpkin mixture to the cream cheese mixture, and beat them together until they are fully combined. Pour the cheesecake batter into a springform pan, and give it a jiggle to even out the batter.
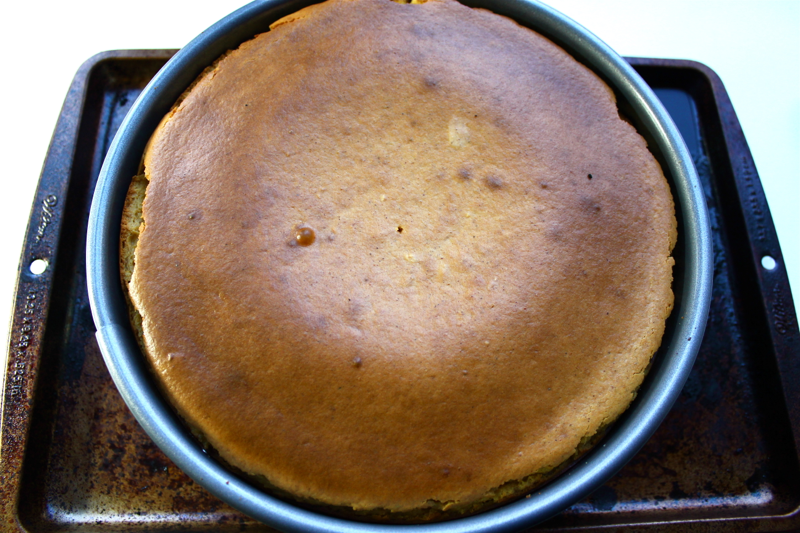
Put the springform pan on a cookie sheet to catch any leakage, and bake the cheesecake for 50 minutes. Once the 50 minutes are up, stick a toothpick into the very center of the cheesecake to see if it is set. It will look jiggly but should feel dry to the touch. If it is still wet, let it cook for a few more minutes, and then check again. Leave the cheesecake in the spring-form pan, and set it to cool on a rack for about 3 hours. Then, cover the top of the pan with plastic wrap, and chill the cheesecake in the fridge for at least 4 hours or overnight.

Once the cheesecake has chilled, remove it from the springform pan, and cut the cheesecake into squares anywhere from 1-2 inches in size. Assuming that you baked the cheesecake in a round pan, you can slice and assemble the round edges of the cheesecake into “square-like” shapes. Cover the cheesecake servings loosely with plastic wrap, and put them in the freezer to firm up even more. Freezing the cheesecakes makes them easier to wrap in the phyllo dough, and it also prevents them from overcooking when you bake the phyllo purses.
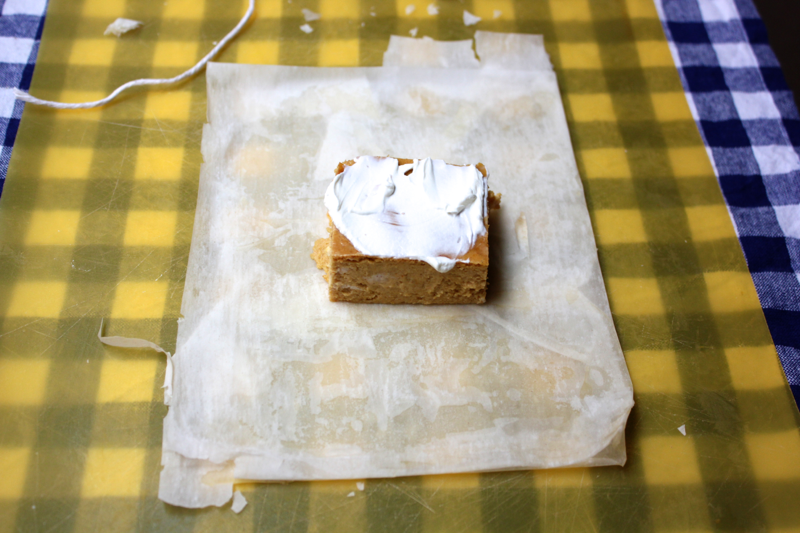
Defrost your phyllo dough according to its package’s instructions, and melt 1/2 stick of butter in a pan. Place the phyllo between sheets of wax paper, covered with a damp towel to prevent it from drying out. Preheat your oven to 350° F. Then, take one sheet of phyllo and brush half of it lightly with the melted butter. Fold the phyllo in half. Then repeat: brush half of it with more butter and fold it in half again. Place one of the frozen cheesecake squares in the center of the phyllo, and spread the top of the cheesecake with sour cream.
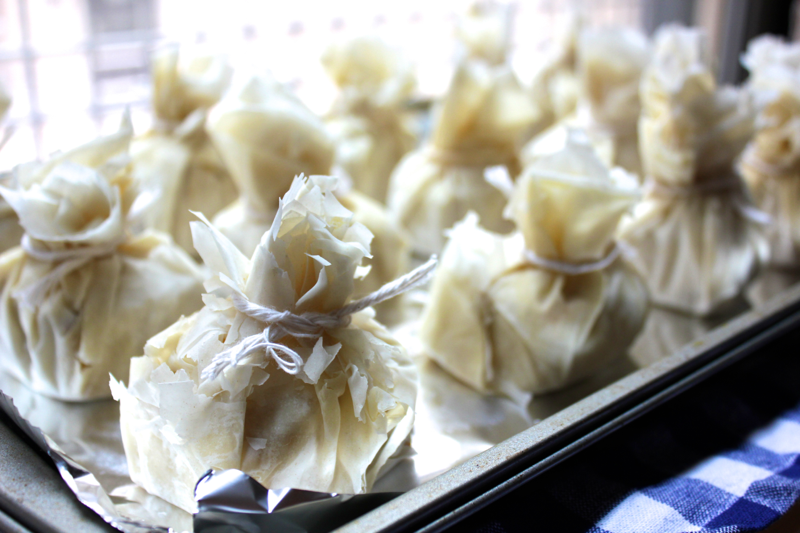
Pull up the sides of the phyllo dough to form a satchel around the cheesecake, and loosely tie it together with a piece of kitchen twine. You could also pinch the phyllo together with clothes-pins if you have them on hand. Transfer the phyllo purse to a baking sheet, and repeat the process with the rest of the cheesecake squares.
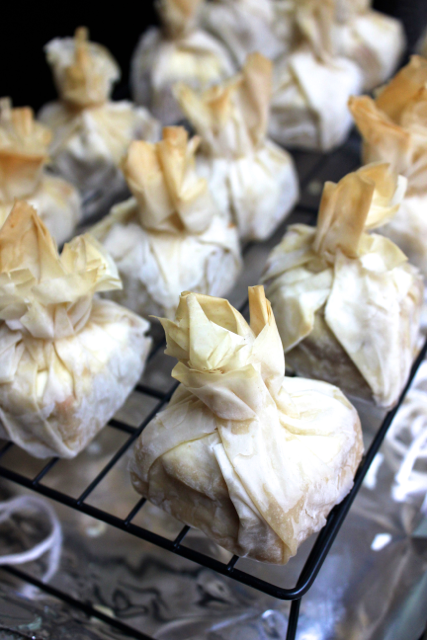
Bake the phyllo-wrapped cheesecakes for 12-13 minutes until they are crisp and lightly golden. Transfer the satchels to a rack to cool. Once they come to room temperature, untie the twine, and transfer the cheesecakes to the refrigerator until you’re ready to serve them. You could serve the cheesecakes straight from the oven, but they have a much better, more solid texture after they have cooled down again. Really. I ate about 4 cheesecakes searching for the perfect serving temperature. Sacrifices…
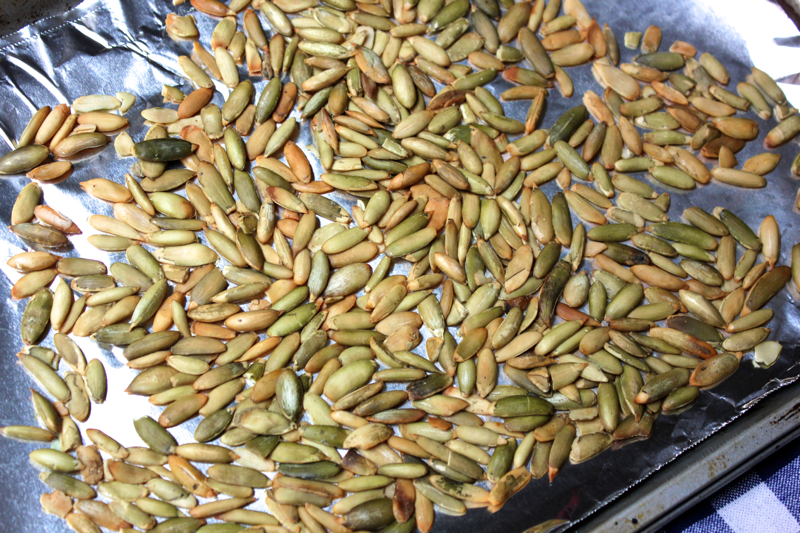
While the cheesecakes chill, toast some pumpkin seeds in the oven until you hear them begin to pop.

Shortcut #2: buy a caramel sauce. Better yet, prepare a bourbon caramel sauce to drizzle over the top of the cheesecakes. To a pan or small pot, add 1 cup of sugar and just enough water to moisten the sugar. Heat the sugar without stirring it, just swirl the pan occasionally, to avoid causing it to crystallize. The sugar will bubble up and eventually turn golden brown. The amount of time the process takes depends on how much water you add, so watch the pot carefully. Once the sugar is golden, remove it from the heat and stir in enough cream (about 1/2 cup or more) to get a lighter brown, caramel color. The cream will boil up quickly when you pour it in, so step back! Once the cream is stirred in, incorporate 1 tablespoon of bourbon and a pinch of salt. Set the caramel aside to cool in a jar– you can store it in the refrigerator and reheat it (in the microwave or in a water bath) as needed.
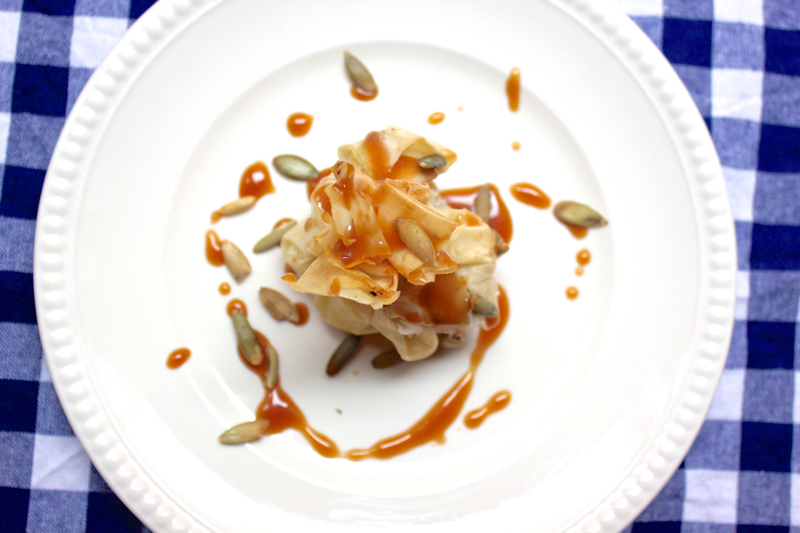
When it’s close to dessert time, remove the cheesecakes from the refrigerator, and put them back into a 350º F oven for about 2 minutes to rewarm the phyllo. Place a cheesecake satchel on a serving plate, drizzle over the warm caramel sauce, and then sprinkle on the pumpkin seeds. The pumpkin seeds stick to the caramel and look so pretty. As you can tell, this dessert requires a bit of effort, so it’s best to make these cheesecakes for someone else’s party…like my Global Supper Club: American Thanksgiving Edition! But, this cheesecake is a memorable way to end a meal and is SO delicious. Maybe you’ll even get lucky and have leftovers to store in the freezer for whenever a craving strikes!
Shopping list:
- Eggs- 3
- Pumpkin purée- 1.5 cups
- Cream cheese- 3 bricks (8 ounces each)
- Bourbon
- Vanilla extract- 1 teaspoon
- Heavy cream- 2 tablespoons for the cheesecake, about 1/2 cup for the caramel sauce
- Brown sugar- 1/2 cup
- White sugar- 1/2 cup for the cheesecake, 1 cup for the caramel sauce
- Cornstarch- 1 tablespoon
- Cinnamon- 1.5 teaspoons
- Nutmeg- 1/2 teaspoon
- Ground ginger- 1/2 teaspoon
- Salt
- Sour cream
- Butter- 1/2 stick
- Phyllo dough
- Pumpkin seeds