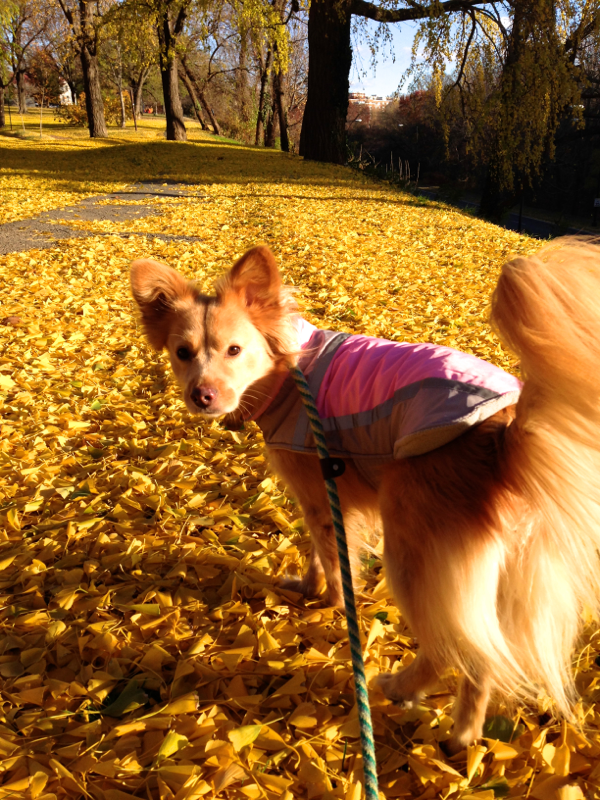
I hope you have a tasty Thanksgiving filled with love and laughs (and lots of crumbs)!
Love always,
Stella

I hope you have a tasty Thanksgiving filled with love and laughs (and lots of crumbs)!
Love always,
Stella
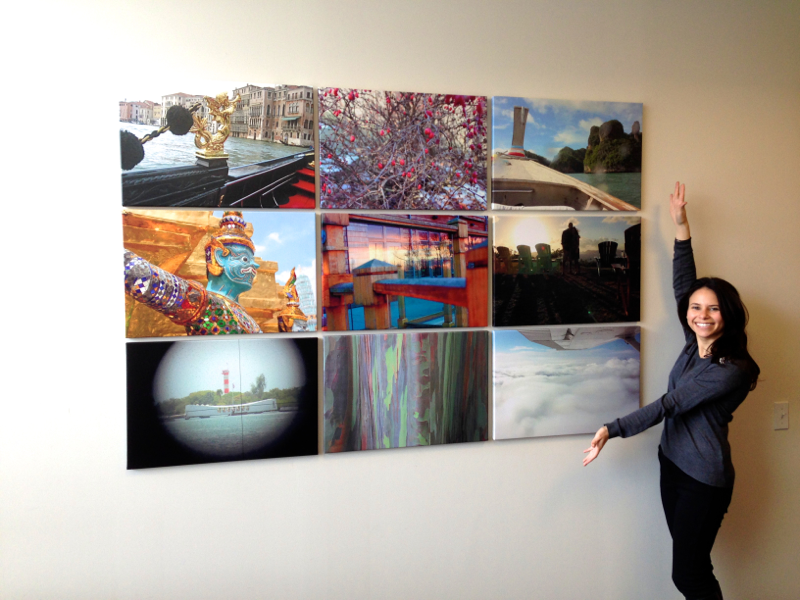
My office had a gigantic, blank wall that I needed to spruce up. But decorating an office is tricky business because the people who visit it will look around and draw conclusions about you based on what they see. I was once on an interview in an office that had a large painting of a sunken ship- not exactly the essence of optimism. I needed a piece of art that was big enough to cover the wall, peaceful for me to look at, but not too personal. I shopped around in stores, but nothing fit the bill. I already had one canvas (top left) of a photo I took from a gondola in Venice that I loved, so I decided to order 8 more canvases and create a gallery wall. I went through my photo archives and pulled images that were high-quality and, for the most part, did not include people. I gravitated towards pictures that brought back good memories of travels and adventure. I also wanted pictures that were visually interesting.
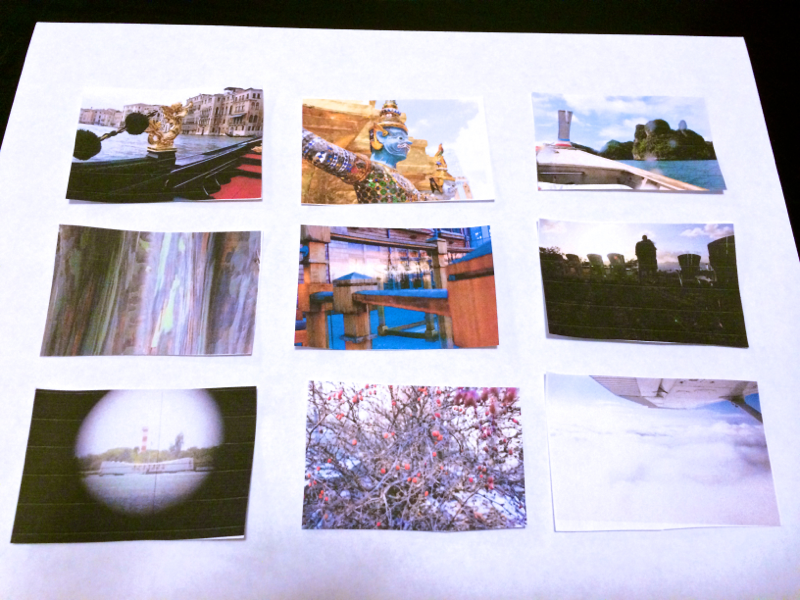
In addition to my picture from (1) Venice, I selected shots from (2) North Carolina, (3) Thai islands, (4) Bangkok, (5) Virginia spa/golf resort, (6) British Virgin Islands, (7) Hawaii, (8) Hawaii, and (9) flying to North Carolina. Figuring out how to arrange the pictures was the trickiest part- I wanted to balance the dark and the light pictures, so I printed out tiny thumbnails of each shot and played with the arrangement until I found one I liked. And I definitely wanted to balance the two boat pictures, so I was happy to use them as parentheses in the first row.
Hanging the pictures was relatively simple. I made sure that the brackets were on the same spot on each of the frames (and centered). Then, I started with the center picture and hung it in the middle of the wall. I then hung the pictures on either side of that one, leaving the same amount of space in between. Next, I hung the pictures above and below the center picture. Once they were up, I filled in the four corners. To prevent the pictures from swinging too much, I stuck a little bit of clear tape between the back bottom of each canvas and the wall. And that was it! With David’s help, we had the pictures hung in about 15 minutes.
I am really happy with my gallery wall. I love looking over at it and remembering the circumstances behind each photo and reliving those happy moments. It also adds a lot of brightness to an otherwise white space. The canvases are more personal than having a generic painting of flowers or a country scene, but they are not so personal that I’d be embarressed if an important client came in. I’d also love to have a similar gallery wall at home, if I ever have a wall I don’t know what to do with.
Do any of you have experiences with gallery walls, and how do you like them?
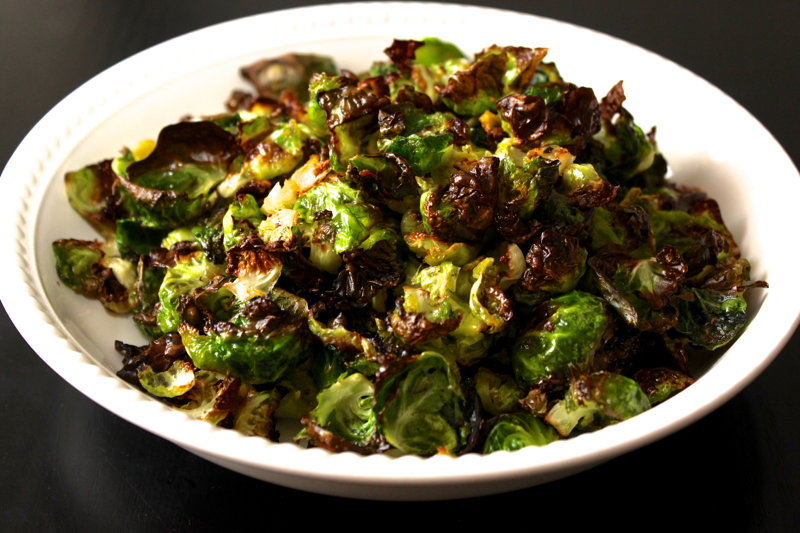
This recipe makes my favorite brussels sprouts of all time! Around the time of the great apple haul of 2013, I dined at Zentan and ate the best brussels sprouts I had ever encountered. The brussels sprouts were peeled down into their individual leaves, likely flash fried, and served bejeweled with thin slices of spicy red peppers. They were so incredible that we placed a second order for them and noticed other tables doing the same. I HAD to recreate those sprouts at home.
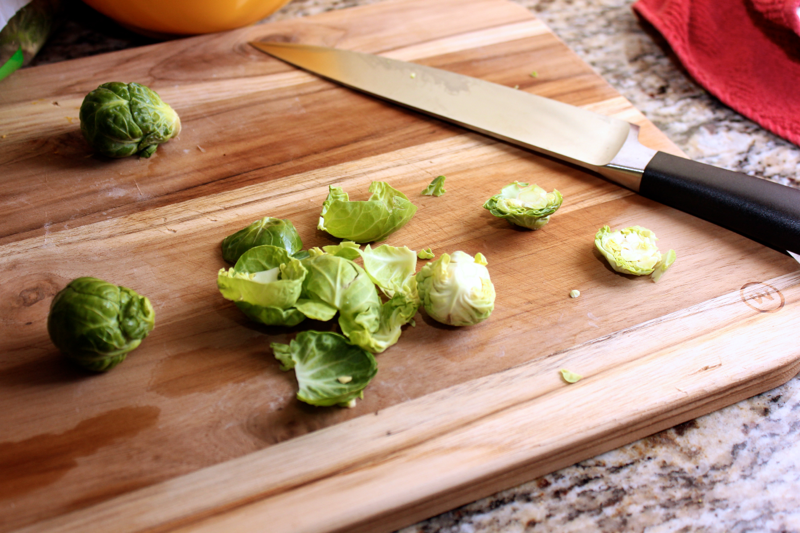
To make these crunchy sprouts, preheat your oven to 400º F. Then, the first step is the most tedious- peeling the leaves off of all of those brussels sprouts. I have no idea how the restaurant has the resources to devote to peeling enough sprouts to feed the crowds that clamor for them, but the effort is certainly worth the result. Here’s my preferred peeling method: cut off the bottom of the sprout where the leaves attach, and then use your fingers to remove the leaves from their loose bottom ends. Because the leaves are layered on, you’ll likely have to cut the bottom of each sprout off several times as you make your way toward the center. It’s a nice, mindless, and almost meditative task. As you peel, put all of the leaves into a bowl.
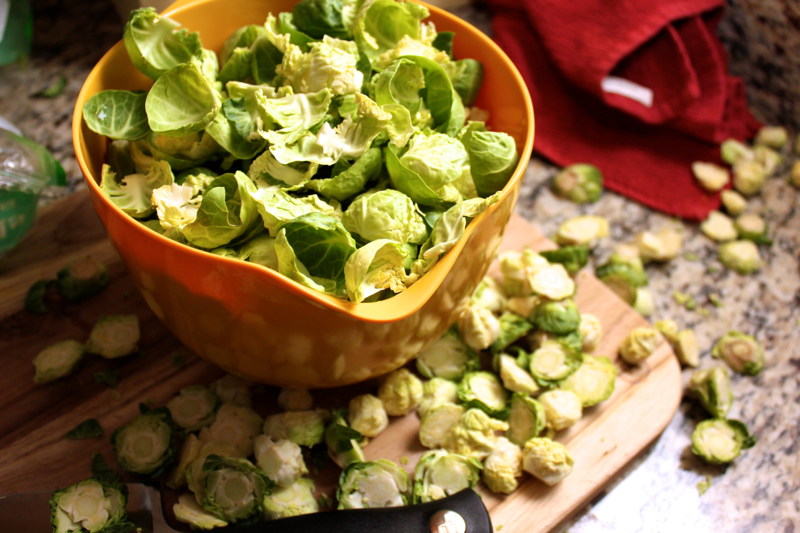
Once all of the leaves are collected, drizzle some olive oil into the bowl. Use a spatula to toss the leaves around until they are evenly coated.
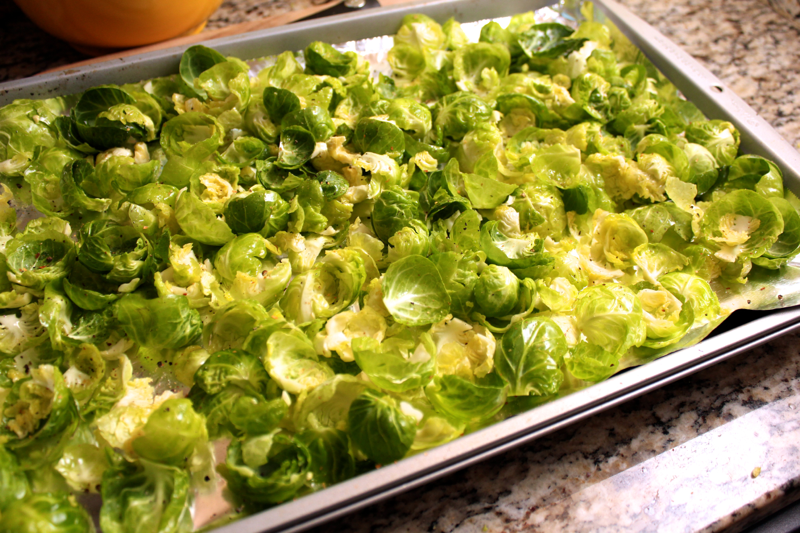
Spread the leaves in a very even layer on a baking sheet, and then season the brussels sprouts with salt, pepper, and red pepper flakes for a little spice.
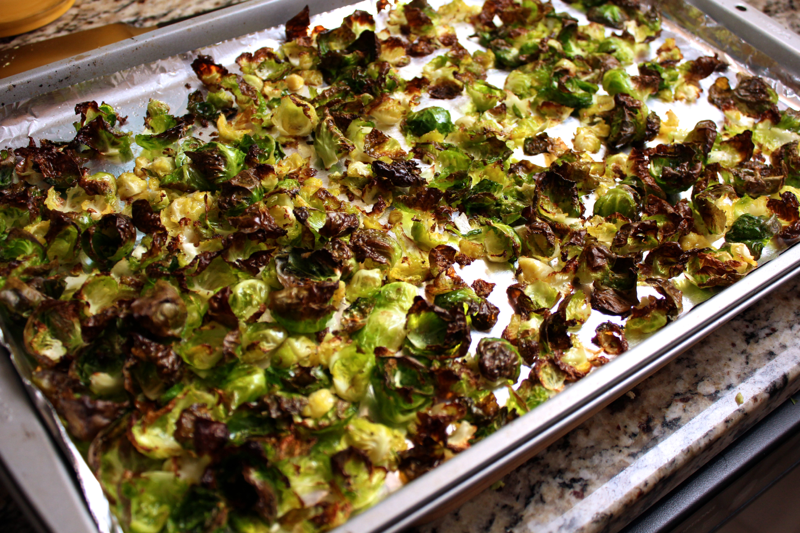
Put the pan into the oven. After about 5 minutes, rotate the pan around. After another 5 minutes, take a look at the sprouts. Most of the edges should be somewhat browned and the rest of the sprouts should have turned a bright green. Taste a leaf and you will discover that it is not totally crispy. Toss the brussels sprouts to redistribute the leaves. Cajole them back into an even layer, and bake them for another 5 minutes or so until you taste a leaf and it is completely crisp but not burned.
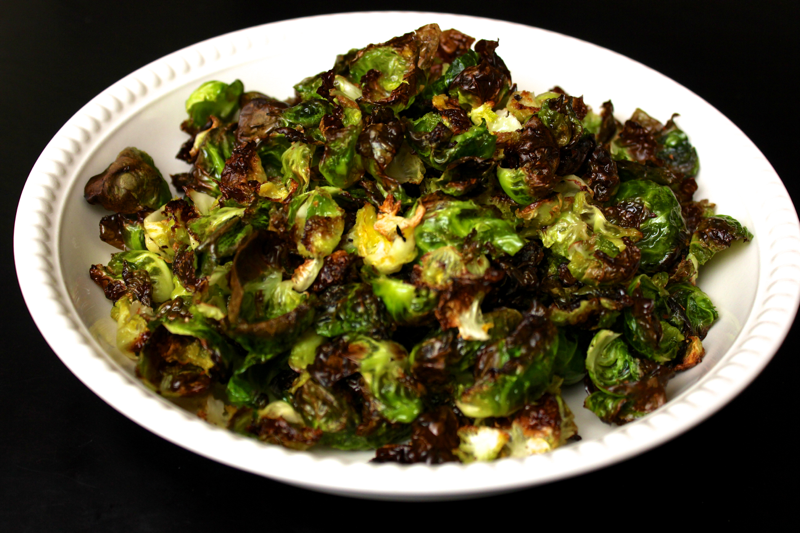
Transfer the brussels sprouts into a serving dish, and eat them up while they are still warm. These sprouts are so addictive and their crunch is primally satisfying. I don’t know how I’ll ever go back to eating halved brussels sprouts ever again. I know you’ll love these!
Shopping list: