I have made quiche many times. It is wonderful. But then I made quiche at my cooking class, and I realized that I’ve been doing it wrong this whole time. While my old quiche was good- eggy and cheesy- it was nothing like the creamy, luscious quiche that this method makes. One bite, and I knew that it is what quiche was meant to be. Even if you think you’ve had a proper quiche, make this one just to be sure.
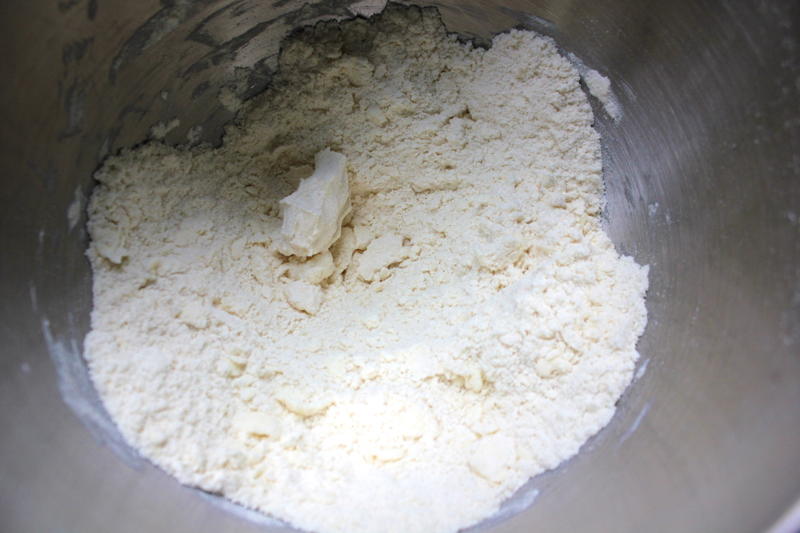
I made my own crust, but you can easily use a store-bought frozen pie crust. To make your own, weigh out 250 grams of flour and 125 grams of cold, cubed butter. Put the flour in the bowl of a mixer, add the butter and 4 grams of salt. Use the paddle attachment to combine them until the largest butter pieces are still visible, but so that if you squeeze the mixture in your hand, it mostly holds the shape of your fingers. If you don’t want to use a mixer, you can also combine the flour and butter in a food processor (but it goes fast!) or by hand with a pastry cutter (but it goes slow!).
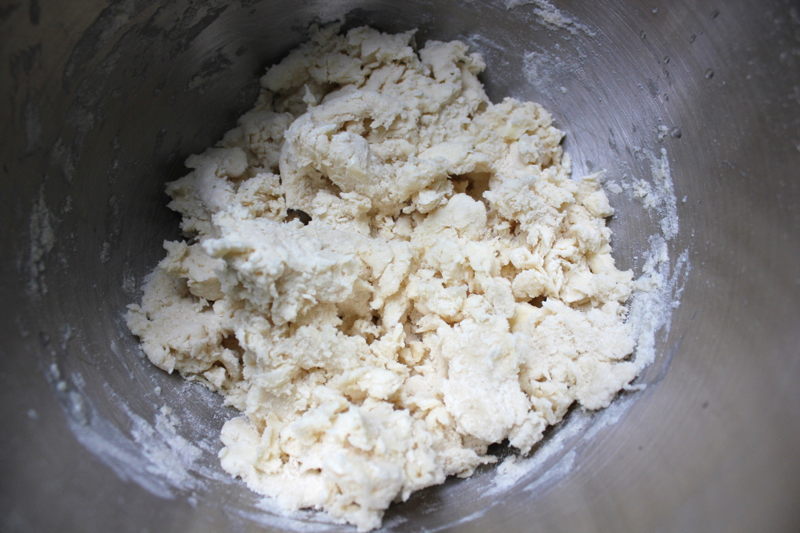
With the mixer running, slowly pour in ice cold water until the dough just starts to come together, and then stop mixing and stop adding water. If you add too much water, the dough will be too sticky, and if you mix it too much, it will get tough.

Turn the dough out onto a work surface, and pat it into a disk with your hands. Do not knead the dough. Some spots of the dough will be wetter than others. Wrap the dough in wax paper, and refrigerate it for at least 30 minutes or up to a day. Resting will allow the moisture in the dough to distribute evenly. You can also freeze the dough at this point for a later use.
When you’re ready to roll out the pie crust, place the disk of dough on a floured surface. You want to keep it cold at all times to prevent the butter from melting, so put it back in the fridge if you ever feel it getting too warm and soft. Use a rolling pin to smash down and roll out the dough. The dough will probably break into pieces, so just squeeze it back together after each roll.
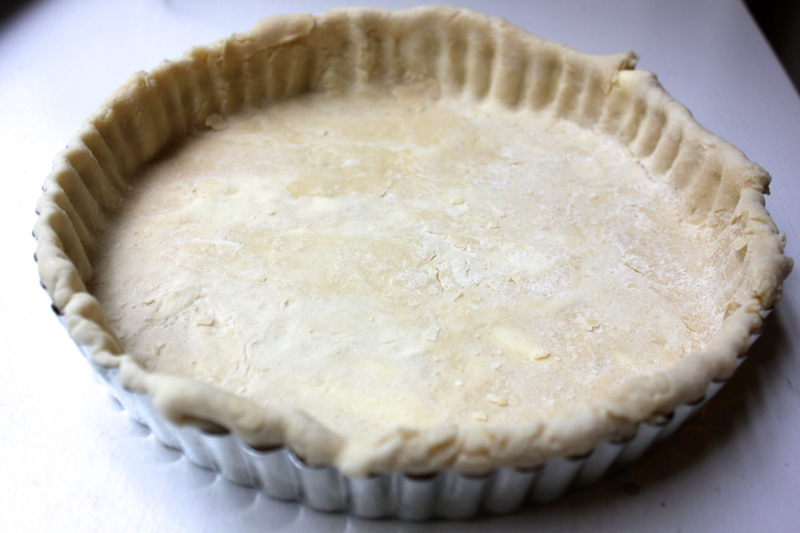
When the dough reaches the desired thinness (about 1 centimeter), transfer it to a tart pan, ideally one with a removable bottom. Use a sharp knife to cut the excess dough away, leaving about 1 inch of overhang. Fold the overhang back and tuck it inside the tart pan to make a thicker crust. Use your fingers to mold the sides of the crust to the pan, if you want a ridged appearance. See the chunks of butter in the crust? When those evaporate in the oven, they leave air pockets that result in a flaky crust. Very important! Put your crust in the freezer to allow the butter to firm up again.
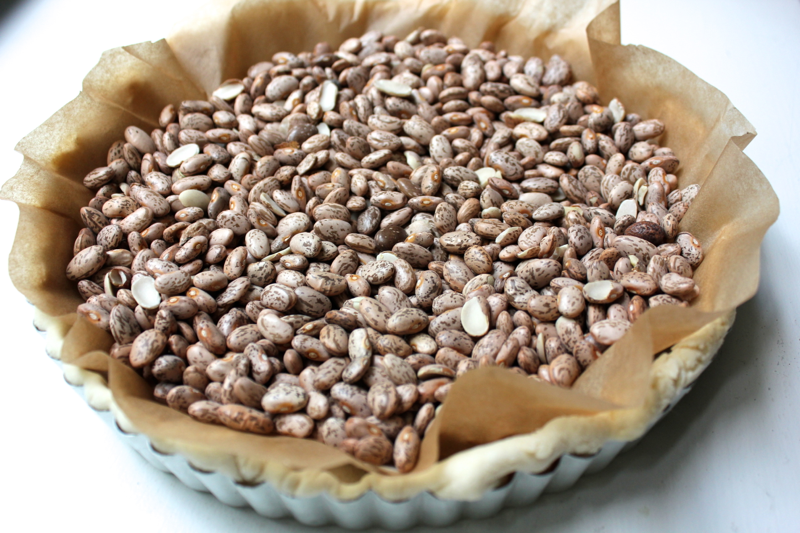
With a liquid filling like quiche, you have to blind bake the dough so that the bottom of the crust has a chance to firm up. Lay a piece of parchment paper in the crust, and fill it with pie weights or dried beans to prevent it from puffing. Bake the crust from frozen at 400º F until the edges start to brown, about 15 minutes.
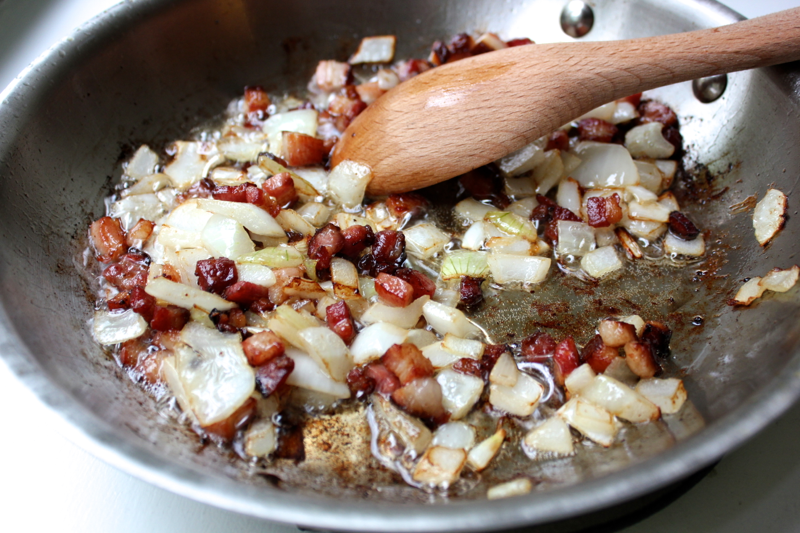
Prepare your quiche filling. Dice 1/4 pound of bacon, and brown it in a dry pan. Add 1/2 diced onion to the pan to soften as well. Grate 1 cup of gruyère cheese, and mince approximately 1/8 cup of parsley.
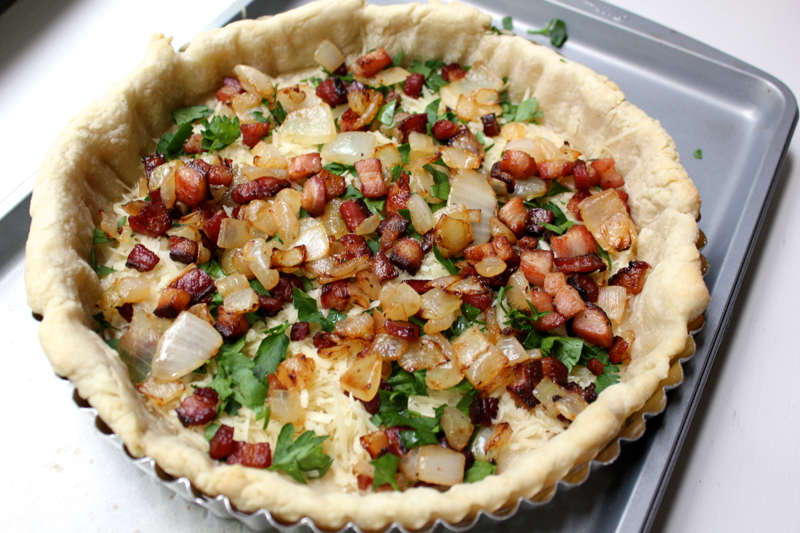
When the quiche crust has browned, remove the beans and parchment, and put down a layer of gruyere that covers the bottom of the crust to prevent it from getting soggy. Top the cheese with a layer of parsley. Top the parsley with the drained bacon and onions.
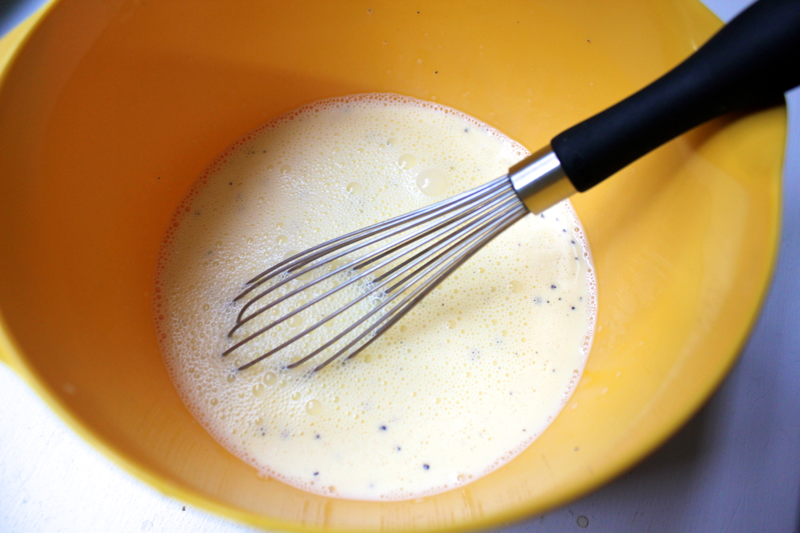
Then prepare the custard: whisk 2 eggs with 1 cup of half and half (or 1/2 cup of cream and 1/2 cup of whole milk). Season the custard well with salt and pepper, and then pour it into the quiche crust.

Bake the quiche at 350º F for approximately 25 minutes until the custard is set (no longer a liquid) but still wobbly when you shake the pan. Let the quiche cool, and then pop the bottom of the pan and the quiche up out of the sides of the pan. Transfer it to a serving platter, and slice. Eating this quiche is a smooth, flavorful, melt-in-your mouth experience. I LOVE it. It’s a reason to host brunch. And I have some other delicious flavor combinations brewing in my imagination that I can’t wait to try out!
Shopping list:
- Flour- 250 grams
- Butter- 125 grams
- Bacon- 1/4 pound
- Onion- 1/2
- Parsley
- Gruyère cheese- 1 cup grated
- Eggs- 2
- Half and half- 1 cup
- Salt and pepper