Trusty, Crusty Cornbread

Trusty, Crusty Cornbread

Let me ask you a question, and be honest. Do I make you corny baby, yeah!

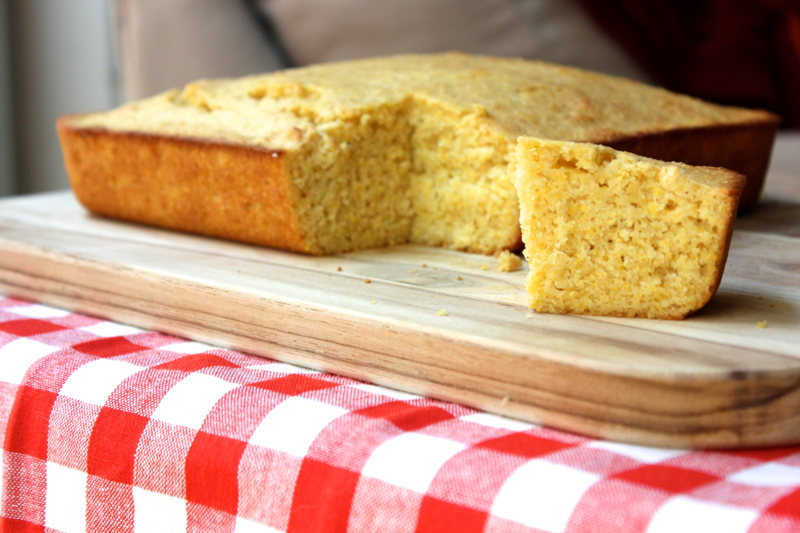
Now that we’ve gotten the obvious out of the way…cornbread! In my quest to get away from box mixes, I’ve needed to find a good cornbread recipe for a long time. Instead of experimenting, I’ve just gone without. It’s been a sad time. But the kitchen powers that be had other plans for me and simultaneously brought cornmeal and a reliable recipe for cornbread into my life. One bite and my fate was sealed. This cornbread recipe is just what I’ve been looking for. It’s sturdy enough to stand up to a hearty chili, but tasty enough to eat on its own. It has a pleasing crunch from the cornmeal and bits of real corn kernels to bring it all home. Toasted and smeared with the smallest bit of butter, yum.

Trusty, Crusty Cornbread

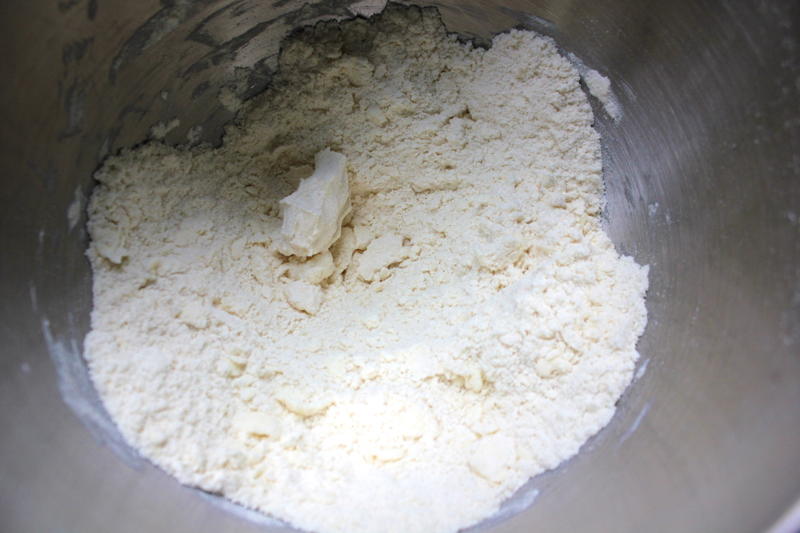
To make it, preheat your oven to 400º F. Then, in a large bowl, whisk together 1.5 cups of all-purpose flour, 1 cup of cornmeal, 2 teaspoons of baking powder, 3/4 teaspoon of salt, and 1/4 teaspoon of baking soda. I used a finely ground, whole grain cornmeal, which resulted in a textured but not too crumbly corn bread. A coarser meal will make for a crumblier cornbread.

Trusty, Crusty Cornbread

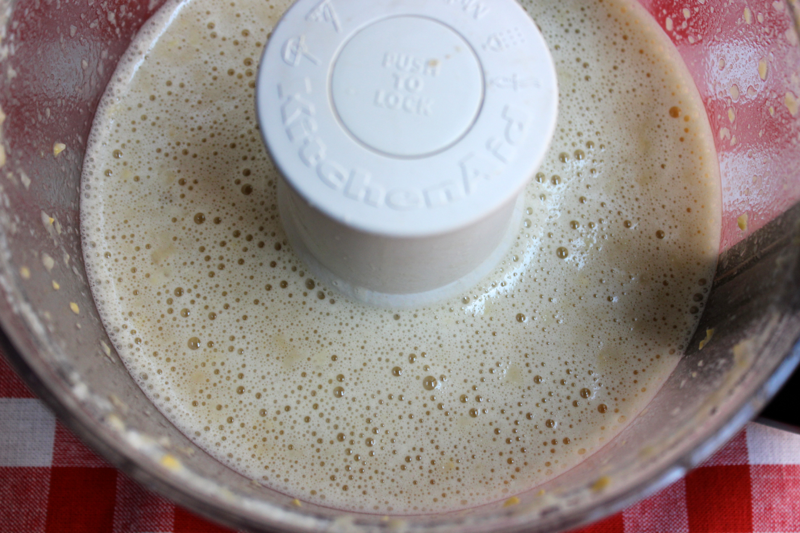
To a food processor, add 1 cup of buttermilk, 3/4 cup fresh or defrosted corn kernels, 1/4 cup of packed, light brown sugar, and 2 eggs. Run the food processor for approximately 5 seconds until everything is combined but so that visible pieces of the corn kernels remain. If you don’t have buttermilk, you can measure out 1 cup minus 1 tablespoon of regular milk, and add in 1 tablespoon of white vinegar. After about 5 minutes, the milk should have thickened and curdled and be looking pretty nasty. Just pour that right in!

Trusty, Crusty Cornbread

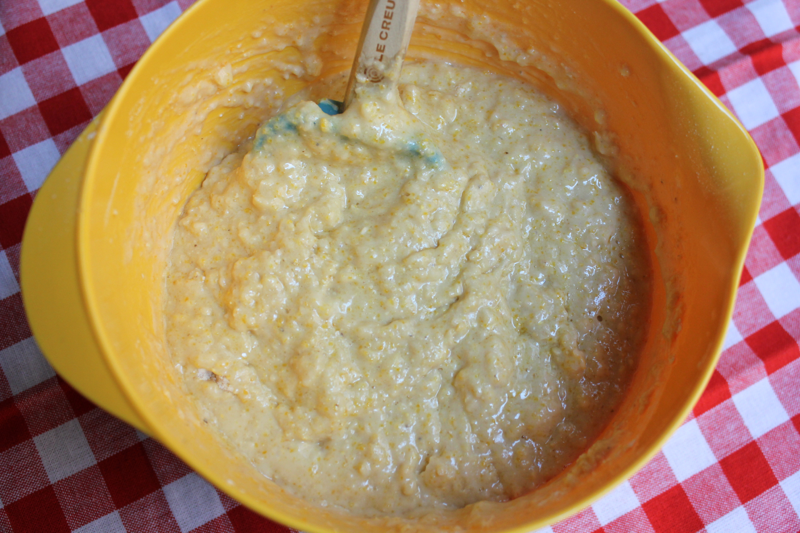
Melt 1 stick of butter, and set it aside to cool slightly. Meanwhile, make a well in the center of the dry ingredients, and then pour the wet ingredients from the food processor in. Stir the ingredients a few times, just until it’s very barely combined. Then, pour in the melted butter, and stir again just until everything is fully combined. Adding the butter at this later stage is supposed to help the cornbread brown.

Trusty, Crusty Cornbread

Grease an 8-inch square baking pan, and line the bottom of the pan with parchment paper to ensure an easy removal. Pour the cornbread batter into the pan, and smooth out the top.

Trusty, Crusty Cornbread

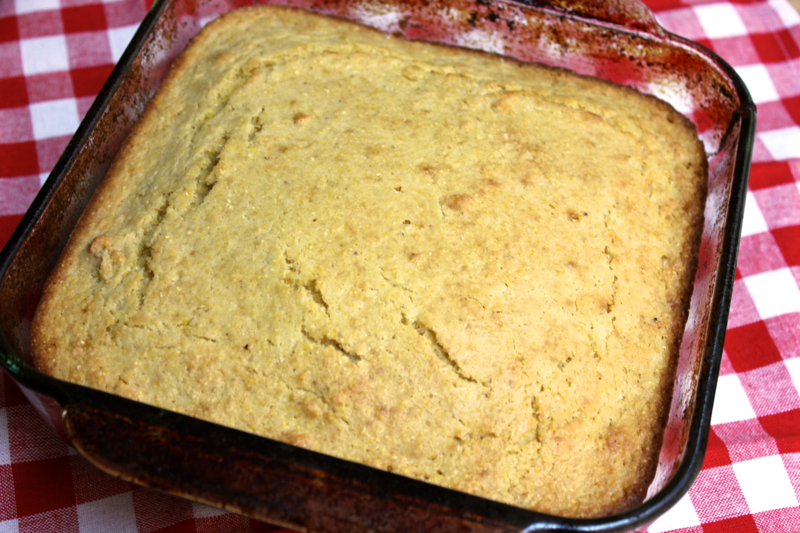
Bake the corn bread for approximately 30 minutes until a toothpick inserted into the center comes out clean. The edges of the cornbread should be golden brown and delicious looking.

Trusty, Crusty Cornbread

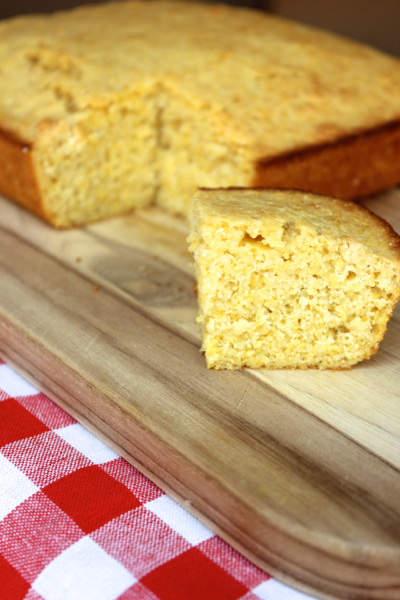
Let the cornbread cool until you can handle it, and then pop it out of the pan to cool some more. The corn bread is delicious eaten warm from the oven, but I preferred it even more the next day, after it sat wrapped in tin foil overnight. What’s your favorite way to eat cornbread? Should I try to make croutons out of any leftovers?

This recipe is adapted from Cooking at Home with America’s Test Kitchen.

Shopping list:

  • All-purpose flour- 1.5 cups
  • Cornmeal- 1 cup
  • Baking powder- 2 teaspoons
  • Salt- 3/4 teaspoon
  • Baking soda- 1/4 teaspoon
  • Buttermilk- 1 cup
  • Corn kernels- 3/4 cup
  • Light brown sugar- 1/4 cup, packed
  • Eggs- 2
  • Butter- 1 stick
Print Friendly, PDF & Email

Priya’s Onion Tart

Priya's Onion Tart

My friend Priya is a fantastic baker. I watched her assemble a gorgeous onion tart at a dinner party recently. It was in the oven baking while I gorged myself on the other delicious offerings, but I willed myself to accept a slice of the tart once it was ready. And am I glad that I did because it was so GOOD! I ate more than the tiny slice I set out for, and I craved it for weeks after. I had to get myself another fix before this summer’s beautiful tomatoes disappeared, and my attempt at her tart turned out great. Its flavors are balanced and interesting, and its visual appeal is undeniable.

Priya's Onion Tart

To make this tart, parbake a pie crust in a tart pan with a removable bottom. You can read my directions for making, shaping, and parbaking a pie crust here. While the crust is cooking, get the tart’s other ingredients ready. Slice 2 onions, and heat 1 tablespoon of oil in a pan. Add the onions, along with a few sprigs of thyme, into the pan. Season the onions with salt and pepper, and sweat them, stirring occasionally, until they just begin to caramelize, about 15 minutes. Once the onions have started to pick up some color, they should have sweetened considerably. Set them aside to cool.

Priya's Onion Tart

When the tart is cool enough to handle, spread the bottom with Dijon mustard. I used 2 tablespoons of Dijon, and I could definitely taste the mustard in the finished product. The slight spice and vinegary tang was a welcome counterbalance to the sweeter onions and tomatoes, but if you’re not a huge fan of Dijon mustard, then you might was to spread the crust with less… maybe half or two-thirds the amount.

Priya's Onion Tart

Spread your slightly caramelized onions in an even layer on top of the mustard. Season the onions with a bit more salt and pepper.

Priya's Onion Tart

Top the onions with a layer of shredded fontina cheese. I think gruyère cheese would work well here, so I’ll probably try that next time.

Priya's Onion Tart

Halve some of the prettiest cherry tomatoes you can find, and arrange them cut-side down on top of the cheese so that the tart is completely covered. At this point, Priya also crumbled some goat cheese onto the tart between the onions, but you know how I feel about goat cheese

Priya's Onion Tart

Bake the tart in a 400º F oven until the tomatoes and cheese begin to brown, about 20-30 minutes. Once the tart is cool enough to handle, you can pop the sides off of the tart pan and slice it to serve. I ate this tart for breakfast, lunch, dinner, and a snack, and it always satisfied. Love it!

Shopping list:

  • Pie crust– 1
  • Onions- 2
  • Thyme
  • Salt and pepper
  • Dijon mustard- ~2 tablespoons
  • Fontina cheese- ~1.5 cups, shredded
  • Cherry tomatoes
Print Friendly, PDF & Email

Purple Plum Galette

Purple Plum Galette

This summer has provided some delicious, beautiful fruit. Cooked fruit doesn’t always look prettier than its fresh counterpart, but this rustic plum galette is an exception. A galette is a cross between a pie and a tart, and it’s easier to make than both. It’s easier to eat too- this one can be sliced and eaten like a pizza. So buy some plums in bulk and get baking!

Purple Plum Galette

Start with pie crust. To make it, add 250 grams of flour, 125 grams of cold, cubed butter, and 4 grams of salt to the bowl of a stand mixer. Use the paddle attachment to combine them until the largest butter pieces are still visible, but so that if you squeeze the mixture in your hand, it mostly holds the shape of your fingers. If you don’t want to use a mixer, you can also combine the flour and butter in a food processor (but it goes fast!) or by hand with a pastry cutter (but it goes slow!). With the mixer running, slowly pour in ice cold water (straining out the ice cubes) until the dough comes together around the paddle, and then stop mixing and stop adding water. If you add too much water, the dough will be too sticky, and if you mix it too much, it will get tough.

Purple Plum Galette

Turn the dough out onto a work surface, and pat it into a disk with your hands. Do not knead the dough. Some spots of the dough might be wetter than others. Wrap the dough in wax paper, and refrigerate it for at least 30 minutes or up to a day. Resting will allow the moisture in the dough to distribute evenly.

Purple Plum Galette

While the dough rests, slice your plums. I needed 5 to fill my galette. Cut the plums in half, remove their pits, and then slice them thinly.

Purple Plum Galette

In a small bowl, stir together 1/3 cup of almond flour, 1 tablespoon of all-purpose flour, and 3 tablespoons of sugar. If you don’t have almond flour, you can process 1/3 cup of almonds in a food processor until they form fine crumbs. Then, lightly flour a flat surface, and roll out the pie crust into a circle. The crust should be about 1/2 centimeter thick. Transfer the pie crust onto a baking sheet lined with parchment paper.

Purple Plum Galette

Spread the almond flour mixture over the pie crust, leaving a 2-inch border around the edges. The flour mixture will prevent the crust from getting soggy with plum juices and provide a subtle almond flavor. Then, layer over the plum slices and fold up the edges of the pie crust. Put the galette into the refrigerator to firm up again before baking.

Purple Plum Galette

Heat your oven to 400° F. Then, take the galette out of the refrigerator, and brush the exposed crust with milk. I know it sounds crazy, but the milk gives the crust a nice golden color. Then, sprinkle 1 tablespoon of sugar over the whole galette (plums and crust). Place a few sprigs of thyme on top of the plums. Then, cut up 2 tablespoons of butter into small cubes, and dot them around. Bake the galette for 40 to 50 minutes until the crust is golden brown. Allow the galette to cool before slicing so the plums don’t lose all of their juices. This galette is mildly sweet but very tasty!

This recipe is adapted from the Pastry Affair.

Shopping list:

  • Pie crust– 1 (250 g flour, 125 g butter, 4 g salt)
  • Almonds or almond flour- 1/3 cup
  • All-purpose flour- 1 tablespoon
  • Sugar- 4 tablespoons
  • Plums- ~5
  • Thyme
  • Milk
  • Butter- 2 tablespoons
Print Friendly, PDF & Email