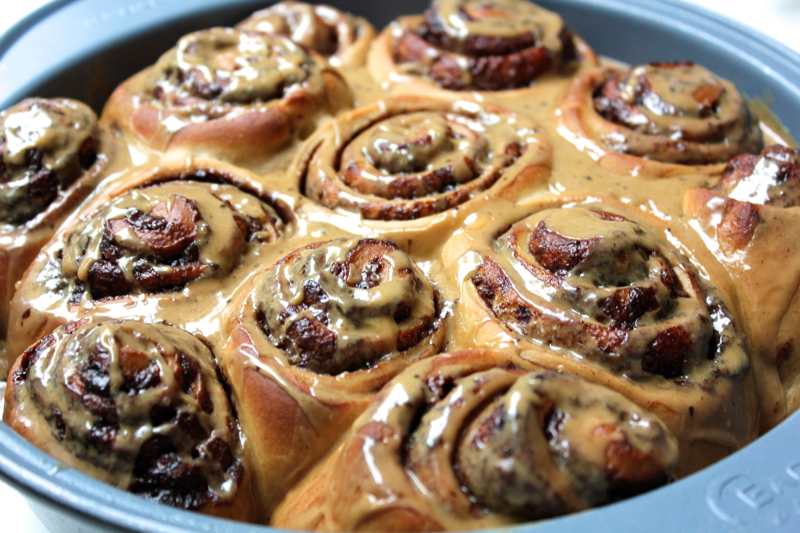
I’ve tinkered with about four batches of these sticky buns, and I love them. The dough is tender and flavored with espresso, the Nutella filling is sweet but not overwhelming, and the coffee glaze keeps the buns sticky and moist for days, if they’re around for that long. These sticky buns are perfect when they’re just barely warm, either out of the oven or reheated in the microwave. I love unwrapping the rolled up layers and eating these sticky buns pinwheel style. They’ll put a smile on your face and a smear of chocolate on your lips!
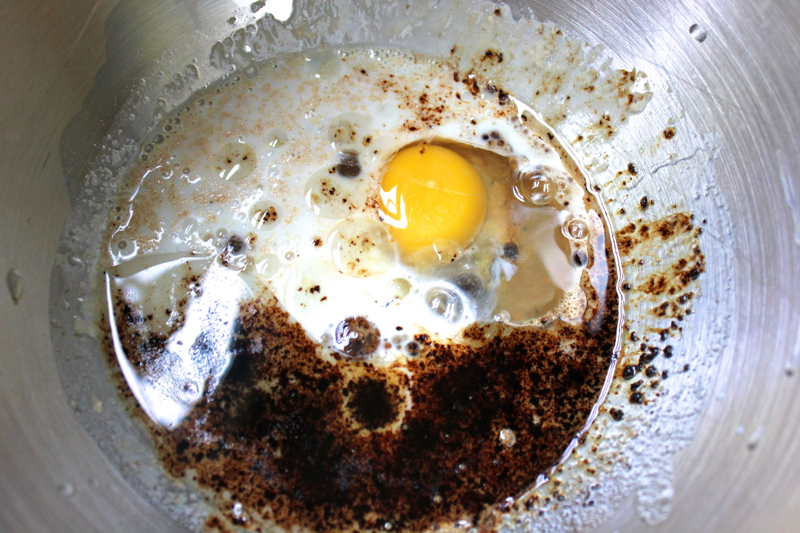
To make these sticky buns, start with the dough. Microwave 1/2 cup of milk for 30 seconds until it is warm but not hot. Add the milk to a large bowl or the bowl of a stand mixer. Sprinkle 1.5 teaspoons of yeast over the milk. Once the yeast has lost its shape, continue with the recipe. If the yeast retains it shape, toss it out and start again. To the milk and yeast, add 1 egg, 3 tablespoons of sugar, 2 tablespoons of vegetable oil, 3 teaspoons of instant espresso, 1/2 teaspoon of grated nutmeg, and 1/4 teaspoon of salt. Mix the ingredients together until they are combined.

Then, mix 300 grams (approximately 2 cups) of flour into the bowl in batches. When the dough comes together and forms a ball that pulls away from the sides of the bowl, stop mixing. The dough will still be fairly sticky.
Flour your hands very well, and scoop the dough out of the bowl. Flour the inside of the bowl, and add the dough back in. Cover the bowl with plastic wrap, and let the dough rise in a warm place, preferably a 100º F oven, for about 1 hour until the dough doubles in size.
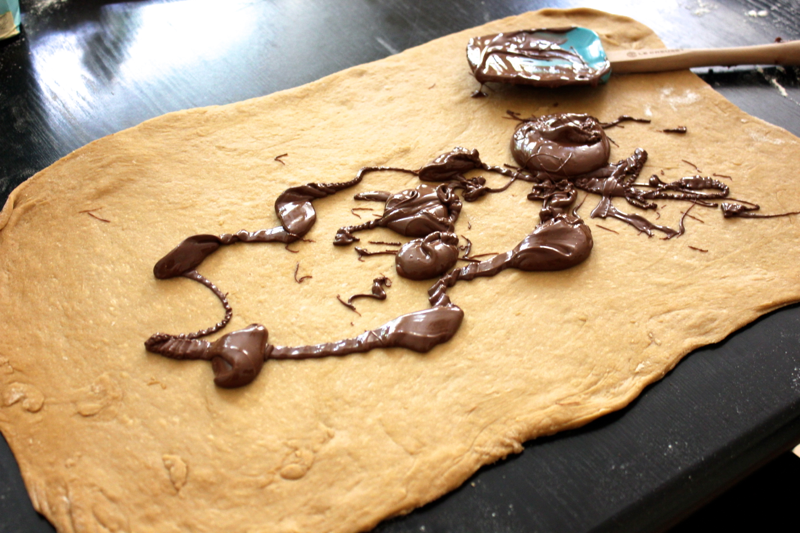
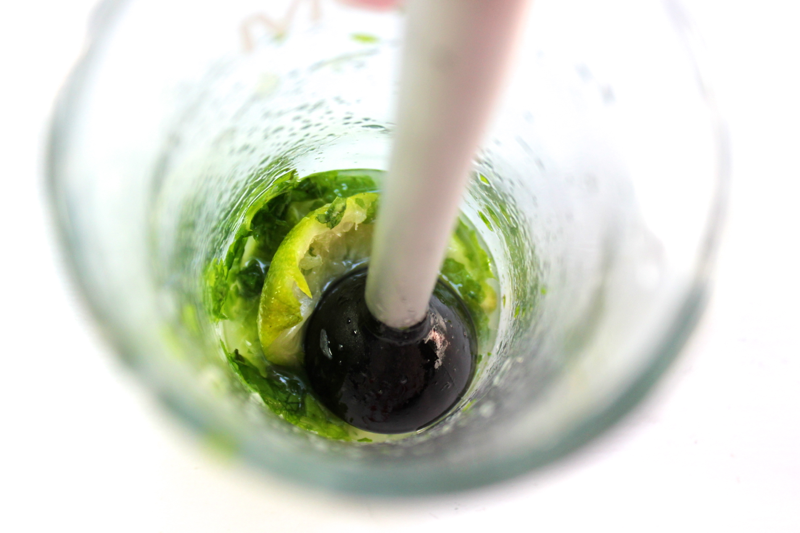
When the dough has doubled, flour a large work surface and your hands. Turn the dough out onto the work surface, and use a rolling pin to roll the dough into a rectangular shape. Roll the dough out as thinly as you can, making sure that it isn’t sticking to your work surface. Now, prepare your Nutella filling. Add 1/2 cup of Nutella to a small pot. Heat the pot over a low flame, and constantly stir the Nutella with a spatula. Once the Nutella has loosened up into a pourable, spreadable state, pour it over the rectangle of dough. If you don’t heat the Nutella and try to spread it right on the thin, tender dough, the dough will rip and stretch into an ugly mess.
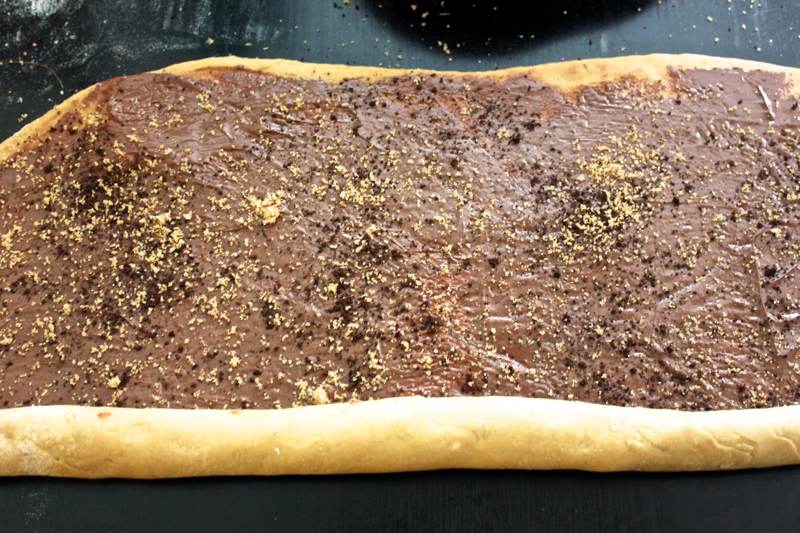
Spread the Nutella over the dough, leaving a small perimeter around the edges. Then, sprinkle a very thin but even layer of the instant espresso over the Nutella. Repeat with a thin and even layer of brown sugar. Now it’s time to roll up your sticky buns. Starting on one of the rectangle’s longer edges, begin rolling the dough up tightly.
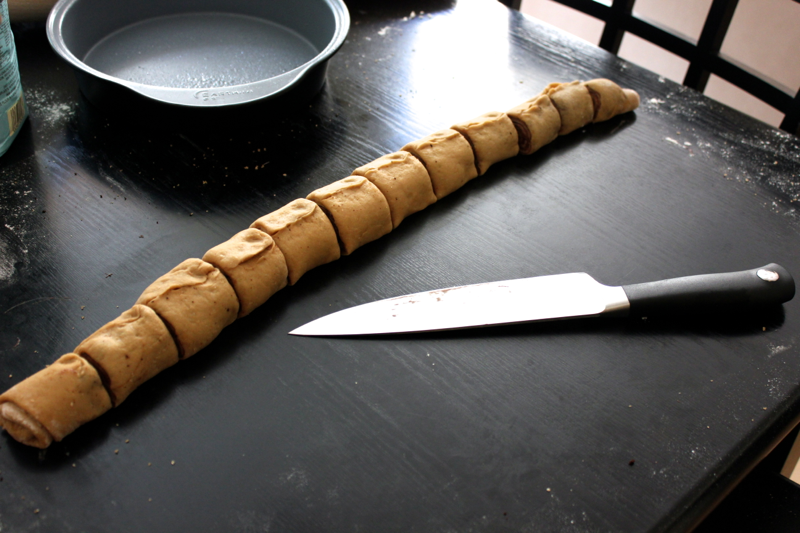
Once the dough has formed a log, use a sharp knife to slice the log into 1.5 inch buns.
Lightly grease an 8 inch cake pan (do not use a cast iron skillet or else the filling will leak out and caramelize), and place the buns inside in an evenly spaced pattern. Cover the pan with plastic wrap or tin foil, and set the buns in a warm area to rise for 40 minutes to 1 hour.
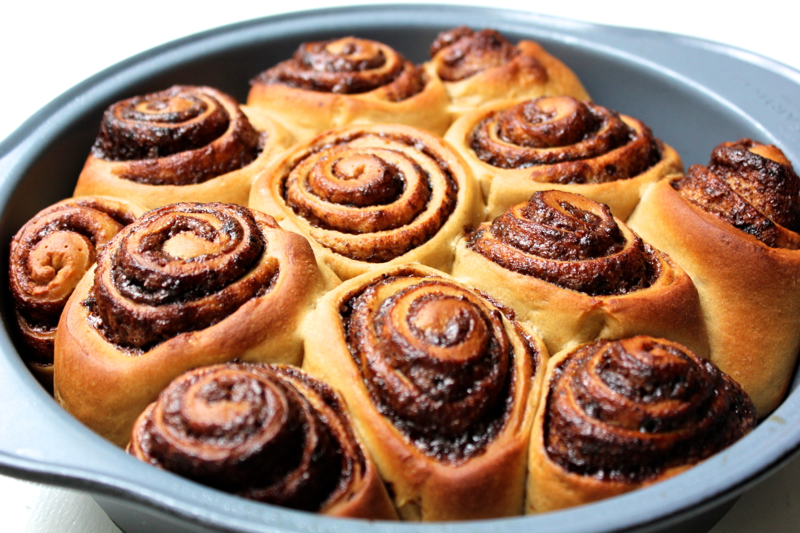
Once the buns have puffed up, heat your oven to 375º F. Bake the buns for 15 minutes, rotating the pan around half way through for even browning.
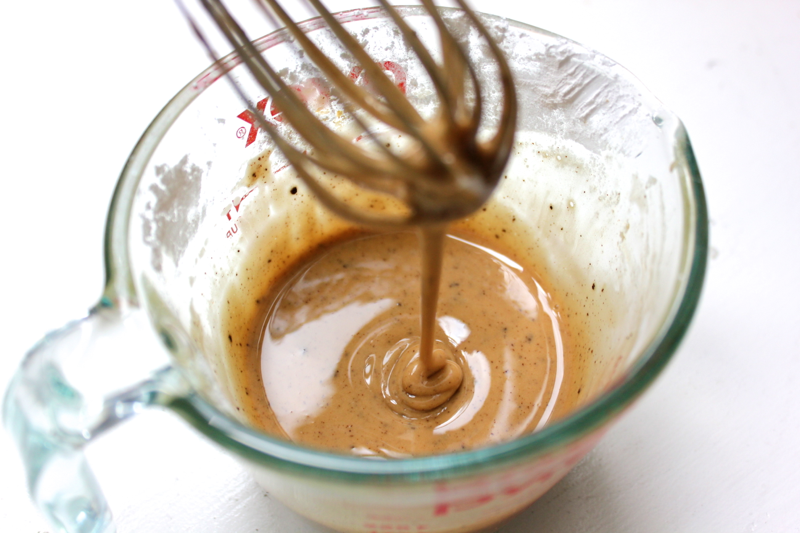
While the buns bake, make your glaze. Measure out 1 cup of powdered sugar, and add to it approximately 3 tablespoons of coffee. Whisk the coffee and sugar together until it creates a pourable glaze. You can add more coffee to reach the desired consistency, if necessary.
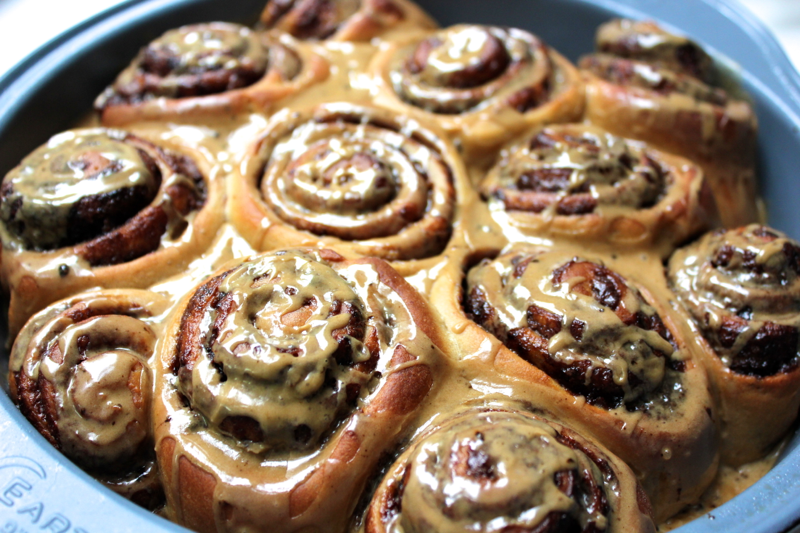
As soon as the buns come out of the oven, pour the glaze over them evenly. The glaze will seal in some moisture and prevent the buns from getting stale and hard.
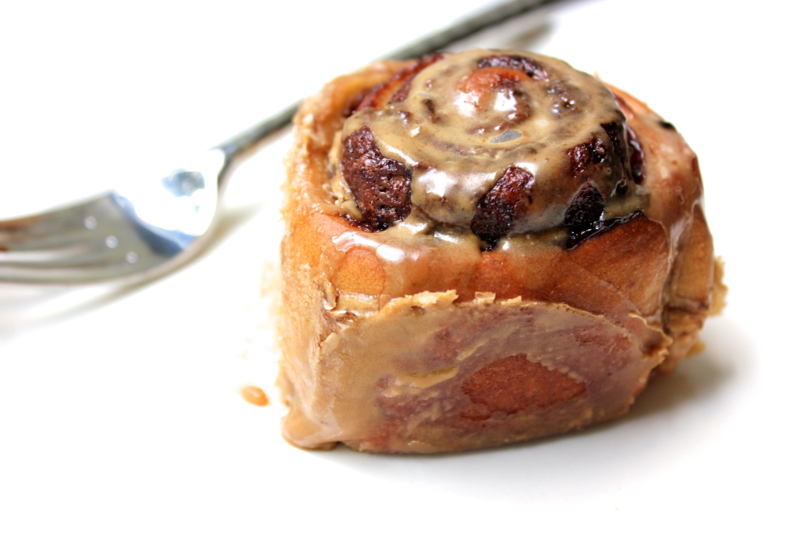
When the buns have cooled but are still slightly warm, use a knife to cut around the buns you want to serve, and dish them out. They are so irresistible!
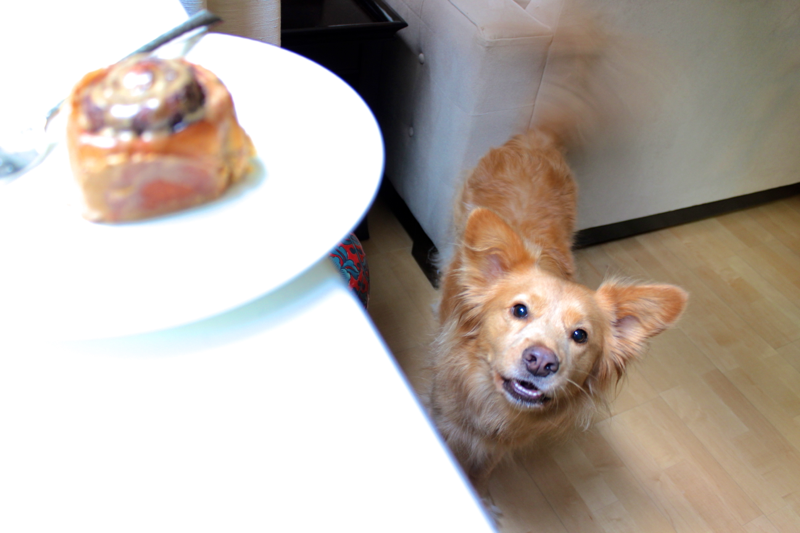
Even Stella was begging for a taste, but she couldn’t have any.
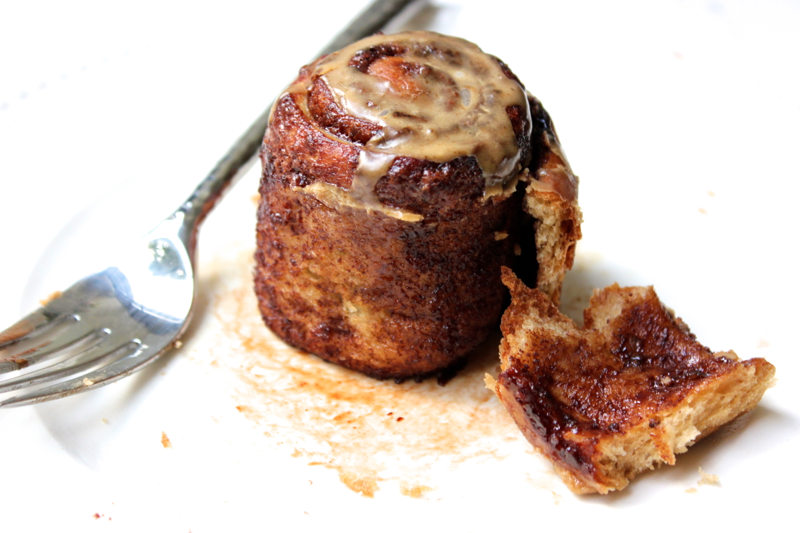
Unwind those sticky buns and eat away. You could even spread a little extra Nutella over the top for more decadence. These sticky buns have become a constant staple in my kitchen, and now that the recipe is perfect to me, their continued existence is guaranteed!
This recipe is adapted from the Pastry Affair.
Shopping list:
- Milk- 1/2 cup
- Active dry yeast- 1.5 teaspoons
- Egg- 1
- White sugar- 3 tablespoons
- Vegetable oil- 2 tablespoons
- Instant espresso- 3+ tablespoons
- Nutmeg- 1/2 teaspoon
- Salt- 1/4 teaspoon
- Flour- 300 grams (2 cups)+
- Nutella- 1/2 cup
- Brown sugar- 2 tablespoons
- Powdered sugar- 1 cup
- Coffee- 3 tablespoons+