Best Pizza Dough

Pizza dough

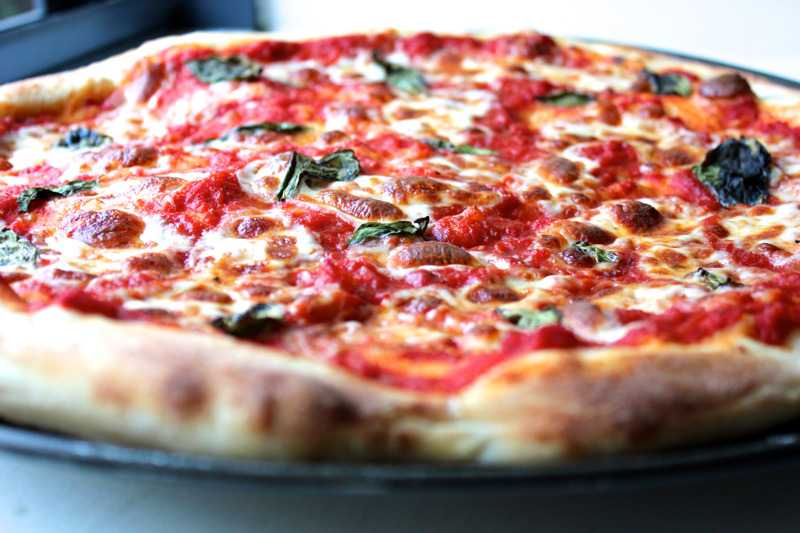
You know that I make a lot of pizzas, so when I say that I’ve made my most delicious pizza yet, I’m telling you something big. And this most delicious pizza is a humble margarita! But it’s really the dough that makes it so special. For me, the crust is the most essential part of any pizza, and this one is wonderful. It is a beautiful crust: easy to stretch thinly, a nice flavor, and the perfect combination of chewy, crisp, and doughy. I’m in pizza love. And guess what…it doesn’t require any kneading! This dough is my standby from here on out.

Pizza dough

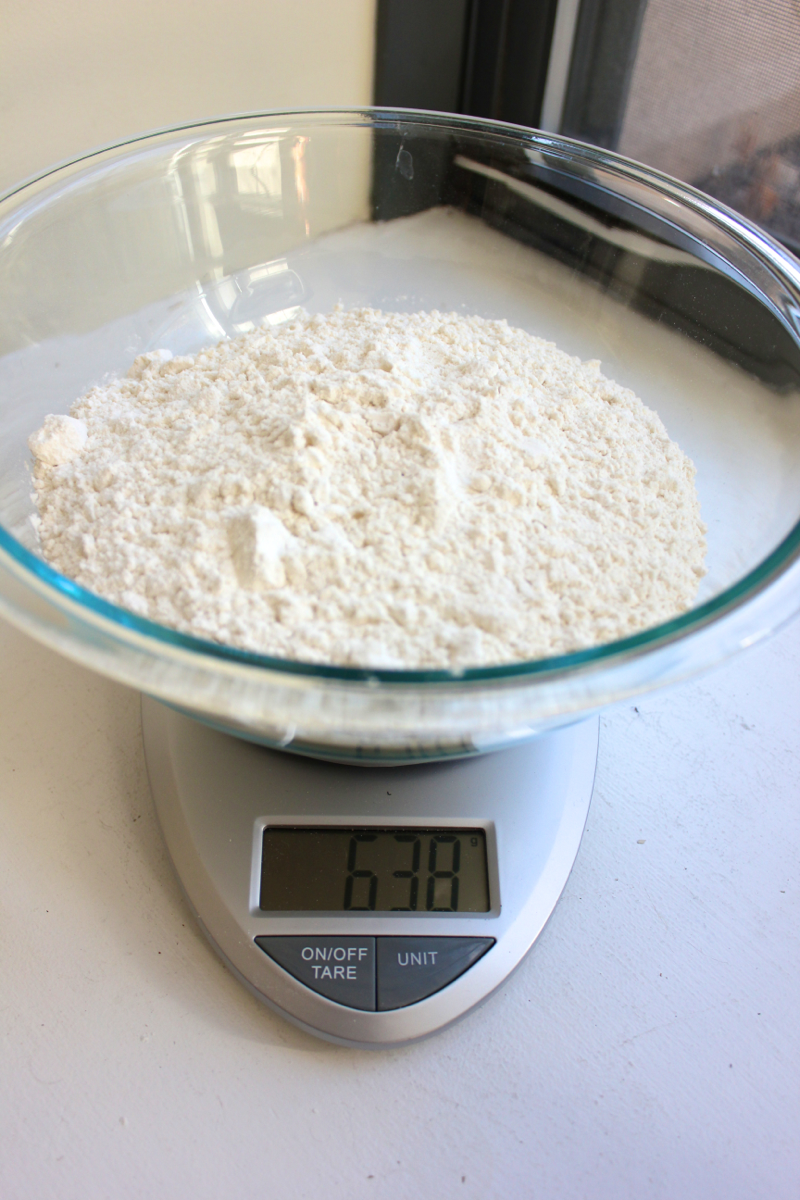
This recipe makes enough dough for two large pizzas, which is wonderful. I freeze half of the dough for a later use, but you could also halve the recipe to make enough dough for only one pizza. As with all things that depend on strict ratios, it’s best to use a food scale to measure out your ingredients. So, to a large mixing bowl, add 638 grams of all-purpose flour and 14 grams of salt.

Pizza dough

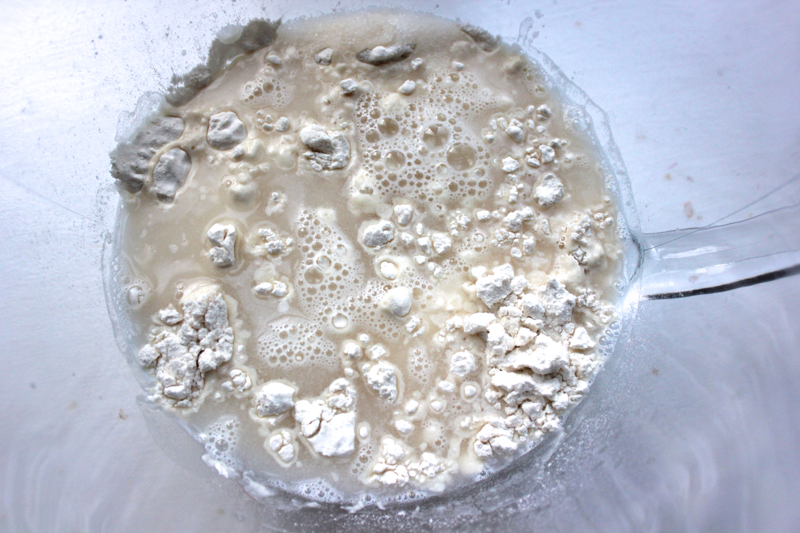
Measure out 14 ounces of slightly warm water, and pour 1.25 teaspoons of active dry yeast into the water. Let the yeast dissolve (if it doesn’t toss it and get new yeast), and the pour the water into the bowl of flour. If you’re using instant yeast, you can skip the dissolving step and add the yeast and the water right to the bowl of flour.

Pizza dough

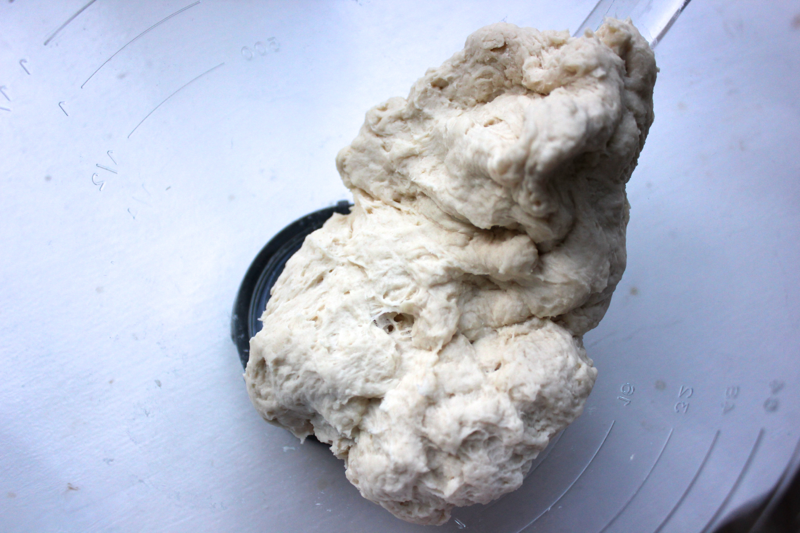
Using either the paddle attachment of a stand mixer or a big spoon, mix the ingredients together just until all of the flour has moistened (about 1 minute on slow using a mixer). Let the dough rest for about 5 minutes, and then mix it again until the dough comes together in a tight ball (about 1 more minute on medium low using a mixer). The dough should feel soft and tacky. If it doesn’t add a little more flour or water as you need.

Pizza dough

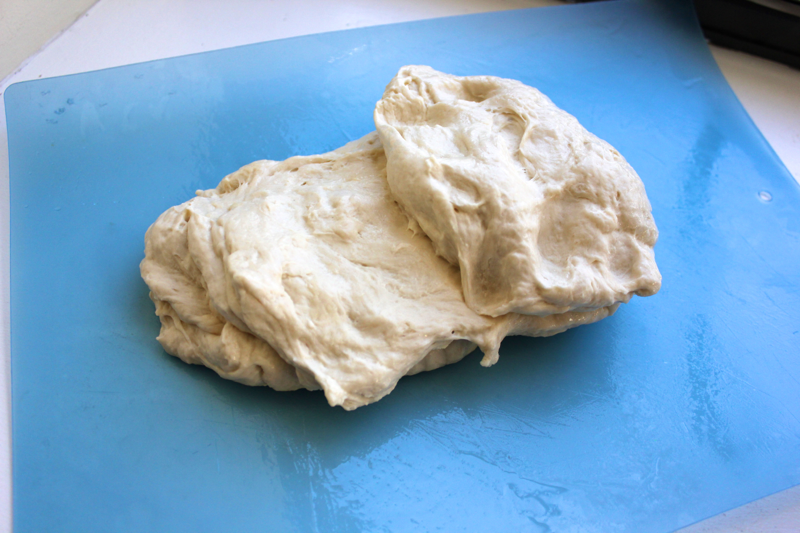
Pour some vegetable oil onto a flat surface, and scrape the dough out of the bowl. Stretch the dough into a rectangle, and fold it into thirds. Stretch the dough into a rectangle in the other direction and fold it into thirds again. As you work the dough, it will become smoother and more elastic.

Pizza dough

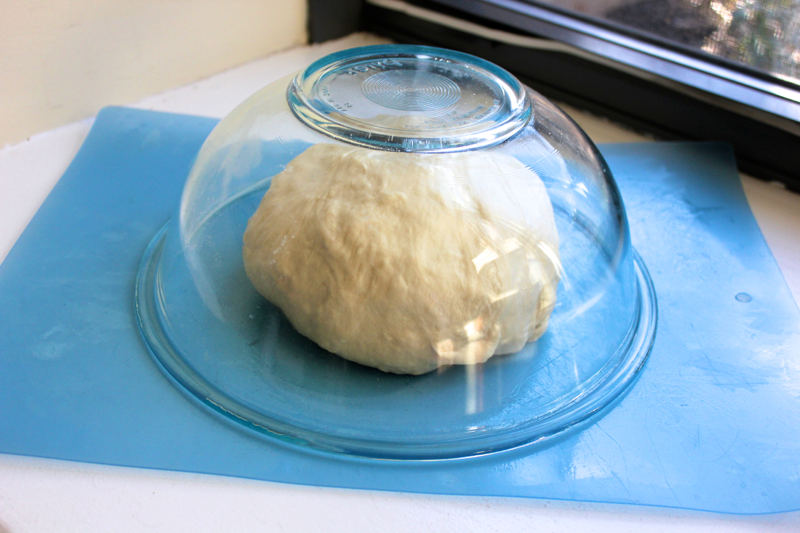
Form the dough into a ball. Then, cover the dough with an overturned bowl, and let it rest for 5 minutes. Repeat this process three more more times (you should have a total of four stretching sessions).

Pizza dough

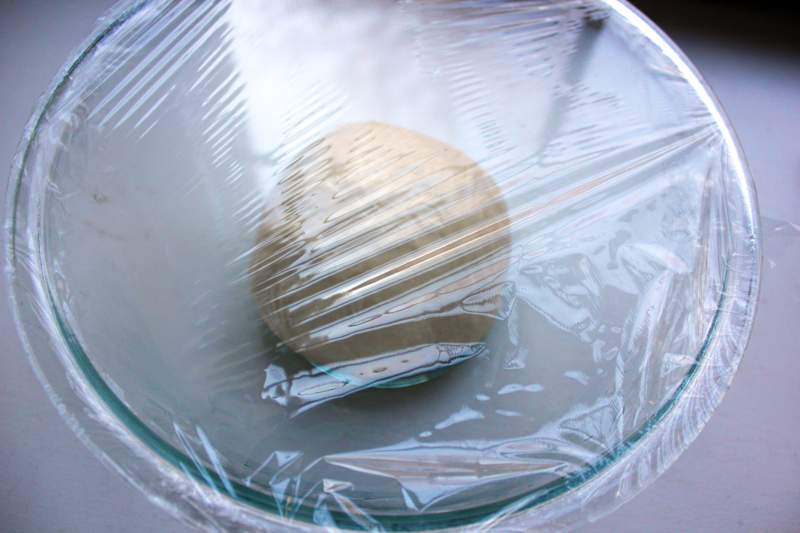
At this point, you could divide the dough and freeze half of it in an oiled plastic bag for later use. Form the dough that you want to use into a ball, and place it into a greased bowl. Cover the bowl with plastic wrap, and put it into the fridge to ferment and develop delicious flavor overnight or for up to three days.

Pizza dough

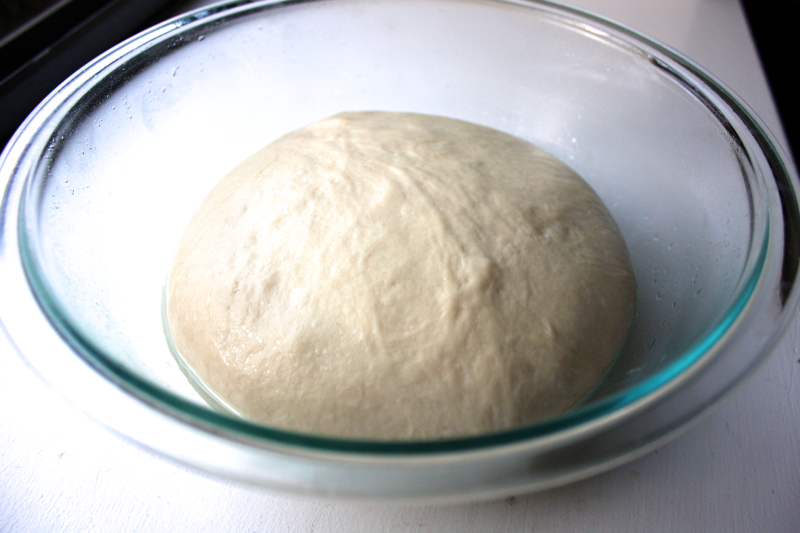
At least 2-3 hours before you want to make pizza, remove the dough from the fridge to come to room temperature. As the dough warms, it will rise.

Pizza dough

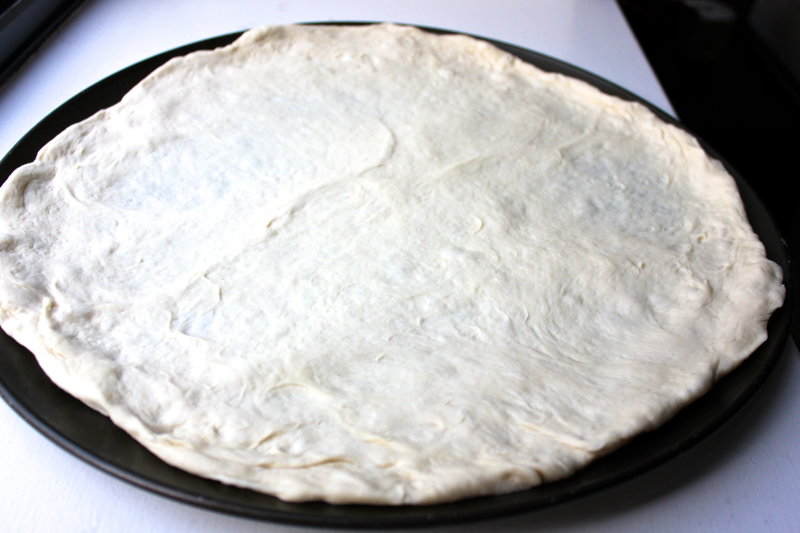
When you’re ready to make pizza, preheat your oven to 500º F. Flour a flat surface and your hands, and remove the dough from the bowl. Use your hands to stretch the dough into whatever shape you want your pizza to take. Transfer the pizza dough onto a pizza pan or baking sheet.

Pizza dough

Spread the dough with marinara sauce, and the tear off some pieces of mozzarella cheese, and sprinkle those over. Top the pizza with fresh basil leaves.

Pizza dough

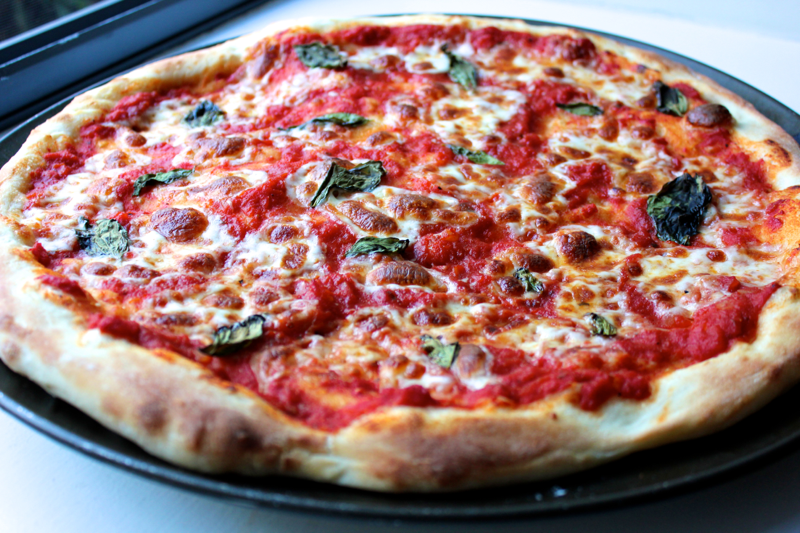
Bake the pizza for approximately 10 minutes, rotating it around halfway through, until the cheese is bubbly and the crust is golden brown and crisp. Let the pizza cool slightly, and then slice away. The first time I made this pizza, I underestimated the time it would take for the dough to come to room temperature, so the pizza didn’t get done until 10 PM. I intended to put it in the fridge to eat the next day (already full from Thai takeout), but I had to taste a little bit. IT WAS AMAZING. Let’s just say that I ended up tasting more than a little bit. I’ve since made this pizza dough again, and the results remain spectacular. I can’t wait to make all of my other pizza varieties using this crust…David has already been begging for some meat sauce pizza, and I think it’s a wonderful idea. This dough turns delicious pizza into “I can’t believe I made that” pizza.

This recipe is adapted from Peter Reinhart via Craftsy.

Shopping list:

  • All-purpose flour- 638 grams
  • Salt- 14 grams
  • Yeast- 1.25 teaspoons
  • Oil
Print Friendly, PDF & Email

Scallops in Saffron-Cream Sauce

Scallops

Can you believe that I’m cooking scallops now? Times really are a-changing! But for me, the real star of this meal is the saffron-cream sauce. It is so flavorful and colorful, and it goes as great with scallops as it does with cornmeal-crusted tilapia. I really enjoy cooking scallops because it’s hard to mess them up (they cook in a flash) and because they look so beautiful with a solid sear on them. If you’ve never experimented with scallops before, then I encourage you to give them a try. But if you’re a scallop pro, then I am confident that you’ll enjoy this preparation. There is just something special and almost romantic about it.

Scallops

To make these scallops, begin by getting about 4-5 scallops per person. Examine the sides of your scallops and pull off any feet that you find– the foot is like an extra, oblong appendage on the side of the scallop. Discard the feet. Give the scallops a good rinse to get any gritty sand off of them (I didn’t know about this step, and our scallops had some added crunch), and then pat them completely dry.

Scallops

Heat a pan over a high flame, and drizzle in some vegetable oil. Season the scallops on one side with salt and pepper, and then place the scallops seasoned-side down in the pan. Sear the scallops until they are golden brown, then season the top sides, and flip the scallops over in the pan. Once the second side is nicely seared, remove the scallops to a side plate, and set them aside. The scallops should still be somewhat translucent across their centers.

Scallops

Finely dice 1 shallot, and add it into the pan along with a generous pinch of saffron threads. If you have Pernod, add a splash of it to the pan away from the heat, and then cook it off. If, like me, you don’t have Pernod, then drop a star anise into the pan with the shallot and pour in about 1/4 cup of white wine. Cook the wine off.

Scallops

Remove the star anise, and pour in 1/2 quart of cream. Bring the cream to a simmer, and stir it frequently, allowing it to reduce somewhat. I love watching the color of the saffron infuse into the cream.

Scallops

Add the scallops back into the pan to finish cooking as the cream reduces. The scallops are done when they are mostly opaque but still have a thin, translucent line across their centers. Remove the scallops from the cream as they finish cooking.

Scallops

Continue reducing the cream until it is almost thick enough for your spoon to leave a mark. Once the cream nears this point, remove it from the heat. The cream will continue thickening as it cools (you can always loosen it up with a tiny bit of fresh cream if it goes too far). Once the cream has reduced, season it with salt to taste.

Scallops

Transfer your scallops onto a plate, and drizzle on as much of the cream sauce as you like. I love the vibrant yellow color of this sauce, and it tastes as good as it looks. The scallops are mild and sweet and highlighted wonderfully. So pretty!

Shopping list:

  • Scallops
  • Shallot
  • Saffron
  • Pernod -or- star anise and white wine
  • Cream
  • Salt and pepper
  • Vegetable oil
Print Friendly, PDF & Email

Stella’s Snow Boots

Stella's Snow Boots

Stella absolutely loves playing in the snow, but it takes a toll on her paws. She has really hairy toes, and the snow tends to form ice balls around the hair and get wedged up in her paws. It’s painful for her when she’s out walking, so we have to stop and loosen them out. Once we get home, we have to melt the icicles out of her paws by the front door, or else she walks away and the snow slowly melts into puddles all over the place. Stella’s paws also get burned by some salted sidewalks. She stops in the middle of the street, holding two of her paws in the air, and we have to scoop her up and carry her past the danger zones. Thank goodness she isn’t a bigger dog!

Stella's Snow Boots

After a particularly snowy winter and many days filled with paw maintenance, I decided to get Stella snow boots. I’ve seen other dogs in the neighborhood wearing these balloon-like boots, so I figured that Stella would be able to tolerate them too. Teaching her to wear the boots was hilarious- once a boot would go on, she would act like she couldn’t walk with that paw. The first time I got all four boots on her, I couldn’t stop laughing at her flopping around. To get Stella used to the boots, I would put one on and get her to walk to a piece of cheese. Once she seemed comfortable, I’d add another boot and repeat. We did a few practice runs inside before she finally sported her boots outdoors.

Stella's Snow Boots

On her first snowy outing with the boots, she acted totally normal and didn’t pay attention to the boots at all. She was too busy prancing through the snow and having the best time.

Stella's Snow Boots

She ran, jumped, and played through the foot of snow we had, and the boots remained secure. They didn’t slip off and her nails didn’t pop through them. We didn’t have to stop to scoop snow out from between her toes, and we didn’t have to carry her over the salted sidewalks. The boots were a raging success!

Stella's Snow Boots

The snow, on the other hand, posed a different challenge! It was so tall, that Stella could rest her butt on it while standing up. I patted down an area of snow so she could have a landing pad to rest on. Stella and her new friend used the landing pad to take a break from their frolicking.

Stella's Snow Boots

She had the best time playing, and so did we!

Print Friendly, PDF & Email