My Chairs Got a Butt Lift

chairs

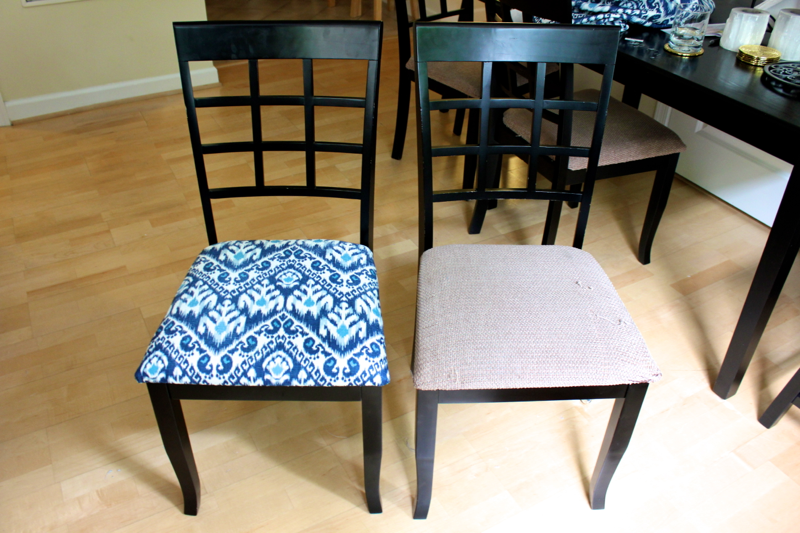
Our dining chairs were so ugly. I can’t believe we lived with them for four years. When I realized that we will likely be living with them for another few years, it was time to make a change. I had seen my mom reupholster chairs many years ago, so I decided to give it a go. It’s a slightly tiring, slightly fun project with a huge payoff. If you have chairs as ugly as mine, I suggest you give it a try.

chairs

My chairs came with a chunky, woven knit in shades of brown and tan. Blech. After many years of sitting on them, they looked even dingier than they did when they arrived, and some stringy threads were coming loose. I looked into replacing the chairs, and there were some affordable and stylish options out there. But I figured that it’s silly to get four chairs I love, and then get rid of them when we upgrade to a larger table. Recovering the chairs was the route for me.

chairs

The first step was finding a great fabric. I imagined exactly what I wanted- a deep blue ikat print. The problem with having a vision was finding a fabric that lived up to it. Washington DC is a fabric store desert. I headed to Virginia to visit a chain store and a local store- both of which had slim pickings in the “cool house decorating” category. At the chain store, I found a sample fabric that I loved, but it was over $80 a yard and would take weeks to order.

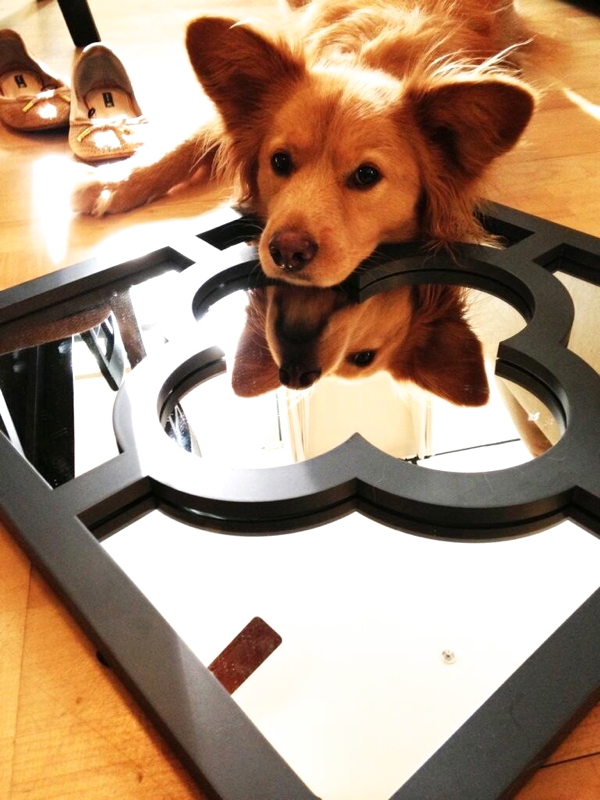
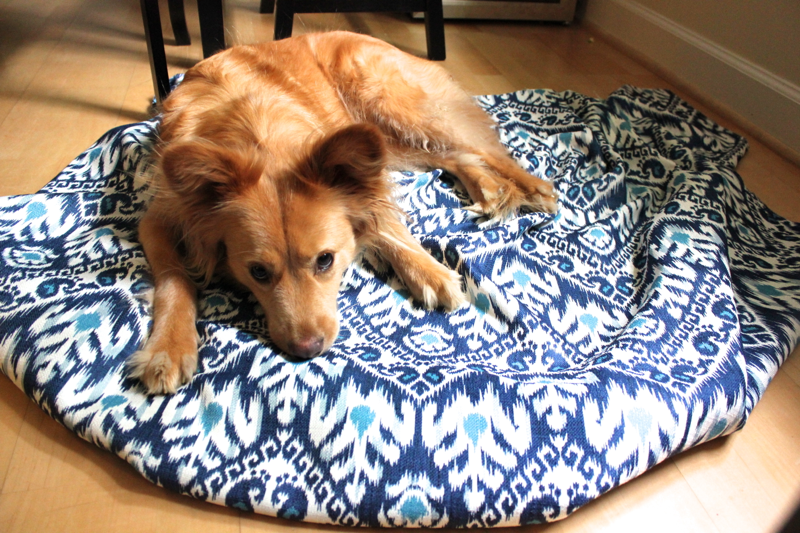
At the local store, a salesgirl asked if she could help me. Desperate, I asked if they had any colorful ikat prints. She looked at me confused, and said “eye cats? Ohhh, you want a fabric with a cat’s eyes!” Granted, I pronounced “ikat” wrong to start with, but does cat eye fabric even exist? Thanks, but…no. I headed home, browsed the Internet, and found this fabric. Less than 1 week and $34 later, I had two yards of this beauty for Stella to luxuriate on.

chairs

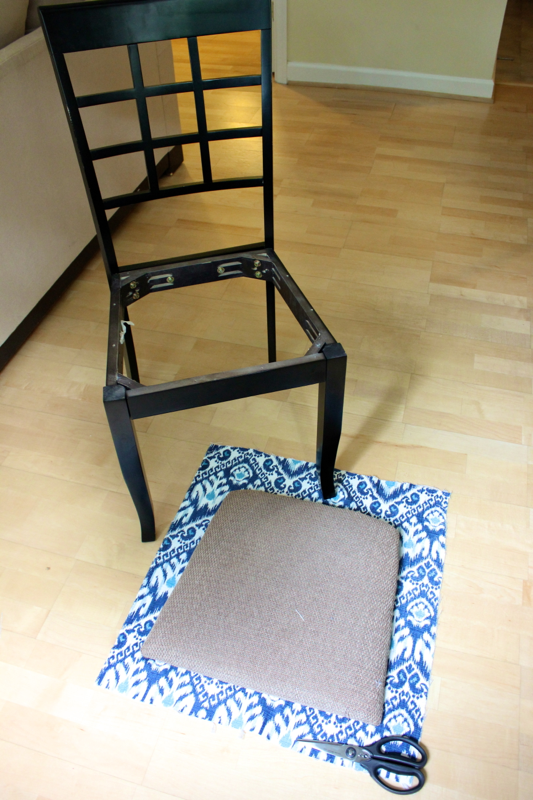
Once I got the fabric, I determined that I could cover the seats without removing their existing fabric because the texture didn’t show through and couldn’t be felt. Hooray for skipping a step! To recover your chair, first unscrew its seat. Lay out the fabric, and align the fabric’s pattern on the seat the way you like it. Cut out the fabric in a square large enough to wrap around the seat and have about 2 inches of excess.

chairs

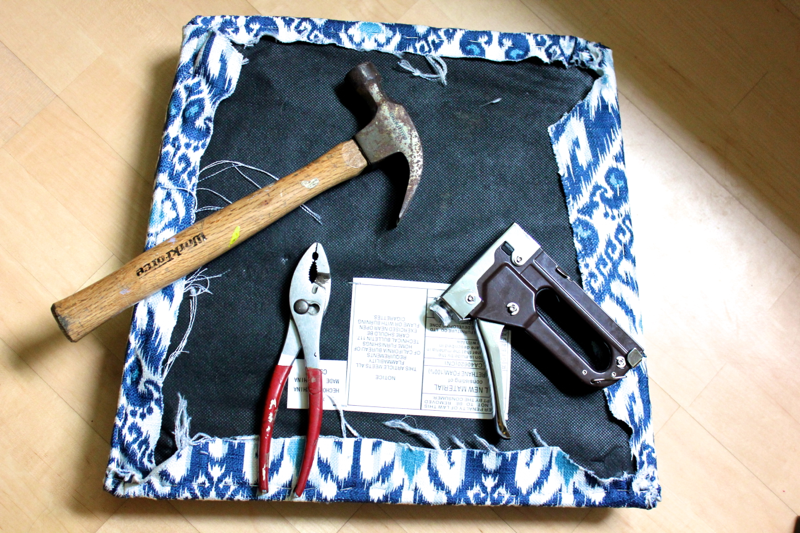
Turn the fabric over, and put the seat face-down on top of the fabric. Lean on the back of the seat, and use a staple gun to attach the fabric at one spot on each edge of the seat for place-holding purposes. Then, systematically lean on the seat and staple the fabric down along each side. I found it was easiest to save all of the corners for the end. Also, leaning on the seat compressed the cushion and allowed me to pull the fabric completely taut. That way, when someone sits down on the chair, the fabric doesn’t get loose and pinchable.

chairs

Stapling the corners are definitely the trickiest part. I experimented with a lot of different methods, but in the end, I think it was easiest to drape the fabric the way I wanted it, then hold it down, and staple it. I made sure that any folds were especially secure and able to resist any fiddling fingers.

chairs

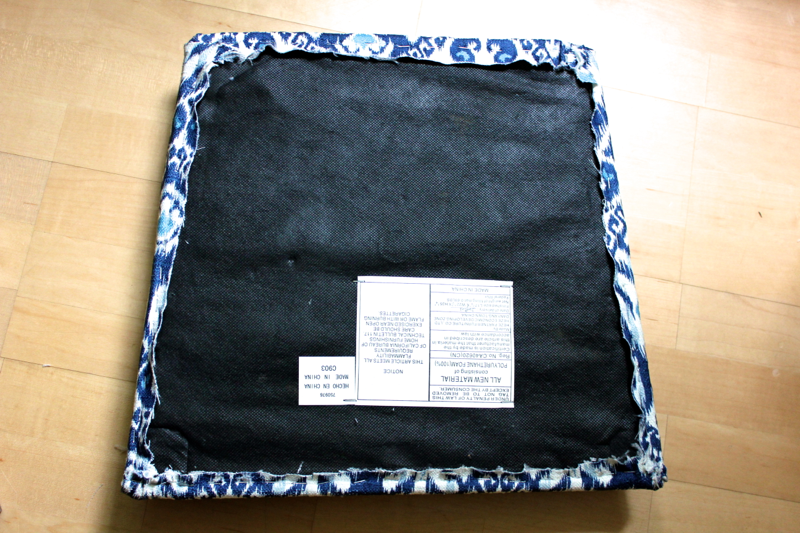
Once all of the staples are in, use a hammer to make them completely flush with the seat. You can pull out any duds with some pliers and re-staple. Then, trim the excess fabric off, leaving about 1/2 inch. This extra border should prevent the fabric from fraying or from being pulled loose from the staples.

chairs

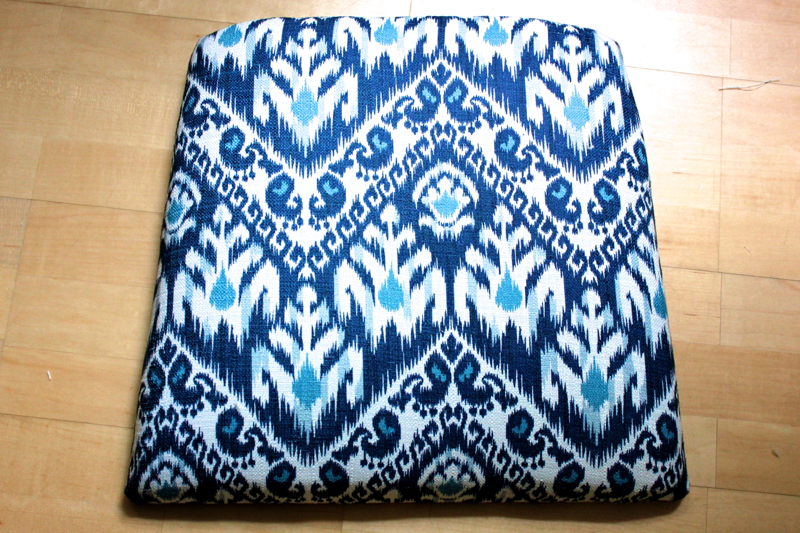
What a beauty. I could stare at that all day.

chairs

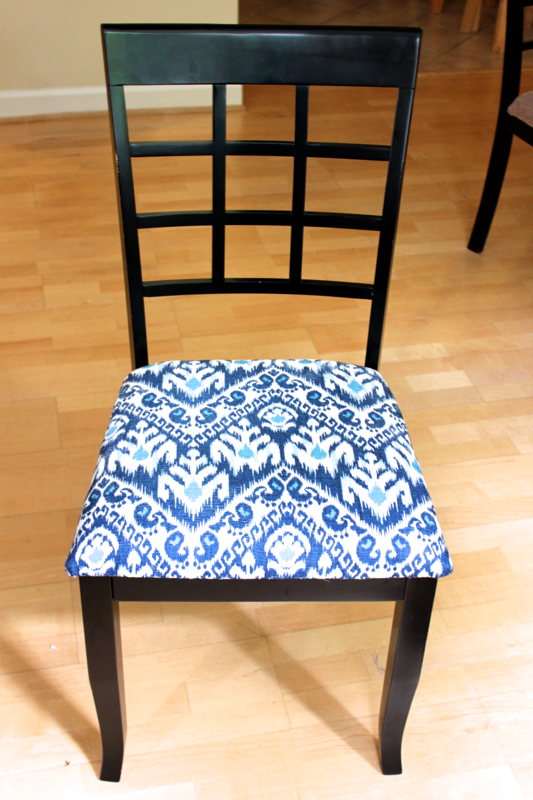
Reattach the seat to the chair frame, making sure that the loose ends of the fabric are tucked under the frame and not visible. Sit down and test it out. So nice! My chairs even feel more comfortable, somehow.

chairs

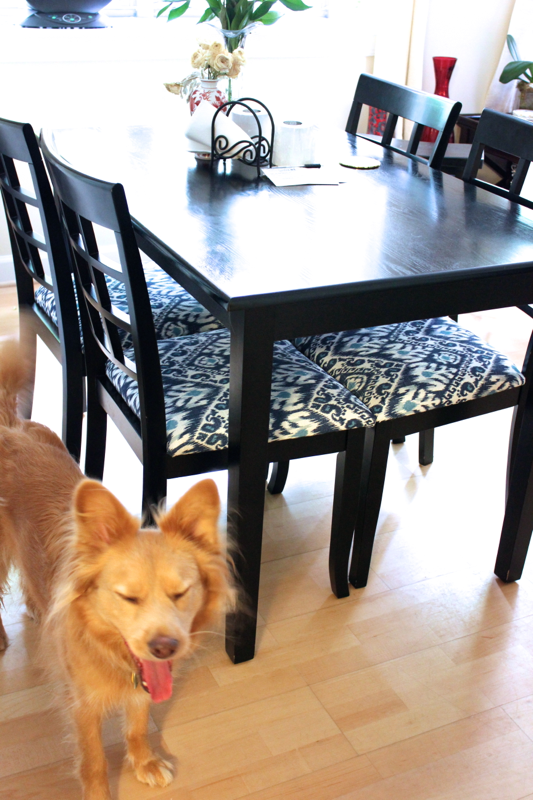
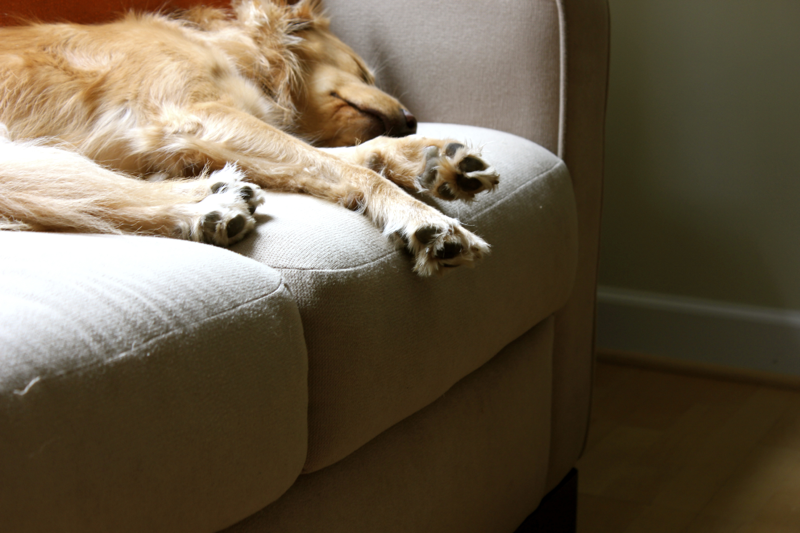
I love walking past my dining table and catching a glimpse of these babies. I love the color and the pattern, especially in place of that nasty brown. The chairs even make Stella so happy she wants to scream with joy. Actually, that was a yawn– she was tired of the chairs stealing my attention.

Do you have any home improvement projects going on? Do you have any upholstering tips I can keep in mind for next time?

Tool Box:

  • Upholstery fabric
  • Heavy duty staple gun
  • Heavy duty staples
  • Hammer
  • Pliers
  • Scissors
  • Screw driver
Print Friendly, PDF & Email

Ga-Ga Garlic Bread

garlic bread

Garlic lovers will go wild for this triple garlic bread. It is brushed with garlic oil, rubbed with raw garlic, and smeared with roasted garlic. I was tasked with bringing garlic bread to a dinner party, which put me in a conundrum. I’d never made a garlic bread I was satisfied with, and most of the garlic bread recipes online involve cheese, too little garlic, or outrageous amounts of butter. So I sat down, closed my eyes, and imagined what my ideal garlic bread would be. And this is it- a crisp crostini with layers and layers of garlic flavor, but not so much that you’ll be afraid to breathe near someone.

garlic bread

To make this garlic bread, start by preparing your garlic oil and roasted garlic. You can buy these ingredients, but here is how to make them yourself. For the garlic oil- pour about 1 cup of olive oil into a pot, and heat it over a low flame. Slice 3-5 garlic cloves, and drop them in the oil. Small bubbles should form on the garlic in the oil, but the oil should not boil. If the garlic burns, the oil will taste horrible. Let the garlic lightly simmer until the oil takes on the amount of garlic flavor you desire. Then, strain out all of the garlic pieces, and store the oil in the refrigerator. If you leave the garlic pieces in the oil, you risk botulism!

For the roasted garlic- wrap 3-5 heads of garlic individually with tin foil, and roast them in a 350º F oven. Check them after 20 minutes. When you open the foil, the garlic should have oozed and caramelized somewhat, and it should smell fantastic. If not, keep them roasting. Once they’re done, slice the heads of garlic in half, and scoop out the cloves with a knife.

garlic bread

Get a loaf of white Italian bread, something relatively dense, not a ciabatta. Cut it into 1/4 inch slices, and brush both sides of the slices with the garlic oil. Lay the slices on a baking sheet, and broil them for 1-2 minutes per side until they are toasted and crisp. Watch the bread carefully to make sure it doesn’t catch on fire/burn.

garlic bread

When the bread is toasted, cut a garlic clove in half, and rub it on one side of the bread. Experiment with how much raw garlic flavor you like. Rub one slice with light, medium, and hard pressure to determine your ideal level. Medium pressure was perfect for me.

garlic bread

Next, spread the roasted garlic on the bread. Season the bread with salt, and then sprinkle over some sliced scallions or another herb for color and freshness.

garlic bread

This garlic bread is very flavorful and very garlicky without being overwhelming. Use it to soak up soup, scoop salad, or twirl pasta. Or just munch on snacky slice after slice. I have no doubt that this bread will satisfy the garlic lover in your life (unless they prefer their garlic bread with cheese or butter).

Shopping list:

  • Italian bread- 1 loaf
  • Olive oil- 1 cup
  • Garlic- 4-6 heads
  • Scallions
  • Salt
Print Friendly, PDF & Email

Stella’s Weekend Tales

Stella

2:30 PM Friday afternoon: I get a text message from David: Stella stepped in gum and it’s stuck in her toe hairs. Our amazing dog walker asked if he can use our almond butter to slather her paw and get it off.

Stella

5:50 AM Saturday morning: I roll over in bed. I open my eyes to peek at David. I stare into a pair of big, brown eyes. They’re not David’s. I gasp and jump back. Stella is curled up on his pillow watching me sleep.

Stella

6:30 AM Saturday morning: David is in our office studying. Stella enters and pukes on the rug. Good morning!

Stella

7:00 PM Saturday evening: David and I arrive home. We put our key in the door, but the door only opens 5 inches. Stella is on the other side sniffing at us. “Stella, let us in!” “Stella, open the door!” Stella picks up the rubber Kong toy that is blocking the door and allows us to pass.

Stella

11:15 PM Sunday night: David and Stella are sleeping in bed, I’m watching TV. I leave for two seconds. I re-enter the bedroom to find Stella jumping down from the bed while the TV flashes off. David fully denies touching the remote; Stella remains suspiciously silent.

Print Friendly, PDF & Email